How to Prompt for Realistic Skin Texture
It's incredibly frustrating when you're trying to generate a stunning portrait with AI, only to have the output feature skin that looks more like a mannequin's plastic sheen than a living, breathing human being. That waxy, overly smooth, or sometimes even blurred texture can ruin an otherwise perfect image. This comprehensive guide is here to walk you through the essential techniques and nuanced prompting strategies needed to coax your AI image generator into producing truly realistic, natural-looking skin texture every single time.
Understanding the Challenge of Realistic Skin Texture
When we look at a human face, our brains process an incredible amount of subtle detail in the skin. We instinctively recognize the subtle imperfections, the way light plays across different contours, and the inherent glow or softness that comes from healthy skin. AI, while brilliant, often struggles with these complex, organic nuances, tending to lean towards an idealized, almost airbrushed aesthetic by default.
Why AI Struggles with Skin Realism
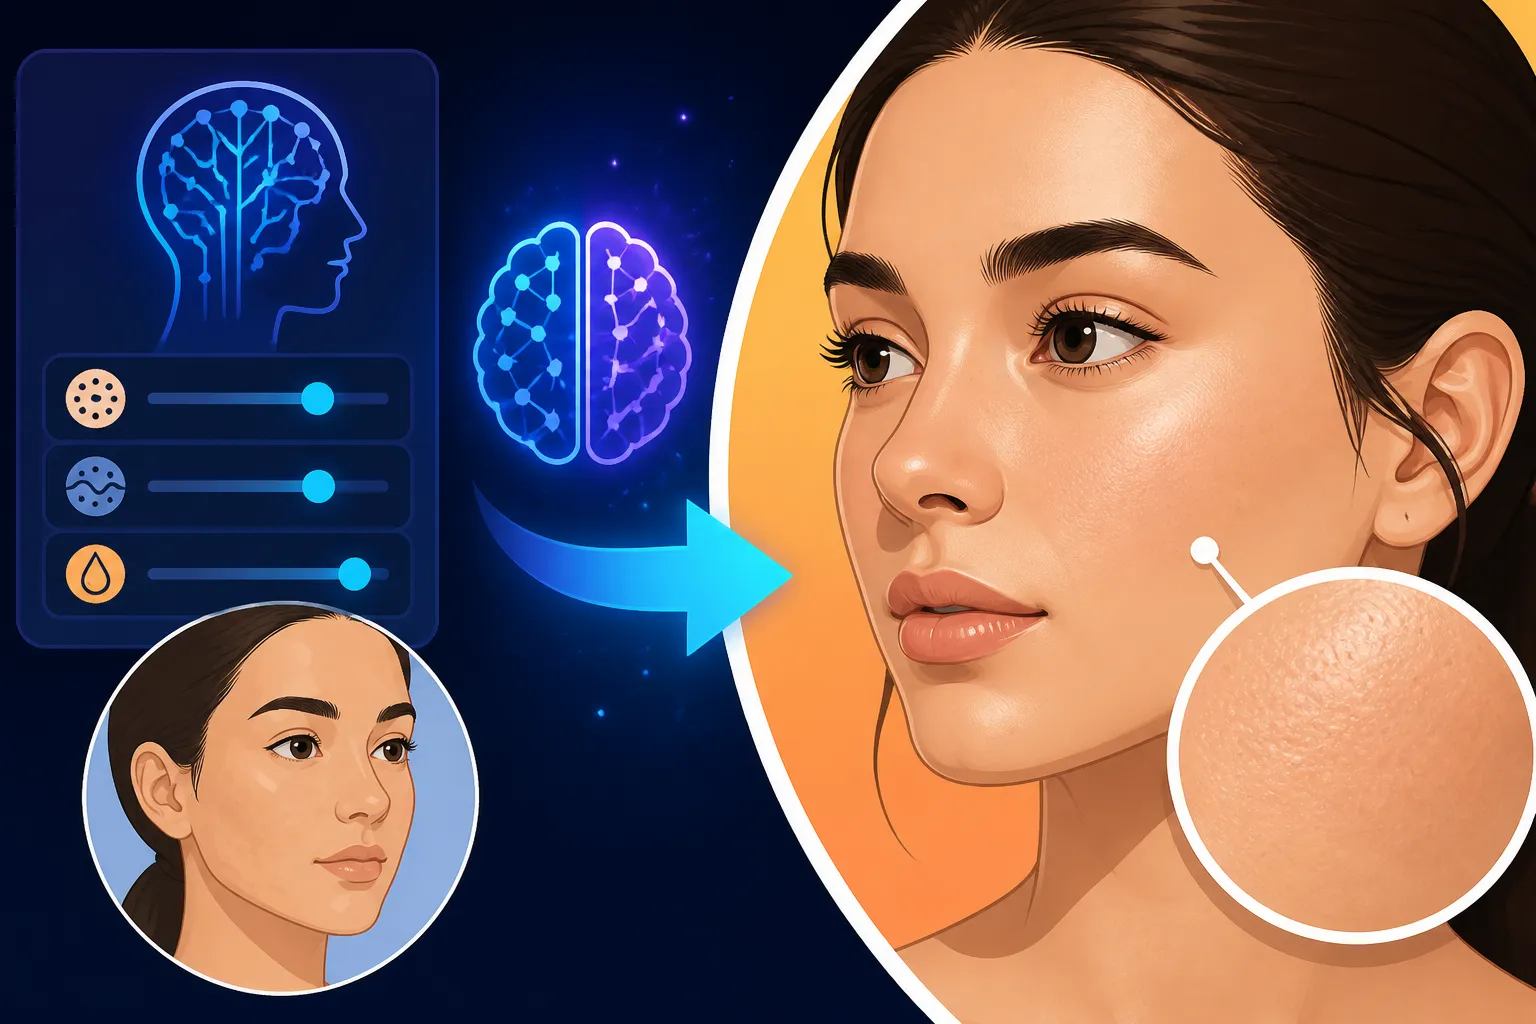
The human skin is a marvel of biological engineering, featuring layers of epidermis and dermis, tiny pores, fine hairs (often called peach fuzz), minute wrinkles, subtle blemishes, and varying levels of pigmentation. These elements, when combined, create a rich, complex texture that absorbs and reflects light in specific ways. AI models, trained on vast datasets, can sometimes over-generalize, smoothing out these crucial micro-details in an attempt to present a "perfect" face. This oversimplification leads to that artificial, sometimes plastic-like appearance we dread. It's like the AI knows what a face should look like in a magazine, but not necessarily what a face does look like in real life.
Key Elements of Authentic Skin
To effectively prompt for realistic skin, we first need to understand what makes skin look genuinely authentic. It's more than just a surface; it's a living canvas. Here are some critical elements:
- Micro-details: This includes visible pores, faint lines around the eyes or mouth, and even the subtle texture of facial hair like eyebrows or peach fuzz. These small details add immense credibility.
- Subsurface Scattering: This is a physics phenomenon where light penetrates the surface of an object (like skin), scatters, and then exits at a different point. It's what gives skin its soft, somewhat translucent quality, especially around thinner areas like ears or fingers, rather than appearing opaque or flat.
- Imperfections: A truly realistic complexion isn't flawless. It might include tiny freckles, a mole, a faint scar, or even a slight redness from natural flushing. These "imperfections" are what make a face unique and human.
- Varied Tones: Skin isn't one uniform color. There are subtle variations in tone due to blood flow, sun exposure, and underlying bone structure. Think of the slightly rosier cheeks or the paler forehead.
- Specular Highlights: These are the bright spots where light directly reflects off the skin's surface, indicating moisture or oiliness, and adding a sense of depth and form. Without them, skin can look dry and lifeless.
Understanding these components is your first step in learning How to Write AI Image Prompts that yield stunning results.
Essential Prompting Techniques for Skin Texture
Now that we know what makes skin look real, let's dive into the practical side of prompting. It's about being specific, descriptive, and sometimes, a little counter-intuitive by asking for "imperfections."
Leveraging Keywords for Detail and Imperfection
The right keywords are your best friends here. Don't just ask for "skin" – get granular. Here's a breakdown of effective terms:
- For micro-details: Words like "visible pores," "fine lines," "subtle wrinkles," "peach fuzz," "dermatological detail," "skin texture," "uneven skin tone," and "texture close-up" can make a world of difference. When you say "a portrait of an elderly woman, with weathered skin showing fine lines and visible pores," the AI has a much clearer instruction than just "old woman."
- For natural markings: Incorporate "freckles," "moles," "beauty marks," "blemishes," "slight redness," or "rosy cheeks." These humanize the subject. Imagine wanting a natural look for a fashion shot; you might prompt: "a close-up portrait of a young woman, natural light, subtle freckles across her nose and cheeks, light peach fuzz on her upper lip."
- Specificity matters: Instead of "detailed skin," try "highly detailed skin texture, pores visible under soft lighting." The more sensory and specific your description, the better the AI can interpret your vision. This detailed approach is a core part of learning How to Get Better AI Image Results.
Controlling Lighting and Materiality
Lighting is paramount for showcasing texture. Flat, overhead lighting will wash out details, while thoughtful illumination can enhance every pore and subtle contour.
- Specific Lighting Types: Experiment with "soft natural light," "golden hour lighting," "studio portrait lighting with softboxes," "rim light catching the edges of the face," or "chiaroscuro lighting revealing facial contours." For example, "a dramatic close-up portrait, soft studio lighting accentuating skin texture, with subtle shadows defining facial structure."
- Highlighting Speculars and Subsurface Scattering: These are advanced concepts but can be integrated into prompts. Try adding "specular highlights on skin," "slight sheen on skin," or explicitly "subsurface scattering evident in ears and nose" for advanced models. Some tools might respond well to "realistic skin with translucent quality" or "skin with natural luminescence."
- Materiality Keywords: While AI skin isn't a "material" in the traditional sense, you can borrow terms from photography and rendering. "Matte skin," "dewy skin," "oily sheen," "moist skin" all convey different surface qualities. A prompt like, "a close-up of a person's face after a light rain, dewy skin, with reflective water droplets and subtle pores," will yield a far more realistic result than just "person in rain." This is crucial for How to Write Prompts for Photorealistic Images.
Incorporating Humanizing Elements
Beyond the pure texture, consider what makes a person look alive. These are the subtle, often overlooked details that push an image from good to great.
- Natural Imperfections: As mentioned, true realism embraces the non-perfect. A "faint scar on the eyebrow," "a tiny mole near the lip," or even "slight unevenness in skin tone" can contribute to authenticity.
- Expressions and Micro-expressions: A furrowed brow, a crinkling around the eyes from a smile, or a slightly pursed lip can naturally introduce subtle skin folding and tension, making the skin appear more dynamic and realistic.
- Contextual Elements: Consider how sweat, tears, or even subtle makeup interact with the skin. "Sweat glistening on the forehead," "tears streaking down a cheek," or "minimal, naturalistic makeup allowing skin texture to show through" adds layers of realism. This is where you move beyond just skin texture to truly capturing a moment.
- Age-Appropriate Details: Don't forget that skin texture changes with age. For an older subject, keywords like "creased skin," "age spots," "sun-kissed skin with fine wrinkles," or "leathery texture" (if appropriate for the character) are important. For younger subjects, focus on "smooth but not flawless skin," "rosy glow," or "soft, youthful texture."
Advanced Strategies and Troubleshooting
Even with the best initial prompts, AI generation is an iterative process. You'll often need to refine and adjust. This section covers more advanced techniques to truly master realistic skin texture.
Using Negative Prompts to Refine Skin Quality
Negative prompts are powerful tools that tell the AI what not to include or what characteristics to avoid. When aiming for realistic skin, they're indispensable for correcting common AI pitfalls.
- Combatting Artificiality: Common issues like waxy or plastic-looking skin can be targeted directly. Try adding negative prompts such as "plastic skin," "waxy finish," "smooth skin," "flawless skin," "airbrushed," "cartoonish," "blurry skin," "doll-like," or "CGI." If you're consistently getting overly smooth results, explicitly negating "smooth" can force the AI to add more texture.
- Refining Details: Sometimes, AI might add too much of a good thing or misinterpret your prompt. If you're getting overly coarse skin, you might try negative prompts like "rough texture" or "exaggerated pores." The key is experimentation and understanding what specific visual artifacts you're trying to remove. This iterative approach is crucial and covered in guides like How to Use Negative Prompts and Common AI Image Prompt Mistakes.
Iteration and Reference Images
Generating perfect skin texture rarely happens on the first try. It’s an art of iterative refinement and leveraging visual aids.
- Trial and Error is Your Friend: Start with a broad prompt, then slowly add details, refine keywords, and introduce negative prompts based on the results you're getting. If the pores aren't visible enough, add "prominent pores." If the skin looks too dry, try "moist, dewy skin." It's a conversation with the AI.
- The Power of Visual References: Many advanced AI tools allow you to use an initial image as a reference for style, composition, or even specific textures. If you have a photograph with the exact skin texture you want to replicate, upload it as an image prompt or style reference. This can guide the AI far more effectively than words alone, especially when combined with your textual prompts for the subject and scene. While we won't delve into specific tool interfaces here, understanding how to use visual references is a game-changer for specific stylistic outcomes. For more advanced prompting techniques, explore resources like Midjourney Prompt Guide.
Aspect Ratios and Resolution Considerations
The technical aspects of your image generation also play a significant role in how well skin texture is rendered and perceived.
- Aspect Ratio Impact: While not directly related to texture generation, the aspect ratio can influence the composition and how much of the face is shown, which in turn affects how visible and impactful the skin texture details are. A close-up portrait (e.g., a square or vertical aspect ratio) will naturally emphasize facial details more than a full-body shot. When you're focusing on skin texture, often a tighter crop allows the AI to dedicate more "attention" to those micro-details within the smaller canvas.
- Resolution and Upscaling: Lower resolution images inherently struggle to display fine details like pores or subtle wrinkles. Even if the AI generates them, they might be lost in a fuzzy output. Always aim for higher resolutions where possible. Once you've generated an image with promising skin texture, consider using an upscaling tool to enhance those details. Many AI image generators have built-in upscalers, or you can use external ones. Upscaling not only increases the size but can also intelligently add finer details and sharpen existing ones, making the skin texture truly pop. For comprehensive instructions on this, check out How to Upscale AI Images to 4K. Remember, even the best prompting efforts can be undermined by poor resolution, making the skin look flat or blurred, which can also lead to issues like How to Fix Blurry AI Images or How to Fix Distorted AI Faces.
Here's a handy table summarizing some key prompt elements for realistic skin:
| Category | Keywords to Include | Keywords to Avoid (Negative Prompts) |
|---|---|---|
| Texture | visible pores, fine lines, subtle wrinkles, peach fuzz, skin texture, dermatological detail | smooth skin, flawless skin, plastic, waxy, airbrushed, blurry, cartoonish, CGI |
| Imperfections | freckles, moles, beauty marks, blemishes, scars, redness, uneven skin tone, sun damage | perfect skin, uniform complexion |
| Lighting | soft natural light, golden hour, studio portrait lighting, rim light, specular highlights, subsurface scattering | flat lighting, harsh shadows |
| Appearance | dewy, moist, matte, healthy glow, translucent quality, natural luminescence | dry, dull, artificial sheen |
| Expression | crinkling eyes, furrowed brow, genuine smile, subtle expression, naturalistic makeup | blank expression, stiff face, heavy makeup obscuring skin |
Achieving photorealistic skin texture is one of the more challenging aspects of AI image generation, but it's absolutely within reach with careful prompting. By focusing on micro-details, strategic lighting, and embracing the nuances of human skin, you can transcend the "plastic doll" effect and create truly lifelike portraits. Keep experimenting, keep refining your prompts, and don't be afraid to ask the AI for more realism, not just perfection. For those looking for more general advice on image quality, remember to explore our guide on How to Add Realism to AI Images. And if you're keen to understand the financial side, there are always options like How to Generate AI Images Without Paying that can help you practice your skills.
Disclaimer
The information provided in this article is for general guidance and informational purposes only. While we strive to offer accurate and up-to-date advice regarding AI image generation and prompting techniques, the field of AI is constantly evolving. Results from AI image generators can vary significantly based on the specific model, version, input prompts, and individual user settings. Always exercise your own judgment and conduct further research when applying these techniques.