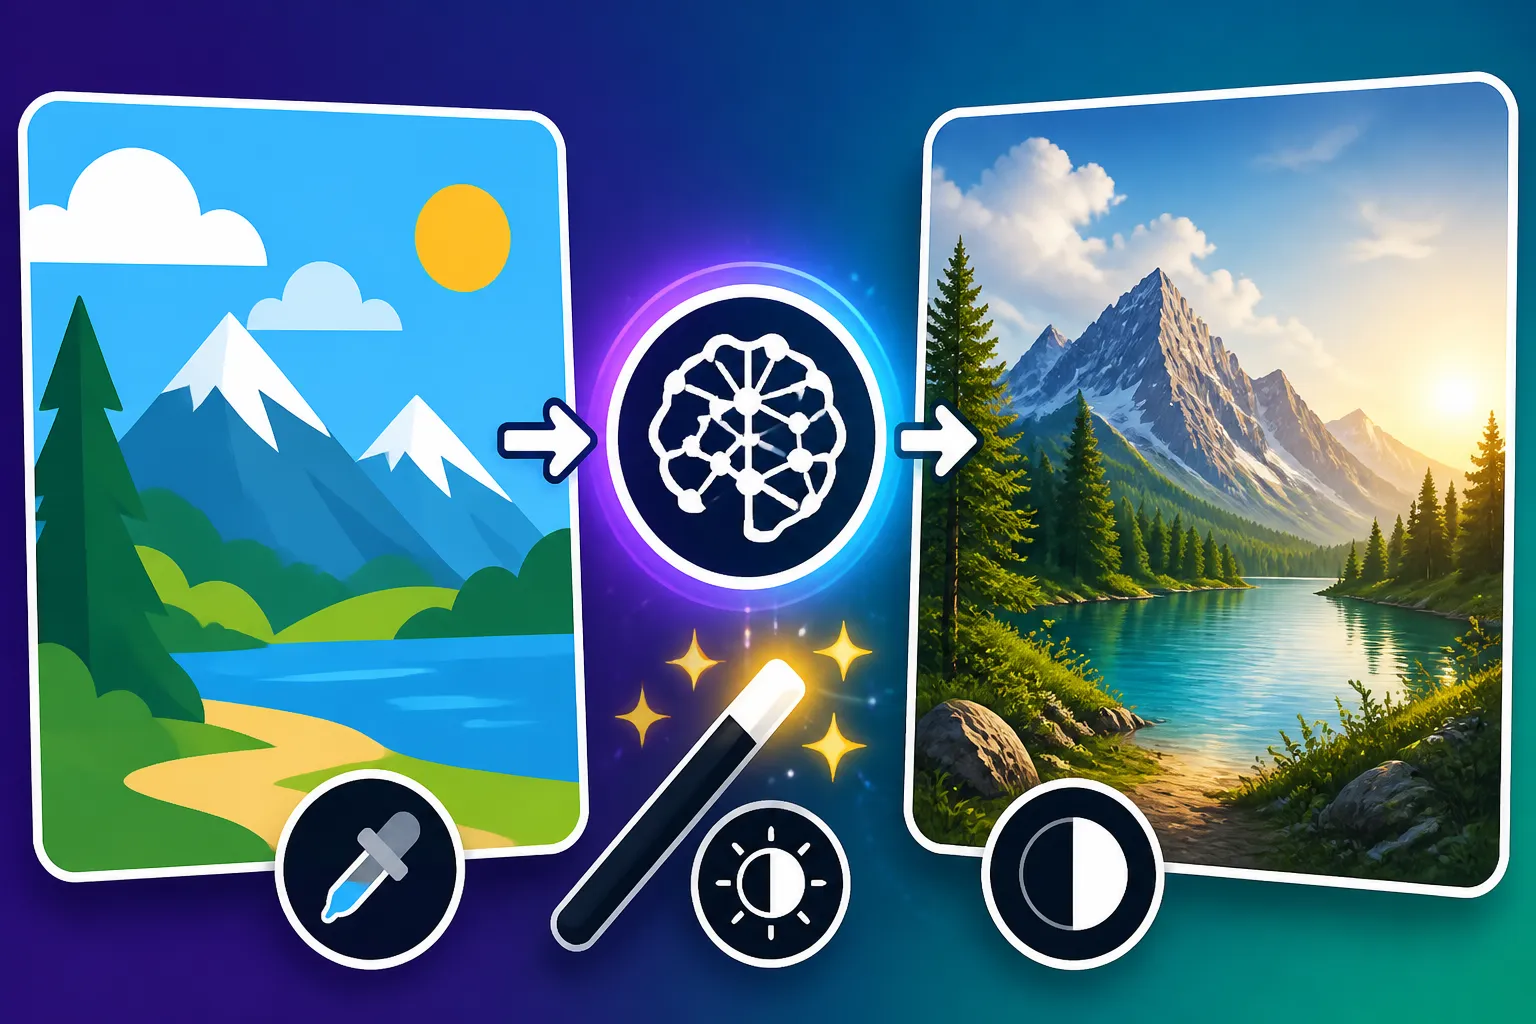
How to Add Realism to AI Images
It's incredibly frustrating when you pour your heart into a prompt, envisioning a stunning, lifelike image, only for the AI to spit out something that looks… well, too artificial. Whether it's the uncanny valley in faces, oddly rendered textures, or a general flatness that screams "computer generated," achieving genuine realism can feel like an uphill battle. This comprehensive guide is here to walk you through the precise techniques and mindset shifts you need to transform your AI creations from digital approximations into truly believable images.
Understanding the Essence of AI Realism
Before we dive into the nitty-gritty of prompting and post-processing, it's crucial to understand what "realism" means to an AI and why it often falls short of human expectations. The journey to hyper-realistic AI images begins with a solid grasp of these foundational concepts.
The "AI Aesthetic" and Why It Happens
You know the look. That subtle, yet unmistakable, artificiality that permeates many AI-generated images. It's often characterized by overly smooth skin, perfectly symmetrical features that feel just a little too perfect, strange distortions in hands or background elements, or a bizarre repeating pattern that breaks the illusion. This "AI aesthetic" isn't a flaw in the technology itself, but rather a reflection of how these models learn. They're trained on vast datasets of images, and sometimes, the patterns they identify and replicate don't quite align with the complex, nuanced reality we perceive.
One common issue is the "uncanny valley," particularly prevalent in human faces. When an AI image of a person is almost, but not quite, real, it can evoke a sense of unease or revulsion. This happens because the AI understands the components of a face—eyes, nose, mouth—but struggles with the subtle micro-expressions, skin imperfections, and natural asymmetries that make a human face truly feel alive. Similarly, objects might have textures that look flat, lighting that doesn't quite make sense with the environment, or details that are bizarrely merged. The AI is often trying to fulfill your prompt literally, without the inherent understanding of physics or common sense that we take for granted. This means it can generate images that are technically correct but visually jarring, simply because it hasn't learned the unspoken rules of how things should look in the real world.
Key Elements of Realism
To combat the "AI aesthetic" and push your images toward genuine realism, you need to understand the building blocks that make up a realistic photograph or painting. These are the elements that human artists master over years, and now we need to teach them to our digital assistants through careful prompting and refining.
Consider light, for example. In the real world, light isn't just "bright" or "dark." It has a direction, a quality (hard or soft), a color, and it interacts with surfaces in complex ways, casting shadows, creating reflections, and highlighting textures. An AI needs to be told about these nuances. Is it golden hour sunlight filtering through leaves? Is it harsh, direct midday sun on a desert landscape? Is it soft, diffused light from an overcast sky? Each of these scenarios drastically changes the mood and realism of an image. Then there's texture: rough, smooth, bumpy, silky, weathered. The way light hits a textured surface reveals its character. Think of the subtle grain of wood, the tiny imperfections on a brick wall, or the slight fuzz on a sweater. These details add depth and tactile quality. Finally, perspective and composition play a huge role. A wide-angle shot from a low angle feels very different from a telephoto shot with compressed depth, or a simple eye-level portrait. Understanding how these elements combine and explicitly guiding the AI on each one is paramount to breaking free from generic, artificial-looking results. Without this guidance, the AI will default to its most common, often bland, interpretations.
Crafting Your Prompts for Maximum Realism
The prompt is your direct line of communication with the AI. It's where you lay the groundwork for realism. Don't just tell the AI what you want; tell it how you want it to look, feel, and be captured.
The Power of Descriptive Language
When writing prompts, think like a novelist and a photographer. Every word you choose holds weight and can steer the AI towards a more realistic outcome. Instead of "a dog," try "a shaggy golden retriever with water droplets on its fur, panting happily after a swim." See the difference? The more specific you are, the less room the AI has to fill in the blanks with its generic interpretations. Use evocative adjectives and adverbs to describe textures, states, and actions. "Weathered oak table" is better than "wooden table." "Gleaming chrome bumper" is better than "car bumper."
Focus on sensory details. How does something look, feel, or even smell (if you can translate that visually)? For example, if you want to create an image of a bustling market, don't just say "market." Say something like "a vibrant Moroccan souk, sunlight dappling through canvas awnings, a kaleidoscope of spices in woven baskets, aged terracotta pots, the air thick with dust and the scent of mint tea." This level of detail provides the AI with a rich tapestry of information to draw from, leading to images that feel much more authentic and lived-in. When you go deep into the specifics, you guide the AI away from the bland defaults and towards a unique, realistic vision. To really hone this skill, I highly recommend checking out our guide on How to Write AI Image Prompts.
Incorporating Photographic Terminology
This is a game-changer for realism. AI models are trained on billions of images, many of which are photographs. By speaking the language of photography, you give the AI direct cues on how to render light, focus, and composition. Don't be afraid to throw in terms like "cinematic lighting," "shallow depth of field," "bokeh," "anamorphic lens," "ISO 400 grain," or "f/2.8 aperture."
Consider the difference between asking for "a close-up of a face" versus "a portrait of an elderly woman, captured with a Canon 5D Mark IV, 85mm f/1.4 lens, shallow depth of field, natural diffused window light, subtle wrinkles visible, chiaroscuro lighting." The latter prompt is a blueprint for a professional photograph, giving the AI explicit instructions on camera settings, lens choices, lighting style, and even the desired level of detail for imperfections. Terms like "backlighting," "rim light," "softbox lighting," or "hard shadows" can dictate the mood and realism of your scene. Adding specifics about film stock—like "Kodak Portra 400" or "Ilford HP5 Plus"—can introduce subtle color shifts and grain patterns that mimic real photography, enhancing the overall authenticity. Learning How to Prompt for Photorealistic Images will take your realism game to the next level.
Mastering Negative Prompts
Sometimes, getting realism isn't just about what you add to your prompt, but what you subtract. Negative prompts are a powerful tool to tell the AI what you don't want to see, helping it avoid common artificial pitfalls. If you've ever had an AI generate an image with an extra finger, melted limbs, uncanny faces, or strange text artifacts, negative prompts are your friend.
Common negative prompts for realism include: blurry, distorted, ugly, deformed, disfigured, extra limbs, extra fingers, missing limbs, bad anatomy, mutated, low resolution, bad quality, noisy, jpeg artifacts, watermarks, text, cartoon, anime, 3D render, illustration, painting, sketch, drawing, graphic, low poly, oversaturated, pixelated. You can tailor these based on what specific artificial elements you commonly see in your generations. For instance, if you're trying to achieve photorealism, you'd definitely want to include cartoon, anime, illustration, painting in your negative prompt to guide the AI away from artistic styles. Experiment with adding more specific negative prompts as you identify recurring issues in your AI's output. For instance, if hands are consistently problematic, add ugly hands, disfigured hands, malformed hands, extra fingers, missing fingers. Think of negative prompts as a quality control mechanism, constantly nudging the AI closer to your desired realistic outcome by eliminating common flaws. A deeper dive into How to Use Negative Prompts can really refine your results.
Advanced Techniques for Enhancing Realism
Beyond crafting the perfect prompt, there are several powerful techniques you can employ after initial generation or by leveraging advanced features to push your images even further into the realm of realism.
Post-Generation Editing and Refinement
Rarely will an AI generate a perfectly realistic image straight out of the box, especially if you're aiming for high-fidelity realism. This is where post-generation editing becomes indispensable. Think of the AI as your incredibly fast, albeit sometimes clumsy, assistant. It provides the raw material, and you, the artist, come in to polish it. Tools like Adobe Photoshop, GIMP, or even specialized AI editing platforms offer features that can dramatically improve realism.
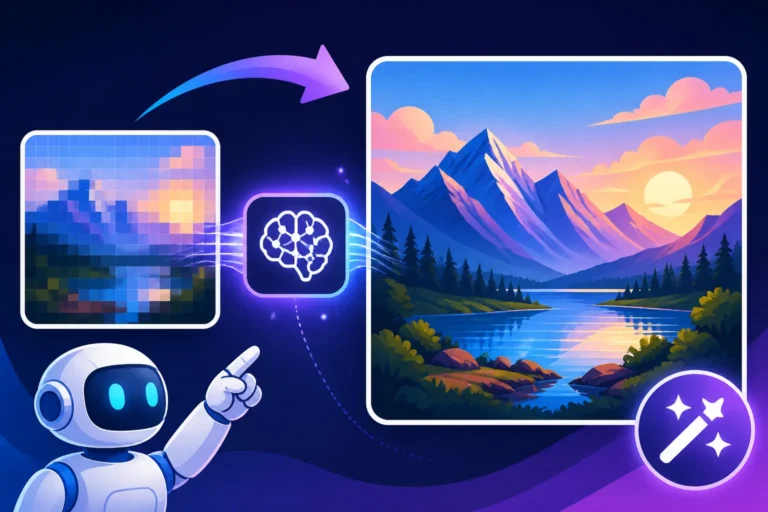
Upscaling is often the first step. AI tools sometimes generate images at lower resolutions to save time, leading to a loss of fine detail. Using dedicated upscalers (often built into the AI tools themselves or standalone applications like Magnific AI) can dramatically enhance texture and clarity, making the image sharper and more believable. Beyond simple upscaling, techniques like inpainting (selectively regenerating or modifying specific areas of an image) and outpainting (expanding the image beyond its original borders) are invaluable. If an AI generates a beautiful face but botches the eyes or a hand, inpainting allows you to highlight just that area and re-prompt for a better result without affecting the rest of the image. Similarly, outpainting can help create more expansive, realistic backgrounds or compositions. Finally, color grading and tonal adjustments can unify the image, correct color casts, and add a professional, photographic finish. Adjusting contrast, highlights, shadows, and color temperature can make a huge difference in how "real" an image feels. Many photographers will spend hours in Lightroom or Capture One refining these aspects. Dive into How to Upscale AI Images and How to Edit AI Images with Inpainting to master these tools.
Utilizing Reference Images and Control
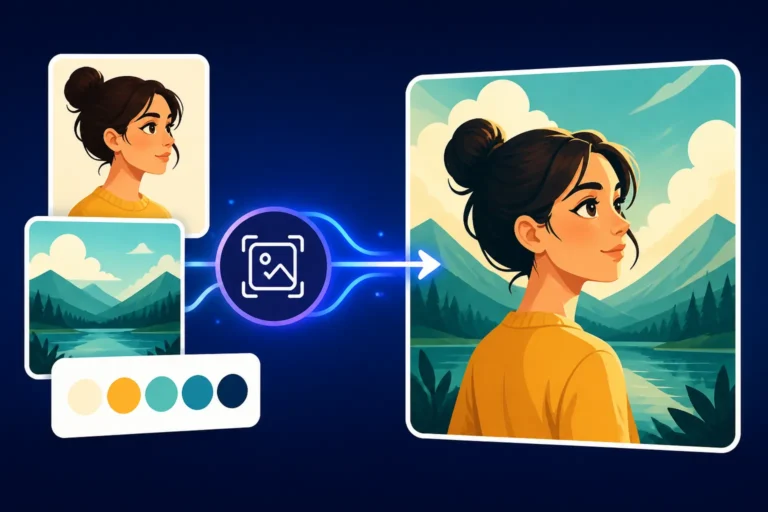
Sometimes, verbal descriptions aren't enough to convey a complex visual idea or a specific style. This is where reference images come into play. Many AI image generators allow you to upload an image as a visual prompt, influencing the style, composition, or even the subject matter of the generated output. This is particularly useful for maintaining consistency across multiple images or achieving a very specific aesthetic.
For example, if you want a particular lighting setup, instead of just describing "dramatic studio lighting," you can provide an image of a studio portrait with the exact lighting you envision. The AI will then try to emulate that lighting style in your new generation. Advanced techniques like ControlNet in Stable Diffusion offer even finer granular control. ControlNet allows you to upload an image and specify what aspect of it the AI should adhere to – for example, maintaining the pose of a person, the depth map of a scene, or the edges of an object. This means you can sketch out a rough pose or layout, feed it to the AI, and have it generate a photorealistic image that perfectly matches your initial visual guide. This level of control is invaluable for creating realistic scenes with specific compositions or consistent characters. Learning How to Use Reference Images in Prompts will be incredibly helpful here.
Understanding Model Nuances
Not all AI models are created equal when it comes to realism. Different models and even different versions of the same model (like Midjourney V5.2 vs. V6 or V7) have varying strengths and weaknesses. Some models excel at artistic interpretations, while others are specifically fine-tuned for photorealism.
For instance, Midjourney is renowned for its artistic prowess and often produces visually stunning, aesthetically pleasing images. Its V6 and V7 iterations have made significant strides in photorealism, particularly with human subjects, but they still retain a distinct "Midjourney style." DALL-E (especially in its latest iterations within ChatGPT) has also improved drastically, often producing cleaner, more direct interpretations of prompts, sometimes leaning into a more illustrative style but capable of impressive realism. Stable Diffusion, on the other hand, offers an incredible degree of customization through various checkpoints and LoRAs (Low-Rank Adaptation models) that users can train and share. This means you can find specific Stable Diffusion models, often hosted on platforms like Civitai, that are explicitly designed and trained for hyper-photorealism, mimicking specific camera types or even real-world photography styles. Researching and understanding the capabilities and limitations of each tool is crucial. Don't assume one tool will do everything best. Sometimes, a combination of tools – generating a base image in one and refining it in another – might yield the most realistic results. Explore our detailed reviews like Midjourney Image Quality Tested and Reviewed, DALL-E Image Quality Tested and Reviewed, and Stable Diffusion Image Quality Tested and Reviewed to understand these differences better.
Overcoming Common Realism Challenges
Even with all the right prompts and techniques, AI can still throw curveballs. Addressing specific, recurring issues is key to pushing past the "almost real" barrier.
Fixing Distorted Features
Ah, the infamous AI hands. And eyes, and teeth, and limbs. These are often the biggest giveaways that an image is AI-generated. While negative prompts can help, sometimes direct intervention is needed. Distorted features usually stem from the AI's difficulty in understanding complex human anatomy or the subtle interplay of light and shadow on intricate parts like fingers.
When you encounter these issues, don't despair! This is where inpainting and careful re-prompting shine. If a hand has seven fingers, zoom in on that specific area using an inpainting tool. Then, provide a very focused prompt just for that section, something like "realistic human hand, five fingers, holding a phone" or "natural relaxed female hand." Often, generating multiple variations for that small section and then selecting the best one will solve the problem. The same goes for eyes that are slightly off, teeth that look too uniform or too jagged, or limbs that seem to bend unnaturally. Isolate the problematic area, provide a detailed, corrective prompt, and iterate until it looks right. Remember, the AI is a tool, and sometimes it needs specific, localized guidance to correct its mistakes. Our guides on How to Fix Extra Fingers in AI Images and How to Fix Distorted AI Faces offer practical, step-by-step solutions.
Achieving Natural Lighting and Shadows
Lighting is the soul of realism. Flat, even lighting makes an image look artificial and lacks dimension. Real-world lighting creates depth, mood, and emphasizes texture, casting realistic shadows that tell a story about the light source and environment. Many AI tools, by default, opt for a generic, often overhead or frontal, illumination that falls short of natural beauty.
To achieve truly natural lighting, your prompts need to be incredibly specific. Instead of just "sunny," consider "golden hour sunlight, casting long dramatic shadows," or "soft, diffused natural light filtering through sheer curtains," or "harsh midday sun creating stark, high-contrast shadows." Think about the direction of the light (backlighting, side lighting, top-down), its quality (hard, soft, diffused), and its color (warm, cool, neutral). Describe how the light interacts with surfaces – "glistening reflections on wet pavement," "specular highlights on polished chrome," "subtle subsurface scattering on skin." Understanding how light behaves and instructing the AI accordingly will transform your images. Tools like How to Prompt for Golden Hour Lighting can significantly improve your results. Don't forget the importance of shadows; they define form and ground objects in their environment. Realistic shadows should be consistent with the light source, have appropriate falloff (softer edges further from the object), and respect the contours of the scene.
Incorporating Imperfection
Ironically, one of the secrets to realism is often embracing imperfection. The real world isn't flawless. Skin has pores, wrinkles, and blemishes. Objects show wear and tear. Hair might have a few strands out of place. Overly polished, symmetrical, and perfect images can actually detract from realism because they feel sterile and artificial. This is particularly true for human subjects.
When prompting for realism, consider adding elements that introduce a touch of natural messiness. Instead of just "beautiful woman," try "beautiful woman with faint smile lines around her eyes, a few wisps of hair escaping her bun, and a slight freckle on her nose." For objects, "worn leather armchair with faded patches," or "rustic wooden table with subtle scratches and a natural grain." These small, deliberate imperfections add character and believability. Many AI models have begun to learn this, but you can always nudge them further. Sometimes, after generating an image that's too perfect, you can use subtle post-processing techniques (like adding a slight noise filter, very fine texture overlays, or desaturating colors ever so slightly) to break up the artificial smoothness and introduce a more organic feel. The goal isn't to make the image look bad, but to make it feel lived-in and authentic, reflecting the beautiful complexities of the real world.
Disclaimer
The information provided in this article is for general informational purposes only and should not be considered as professional advice. While we strive to provide accurate and updated information, current AI models are rapidly changing, and specific functionalities or capabilities might vary. We recommend that you consult with a qualified professional or conduct your own thorough research before making any decisions based on the information provided herein. The use of AI tools and the generation of AI images are subject to various legal and ethical considerations, including copyright and intellectual property rights. Users are responsible for understanding and adhering to all applicable laws and terms of service.