How to Fix Blurry AI Images
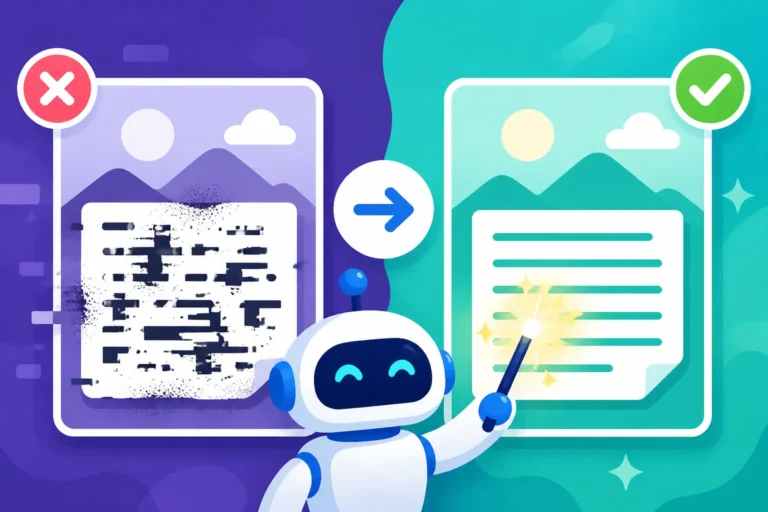
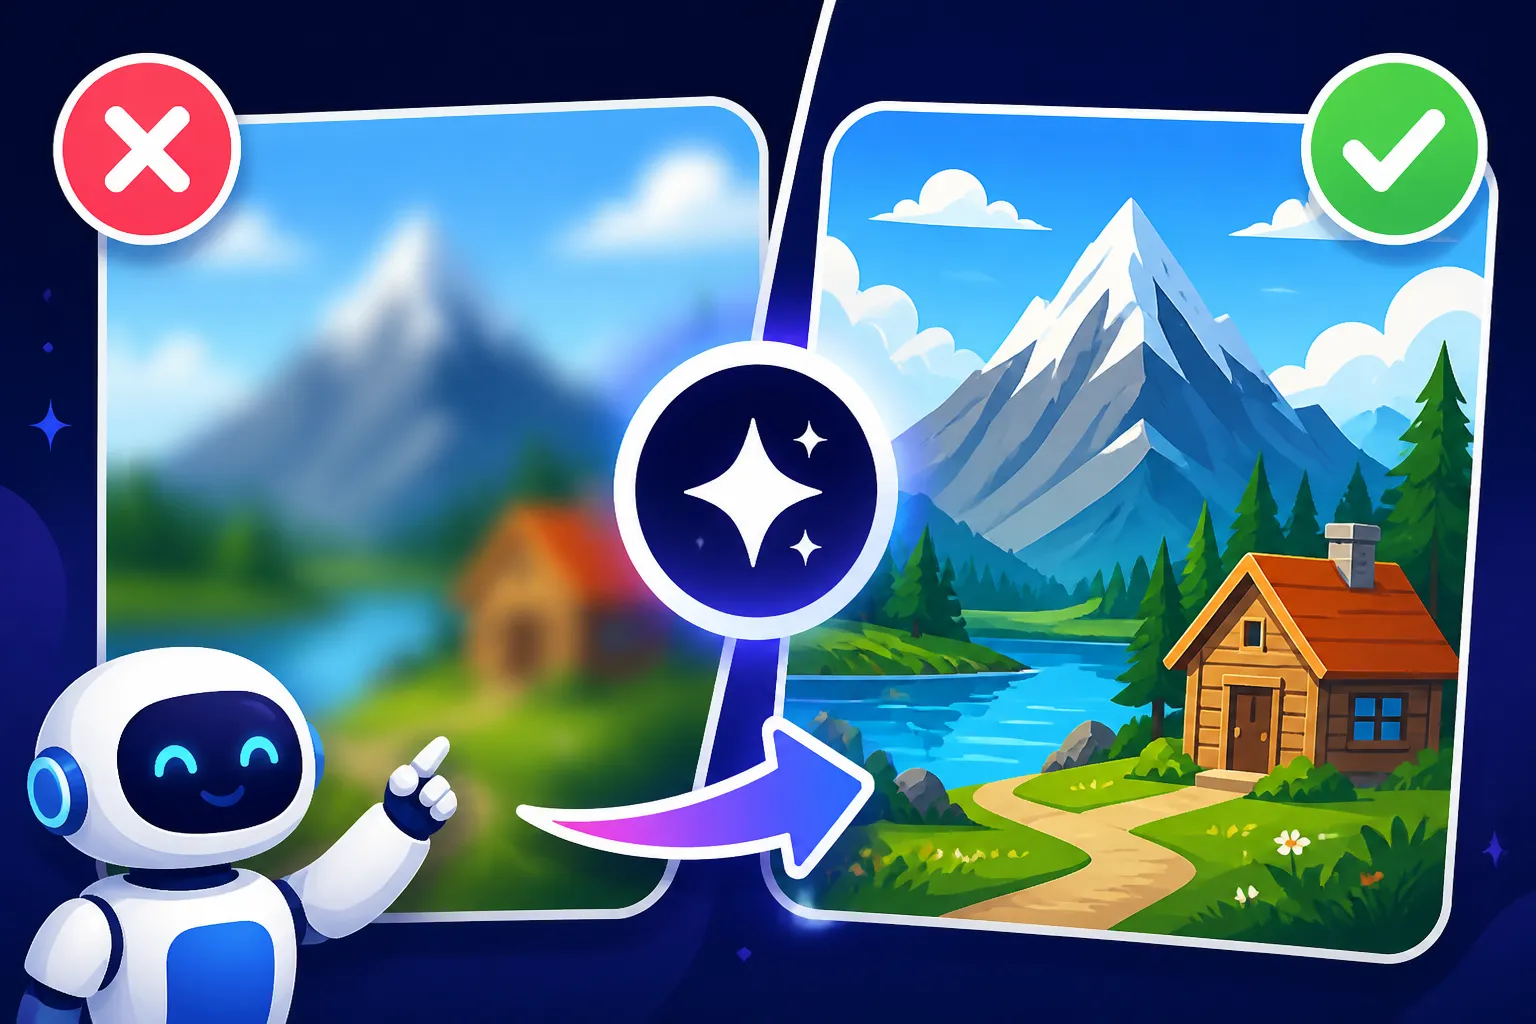
There’s almost nothing more deflating than seeing that perfect vision you had for an AI-generated image come to life, only for it to be slightly out of focus, hazy, or just plain blurry. It’s a super common frustration for creators, artists, and even casual users trying to make stunning visuals, and it can feel like a roadblock when you're striving for crisp, professional-looking results. This guide is here to walk you through the common culprits behind fuzzy AI images and, more importantly, equip you with actionable strategies to achieve that coveted sharp, detailed output.
Understanding Why AI Images Get Blurry
Before we can fix the blur, it helps to understand why it happens in the first place. AI image generators, for all their magic, aren't perfect, and several factors can contribute to less-than-stellar sharpness. It's not always a flaw in the tool itself, but often a combination of how we interact with it and the underlying technology.
The Pitfalls of Vague Prompts and Default Settings
One of the biggest reasons your AI images might be coming out blurry or lacking detail is often surprisingly simple: your prompt isn't giving the AI enough direction. Think of the AI as an incredibly talented, but slightly literal, artist. If you ask for "a beautiful landscape," it might give you something aesthetically pleasing, but without specific instructions, it won't know you want razor-sharp details on every leaf or a clear focus on a distant mountain range.
Similarly, many AI tools operate with default settings that prioritize speed or a general aesthetic over maximum detail. If you're just hitting "generate" without tweaking parameters, you're often getting a compromise. These defaults might be fine for quick ideation, but they rarely push the boundaries of what the model can achieve in terms of clarity. It's like trying to take a professional photo with your phone's auto mode – it's good, but it won't compare to adjusting aperture, shutter speed, and ISO yourself. For those looking to dive deeper into getting prompts right, check out our guide on How to Write AI Image Prompts.
Technical Limitations and Under-Generation
Beyond prompts, there are technical reasons. AI image generation involves a complex process where the model gradually refines an image from noise. If the process is cut short, or the model doesn't have enough "steps" to complete its work, you're left with an unfinished, often blurry, result.
- Sampling Steps: Many models allow you to specify the number of sampling steps (sometimes called inference steps or iterations). A lower number means faster generation but less time for the AI to refine details, leading to a blurry or amorphous outcome. It hasn't had enough chances to "think" through the image properly.
- Resolution: Generating images at a lower base resolution will inherently result in less detail, and even if it looks okay at a thumbnail size, any attempt to zoom in or upscale will immediately reveal the blurriness. It's much harder to add detail where none existed than to refine existing detail.
- Model Training and Data: Different AI models are trained on different datasets and for different purposes. Some models excel at photorealism, while others are geared towards artistic styles, vector graphics, or even consistency with text. If you're trying to achieve hyper-realistic detail with a model primarily trained on impressionistic art, you might struggle, and blurriness could be its way of interpreting "lack of sharp edges."
Preventing Blurry Images with Better Prompting and Settings
The best defense against blurry AI images is a good offense! By being more deliberate with your prompts and understanding the settings available, you can significantly improve the sharpness and detail of your generated art right from the start.
Crafting Detailed Prompts for Sharpness
This is where the magic really begins. Think of your prompt as a detailed brief for your virtual artist. To push for sharpness, you need to be explicit.
- Keywords for Clarity: Incorporate terms like "sharp focus," "high detail," "ultra-detailed," "photorealistic," "crisp," "8K," "4K," "award-winning photography," "intricate," or "fine details." Don't be shy about stacking these. For instance, instead of "a forest," try "a dense forest, extremely detailed leaves, razor-sharp focus on the foreground ferns, dappled sunlight, photorealistic 8K."
- Specify Camera and Lens Details: Even if no actual camera is involved, instructing the AI to mimic camera settings can dramatically impact realism and sharpness. Terms like "shot on a Canon R5," "with a 50mm f/1.4 lens," "shallow depth of field," "telephoto perspective," or "macro photography" can guide the AI to render specific levels of detail and focus.
- Emphasize Texture and Materiality: To make things feel real and sharp, describe the textures. "Rough bark," "smooth polished metal," "delicate lace patterns," "individual strands of hair," "water droplets on a windowpane"—these phrases force the AI to consider and render fine surface details that prevent a blurry, generalized look. For more foundational prompting techniques, our AI Image Prompt Guide for Beginners is a great resource.
Adjusting Resolution and Sampling Steps
These are your unsung heroes for clarity. Most advanced AI image generators provide controls for output resolution and the number of steps.
- High Base Resolution: Always aim for the highest native resolution your chosen AI tool offers within its standard generation process. While upscaling can add pixels, generating at a higher base resolution provides the AI with more "canvas" to paint intricate details onto from the get-go. Many platforms like Leonardo AI or Stable Diffusion offer options to increase output resolution during initial generation.
- Increasing Sampling Steps: Don't be afraid to crank up the sampling steps (also known as iterations or inference steps). For a complex or highly detailed image, 50-100 steps is often a good starting point, though some models might benefit from even more. While it will take longer to generate and might consume more credits, the difference in detail and overall sharpness can be profound. Experiment with values. You'll quickly see the difference between 20 steps and 80 steps.
- CFG Scale (Guidance Scale): This setting, often found in tools like Stable Diffusion, controls how strongly the AI adheres to your prompt. A higher CFG scale (e.g., 7-12) can often lead to more detailed and focused images, as the AI is "trying harder" to match your instructions. However, go too high, and images can become over-saturated or distorted, so it's a balance. If you're using Stable Diffusion, our comprehensive Stable Diffusion Prompt Guide covers these settings in detail.
Leveraging Negative Prompts for Crispness
Negative prompts are your secret weapon against undesirable elements, and blurriness is definitely an undesirable element. Just as you tell the AI what you want, you can tell it what you don't want.
- Specific Negative Keywords: Include terms like "blurry," "out of focus," "low quality," "poorly rendered," "fuzzy," "grainy," "distorted," "deformed," or "amateur photography." By explicitly telling the AI to avoid these traits, you guide it towards cleaner, sharper results.
- Combining Negative Prompts: Don't just use one; combine several. A robust negative prompt might look something like:
blurry, out of focus, low resolution, grainy, distorted, bad anatomy, deformed, ugly, watermark, signature. This covers a wide range of common AI image flaws. Using negative prompts is a powerful technique discussed further in our article on How to Use Negative Prompts.
Reviving Fuzzy Images: Post-Generation Fixes
Even with the best prompting, sometimes an image still comes out a little soft, or you might be working with an older generation that just isn't up to snuff. Don't despair! There are powerful post-processing techniques that can rescue and enhance your blurry AI images.
The Power of Upscaling Tools
Upscaling is your absolute best friend when it comes to injecting detail and sharpness into an already generated image. These tools use advanced AI algorithms to intelligently add pixels and information, making a smaller, blurrier image larger and much clearer.
- How Upscalers Work: Unlike traditional image resizing that just stretches pixels, AI upscalers analyze the existing image data and predict what details should be there, essentially redrawing the image at a higher resolution. They can fill in gaps, sharpen edges, and even subtly correct minor artifacts.
- Popular Upscaling Solutions:
- Magnific AI: This is a powerhouse, often cited for its incredible ability to enhance details and resolution, particularly for photorealistic outputs. It can transform a decent image into a stunning, high-res masterpiece, albeit at a cost. If you're wondering if it's worth the investment, check out our Magnific Upscaler: Worth the Price review.
- Topaz Gigapixel AI: Another professional-grade solution known for its robust upscaling and detail recovery features.
- Built-in Upscalers: Many AI image generators now include their own upscaling features directly within the platform. Midjourney, for example, has various upscalers and "upscale rewrite" options that can significantly improve image quality after initial generation.
- Free Online Upscalers: Websites like Upscale.media or BigJPG offer free, albeit often less powerful, upscaling options. They're great for quick fixes or less critical images.
When using an upscaler, it's often a good practice to start with the highest quality original image you have, even if it's still a bit blurry. The more initial data the upscaler has, the better its results will be. Our guide on How to Upscale AI Images provides a comprehensive overview of techniques and tools.
Utilizing Image Editing Software for Refinement
Sometimes, a general upscale isn't enough, or you need more control over specific areas. Traditional image editing software can be invaluable for targeted sharpening and noise reduction.
- Sharpening Filters: Programs like Adobe Photoshop, GIMP, or even free online editors offer various sharpening filters (e.g., Unsharp Mask, Smart Sharpen). Use these judiciously. Over-sharpening can introduce halos or an artificial, pixelated look. Apply them subtly and experiment with intensity, radius, and threshold settings.
- Noise Reduction: Blurriness can sometimes be accompanied by digital noise, especially in darker areas or if the image was generated with low-quality settings. Noise reduction filters can smooth out these imperfections, making the image appear cleaner and, by extension, sharper. Be careful not to overdo it, as excessive noise reduction can sometimes flatten details.
- Local Adjustments: Use selection tools and masks to apply sharpening or noise reduction only to specific areas that need it most, such as faces, eyes, or intricate textures, leaving other areas untouched. This prevents a uniform, often unnatural, look.
Inpainting and Outpainting for Detail Refinement
For truly stubborn blurry spots or areas where the AI just couldn't quite get the detail right, inpainting and outpainting can be game-changers. These techniques allow you to selectively regenerate or extend parts of an image.
- Inpainting Specifics: If a character's face is a bit blurry, or an object in the foreground lacks definition, you can "mask" that specific area and use an inpainting tool (available in many AI art platforms and some dedicated editors) to regenerate just that section with a new, more detailed prompt. For instance, you could mask a blurry hand and prompt "highly detailed human hand, perfect fingers, natural skin texture." This allows the AI to focus its processing power on that small area.
- Outpainting to Add Context and Detail: While less about fixing blur, outpainting can extend the canvas of your image, allowing you to generate new, detailed elements around a previously sharp core image. This gives the AI more room to breathe and generate contextual details that can enhance the overall perception of sharpness in the original subject. Learning how to use these effectively can be a bit of a learning curve, but our article on How to Edit AI Images with Inpainting offers a great starting point.
Choosing Tools Known for Crisp Output
While techniques matter immensely, the choice of your primary AI image generation tool also plays a significant role in the baseline quality and sharpness you can expect. Some tools are simply better equipped to produce high-fidelity images.
High-Fidelity Generators
Certain AI image generators have gained a reputation for their ability to produce incredibly sharp, detailed, and photorealistic images. If sharpness is a top priority for you, investing time (or money) into these platforms is often a wise decision.
- Midjourney: Widely acclaimed for its artistic quality and increasingly impressive photorealism, especially with its newer versions (like V7). Users often report exceptional detail and sharpness, particularly when combined with effective prompting. Our review on Midjourney Image Quality Tested and Reviewed delves into why it often stands out.
- Stable Diffusion (Advanced Models/Fine-tunes): While the base Stable Diffusion model can be a bit hit-or-miss for raw photorealism compared to Midjourney, its open-source nature means there's a vast ecosystem of highly refined models (like SDXL, Juggernaut XL, or various custom fine-tunes) specifically trained for extreme detail and realism. These often require more technical setup but can yield stunningly sharp results.
- Adobe Firefly: Adobe's entry into the AI image generation space, particularly with its latest models, is designed with commercial use and quality in mind. It often produces clean, well-defined images, especially for corporate or design-oriented needs. For commercial safety aspects, consider reading our Adobe Firefly Review for Commercial Use.
If you're on the hunt for top-tier quality, we also have a broader discussion in Best AI Image Generator for Quality and an overall assessment in Best AI Image Generator Overall.
Integrated Upscalers and Enhancers
Beyond just generating images, some platforms offer excellent built-in features for enhancing and refining images right within their ecosystem.
- Native Upscalers: Look for tools that offer integrated upscaling options directly after generation. As mentioned, Midjourney has its own upscalers. Leonardo AI also has a suite of upscaling and refinement tools, allowing you to enhance resolution, remove artifacts, and add more detail in one click. This saves you the step of downloading and then uploading to a separate upscaler.
- Remix and Vary Functions: Tools that allow you to "remix" or "vary" an existing image often use internal algorithms to regenerate aspects of the image, and sometimes this process can implicitly lead to a cleaner, sharper output as the AI gets another pass at understanding the composition.
- Control over Detail/Stylization: Some platforms give you explicit sliders or parameters to control the level of detail or stylization. Pushing these towards "detail" can sometimes yield sharper results, though it might come at the expense of a smoother, more stylized look if that's what you were originally aiming for.
Understanding Free Tier Limitations
It's a common trap: you try a free AI image generator, and the results are consistently blurry or low quality. While there are some fantastic free options, it's crucial to understand their limitations.
- Lower Resolution Defaults: Many free tiers or basic plans will default to lower generation resolutions to save on computational costs. This directly impacts sharpness.
- Limited Processing Power: Free users might be shunted to slower, less powerful GPUs, meaning images are generated with fewer steps or less refinement.
- Watermarks and Artifacts: Some free tools may introduce watermarks or subtle compression artifacts that degrade perceived sharpness. While there are guides like Free AI Image Generators with No Watermark, truly pristine results often come with a price tag.
- Older Models: Free tiers might rely on older, less capable AI models compared to what's available in paid versions, which often means less fidelity and more blur.
If you find yourself consistently battling blur on a free platform, it might be a sign that it's time to consider a paid subscription or explore free alternatives that specifically boast higher quality output, even if they have other limitations.
It's definitely possible to overcome the frustration of blurry AI images. By combining smart prompting, optimizing your settings, and leveraging powerful post-processing tools, you'll be well on your way to generating the crisp, detailed visuals you've always envisioned. Happy creating!
Disclaimer
The information provided in this guide is for general informational purposes only. The field of AI image generation is rapidly evolving, and specific features, pricing, and performance of tools can change frequently. Always refer to the official documentation and terms of service for any AI image generator you use.