How to Fix Distorted AI Faces
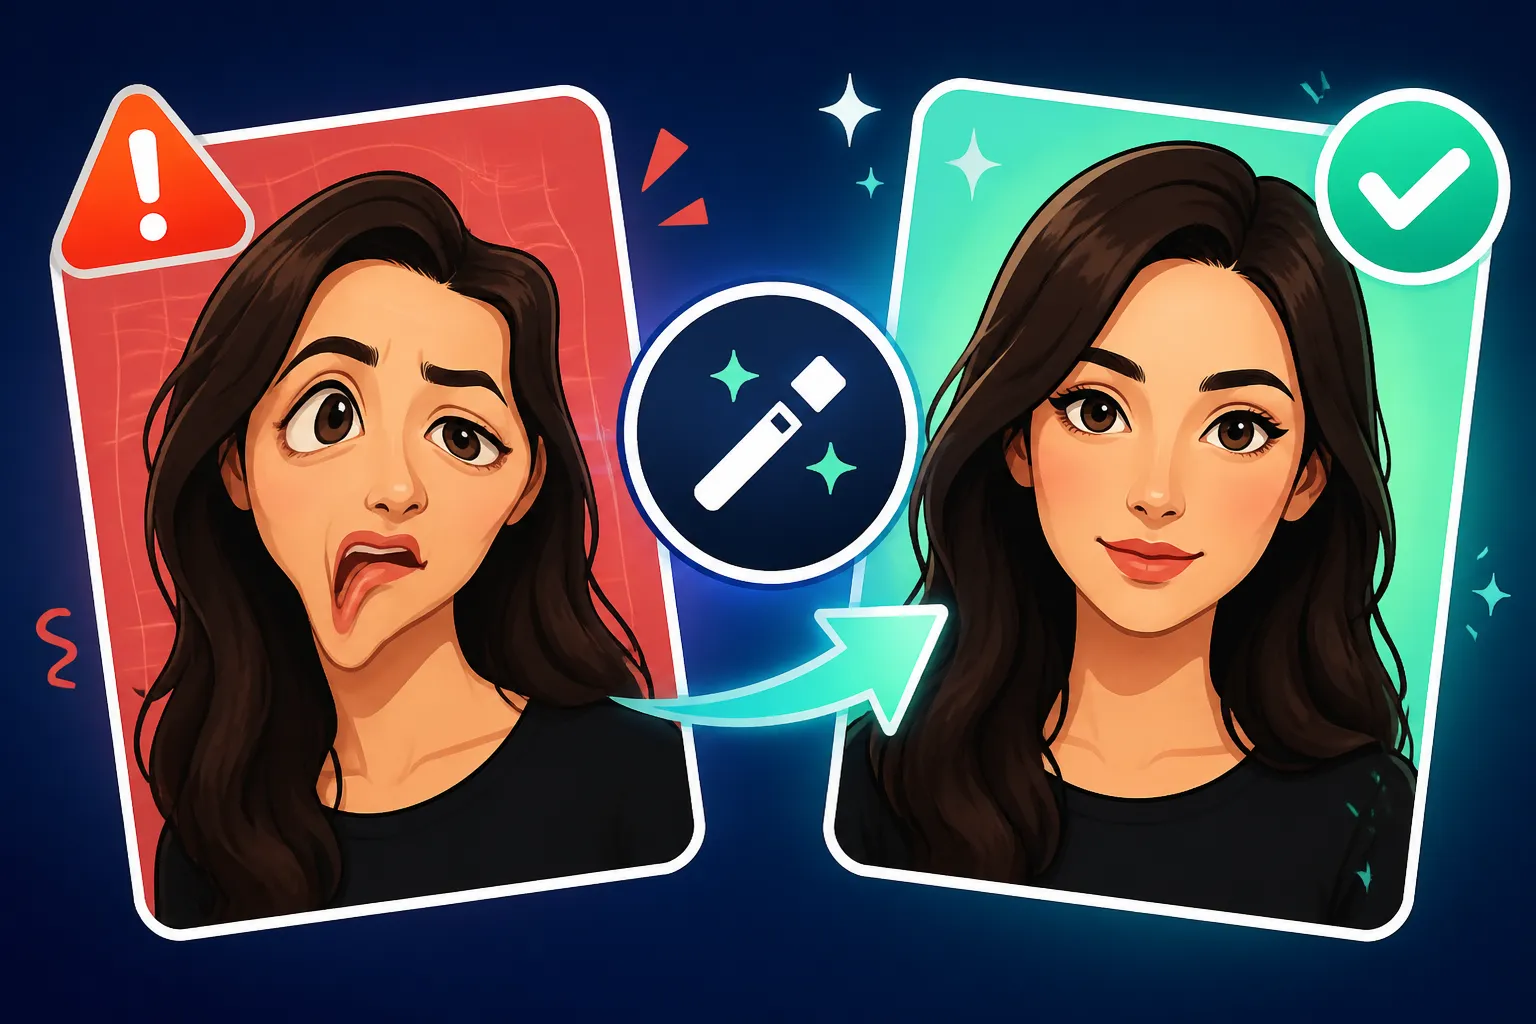
It's incredibly frustrating, isn't it? You spend time crafting the perfect prompt, hit generate, and the AI delivers a stunning landscape or an incredible concept, but then you look closely at the character's face, and it's… melted. Or asymmetrical. Or has an extra eye trying to peek out from the cheekbone. This common hiccup in AI image generation can deflate your creative spirit faster than a deflating balloon. This guide dives deep into why AI often struggles with human faces and, more importantly, provides actionable strategies and techniques you can use to consistently generate high-quality, non-distorted faces, and even rescue those that have gone a bit awry.
Understanding Why AI Faces Often Go Wrong
Before we can fix the problem, it helps to understand why it happens in the first place. AI image generators are powerful, but they operate on statistical patterns, not true understanding. This distinction is crucial when it comes to the nuances of the human face.
The Intricacies of Human Anatomy
Think about it: the human face is a symphony of subtle details. The precise placement of eyes, the symmetry of the nose, the curve of the lips, the slight variations in skin texture, and the interplay of light and shadow – these are all incredibly complex. Our brains are hardwired to detect even the slightest deviation from what's considered "normal" or "symmetrical" in a face. A misplaced pupil by a millimeter, or a jawline that's slightly off, can instantly trigger our "something is wrong here" alarm.
AI models learn from vast datasets of images, but if the training data contains inconsistencies, or if the model struggles to interpret context, it can generate faces that look unsettlingly "off." It's not that the AI intends to create a monster; it's simply trying to piece together features based on probabilities it learned, and sometimes those probabilities lead to anatomically incorrect results. For instance, a common issue is when the AI tries to blend features from multiple faces it "saw" in its training data, resulting in a mishmash that doesn't quite work.
Prompt Ambiguity and Conflicting Instructions
One of the biggest culprits behind distorted AI faces is often right there in your prompt: ambiguity. If you simply ask for "a woman" or "a man," the AI has a massive creative license to interpret those words. It might lean on the most common, generic examples it has in its database, which can lead to bland or, worse, malformed results. The less information you provide, the more the AI has to "guess," and its guesses aren't always anatomically sound.
Consider a scenario where you're asking for "a group of people laughing loudly." While the overall scene might be great, the individual faces could be a mess of contorted features because "laughing loudly" can be interpreted in countless ways, some of which push facial muscles to their extreme, unnatural limits. Similarly, if your prompt includes conflicting descriptors – say, "a young child with an old face" without specifying a stylistic intention like a painting or a surreal artwork – the AI will struggle to reconcile these ideas, often resulting in bizarre facial structures that satisfy neither part of the prompt effectively. This is why learning How to Write AI Image Prompts is so vital.
The Limitations of Current AI Models
It’s important to acknowledge that AI image generation is still an evolving field. Even the most advanced models from powerhouses like Midjourney, DALL-E, or Stable Diffusion are, at their core, sophisticated pattern recognition systems. They don't truly "understand" human biology or the laws of physics. They are statistical engines generating pixels based on probabilities derived from their training data. This means that:
- Complex poses or expressions are harder: If a face is partially obscured, shown at an unusual angle, or displaying a very nuanced emotion, the AI's likelihood of generating it correctly decreases.
- "Blind spots" in training data: While datasets are vast, they might have underrepresented certain demographics, facial expressions, or lighting conditions, leading to poorer performance when those specific scenarios are prompted.
- The "uncanny valley" effect: Even when a face is almost perfect, that tiny imperfection can make it appear uncanny, creepy, or just "off." This is a well-known phenomenon in robotics and computer graphics, and AI image generation is no exception.
Understanding these inherent limitations helps set realistic expectations and informs a more strategic approach to prompt engineering and post-processing.
Prompt Engineering Strategies to Minimize Distortions
The first line of defense against distorted AI faces is always your prompt. A well-crafted, specific prompt can drastically improve your chances of getting a usable face right out of the gate. Think of it like giving a clear recipe to a chef instead of just saying "make food."
Being Hyper-Specific with Facial Features
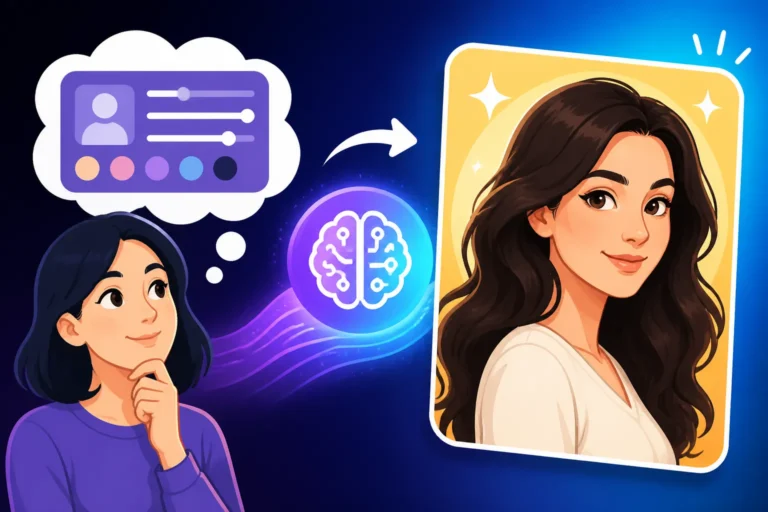
Don't assume the AI knows what you mean by "a pretty face." Break it down. Describe the specific elements you envision. This is where you become the director, guiding the AI's focus.
- Eyes: Specify color ("piercing blue eyes," "hazel eyes"), shape ("almond-shaped eyes," "wide-set eyes"), and expression ("twinkling eyes," "focused gaze," "soft eyes"). You can even add details like "long eyelashes" or "delicate eyebrows."
- Nose: "Small upturned nose," "aquiline nose," "straight nose," "button nose."
- Mouth/Lips: "Full lips," "thin lips," "a gentle smile," "a subtle smirk," "pursed lips," "a hint of a smile." Avoid overly broad terms like "happy" unless you want an exaggerated, cartoonish look.
- Jawline and Cheeks: "Chiseled jawline," "soft jawline," "high cheekbones," "rosy cheeks," "sunken cheeks."
- Skin: "Smooth skin," "textured skin," "freckled skin," "clear complexion," "wrinkles around the eyes."
- Hair: While not directly facial features, hair framing the face can greatly impact the overall appearance. Be specific about style, color, and texture.
Example of an improved prompt segment: Instead of portrait of a woman, try close-up portrait of a 30-year-old woman with symmetrical, bright green eyes, a small, elegant nose, full, naturally pink lips forming a gentle smile, a sharp jawline, high cheekbones, and smooth, blemish-free skin with a few subtle freckles. This kind of detail is incredibly important if you're aiming for realism, especially for commercial use cases like AI Images for Product Photography or AI for Blog and Article Images.
Focusing on Realism and Photography Terms
AI models respond incredibly well to terms that describe photographic qualities and realism. These terms help the AI understand the style and fidelity you're aiming for, pushing it towards more accurate and detailed facial renderings.
- Resolution and Detail: Use terms like "8k resolution," "ultra-detailed," "photorealistic," "hyperrealistic," "sharp focus," "intricate details," "skin texture."
- Lighting: Lighting dramatically shapes how a face appears. "Soft studio lighting," "golden hour lighting," "cinematic lighting," "dramatic shadows," "rim lighting," "natural light" can all guide the AI to render features more accurately and aesthetically.
- Camera and Lens: Specifying lens types ("50mm f/1.8 lens," "macro photography"), camera brands ("shot on a Canon EOS R5"), and camera angles ("low-angle shot," "eye-level shot," "profile view," "three-quarter view") can create more intentional and often more realistic compositions. For instance, a "close-up portrait" or "headshot" will tell the AI to prioritize the face's detail.
- Eliminating Stylization: If you want realism, make sure your prompt doesn't accidentally introduce stylistic elements that could distort faces. Terms like "digital art," "illustration," "painting," or specific artistic movements can be great, but if realism is your goal, avoid them or use them sparingly.
Practical Tip: Build a library of successful prompt segments related to facial details and photographic quality. When you start a new image, you can quickly assemble a robust prompt that covers all your bases. For more ideas on how to craft effective prompts, check out our AI Image Prompt Guide for Beginners.
Leveraging Negative Prompts and Parameters
Sometimes, it's easier to tell the AI what not to do. This is where negative prompts come in handy. They instruct the AI to actively avoid certain characteristics or visual flaws.
- Common Negative Prompt Terms for Faces:
ugly, deformed, disfigured, mutated, malformed, extra limbs, extra fingers, missing fingers, bad anatomy, blur, blurry, low quality, low resolution, bad eyes, cartoon, painting, illustration, drawing, sketch, grayscale, monochrome. - Specific Facial Negatives: You can get more granular, like
asymmetrical eyes, crooked nose, distorted mouth, facial blemishes, scars, pimplesif those are not desired. - Tool-Specific Parameters: Many AI tools offer parameters that can influence output quality.
- Midjourney: Using
--style rawoften helps to reduce Midjourney's inherent aesthetic bias, leading to more photographic and less stylized results, which can be beneficial for faces. Exploring Midjourney Parameters Explained can offer deeper insights. - Stable Diffusion: Models like Realistic Vision, Juggernaut XL, or PhotoReal can be specifically chosen for their ability to generate photorealistic imagery, including faces. Also, a higher "CFG Scale" (Classifier Free Guidance) can make the AI adhere more strictly to your prompt, potentially reducing randomness that leads to distortions. You can also explore Stable Diffusion Prompt Guide for more specific guidance.
- DALL-E: While DALL-E in ChatGPT doesn't offer explicit negative prompts in the same way, you can weave negative concepts into your positive prompt, e.g., "a person with perfect, symmetrical features, no distortions."
- General advice for all tools: Generate multiple variations. Don't stop at the first image. Often, out of four generated images, one or two might have perfect faces, while others are flawed. This is where you can start to refine your prompt or pick the best candidate for further editing.
- Midjourney: Using
| AI Image Tool | Common Facial Issue | Negative Prompt/Parameter Strategy |
|---|---|---|
| Midjourney | Stylized, sometimes soft faces | --style raw, --no ugly, deformed, blurry |
| DALL-E | Occasional asymmetry, generic | Detail features, specify symmetrical, clean face in prompt |
| Stable Diffusion | Can be distorted without good models | Use photorealistic checkpoints, bad anatomy, blurry, disfigured |
| Leonardo AI | Less control over fine details | Focus on detailed, realistic, sharp focus in prompt |
| Ideogram | Text rendering good, faces less so | More focus on photorealistic, human face, perfect eyes |
Using a combination of detailed positive prompts, strategic negative prompts, and understanding tool-specific parameters will give you the best chance of generating beautiful, non-distorted faces from the start.
Post-Generation Techniques for Fixing Faces
Even with the best prompts, sometimes an AI-generated face still needs a little help. The good news is that you don't have to discard an otherwise perfect image just because the face is a bit wonky. There are powerful tools and techniques to rescue those images.
Inpainting and Outpainting for Targeted Fixes
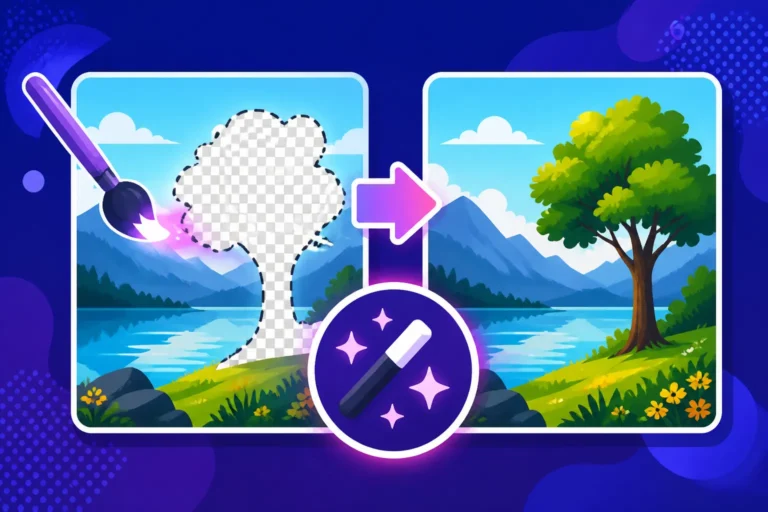
Inpainting and outpainting are incredible features available in many advanced AI image editors and standalone tools. They allow you to select a specific area of an image and regenerate just that part using a new prompt, or expand the image beyond its original canvas.
- Inpainting Process (for faces):
- Identify the Problem Area: Load your image into an inpainting tool (e.g., inpaint feature in Stable Diffusion UIs like Automatic1111, Adobe Photoshop's Generative Fill, DALL-E's editing tools).
- Mask the Face: Carefully draw a mask over the distorted face. Be precise, covering only the area you want to regenerate.
- Refine Your Prompt: Now, write a new prompt specifically for that masked area. Reiterate your detailed facial features, realism terms, and negative prompts. For example, if the body is a "fantasy warrior," but the face is bad, your new prompt for the masked area might be "a strong, symmetrical face, clear eyes, determined expression, photorealistic, 8k, no deformation."
- Generate and Iterate: Run the inpainting process. The tool will regenerate the masked area, attempting to blend it seamlessly with the rest of the image. You might need to try a few times with slightly adjusted prompts until you get a satisfactory result.
- Seamless Integration: Once you have a good face, ensure the lighting and style match the surrounding image. Often, modern inpainting tools are very good at maintaining coherence.
This method is a game-changer for salvaging images where only the face is problematic. It's like having a digital plastic surgeon for your AI creations. Learning How to Edit AI Images with Inpainting can drastically improve your workflow.
Using Upscalers and Face Restorers
Beyond inpainting, specialized tools exist purely for enhancing and fixing details, especially faces. These are often separate from the initial image generator but can be integrated into your workflow.
- AI Upscalers: While primarily designed to increase image resolution, many modern upscalers also employ AI models to add detail rather than just stretching pixels. When upscaling, they can intelligently fill in missing information and smooth out artifacts, which often improves facial clarity and reduces blurriness. Popular examples include Gigapixel AI, Topaz Photo AI, and online tools like Upscale.media. For specific recommendations, check out our Magnific Upscaler: Worth the Price review or general guides on How to Upscale AI Images.
- Dedicated Face Restorers: Some AI models are specifically trained on vast datasets of human faces to detect and correct common distortions like asymmetrical eyes, blurry features, or strange proportions.
- GFP-GAN and CodeFormer: These are open-source models often integrated into Stable Diffusion UIs or available as standalone web tools. They excel at restoring old, damaged photos and can work wonders on AI-generated faces, often making them look remarkably natural. They can fix things like odd eye reflections, misshapen noses, and overly smooth (or overly textured) skin.
- Photoshop's Neural Filters: Adobe Photoshop includes Neural Filters, some of which are designed for portrait enhancement. Features like "Smart Portrait" can adjust expressions, age, and even gaze direction, which can subtly correct issues without needing full regeneration.
The key with these tools is to use them discerningly. Sometimes, a subtle touch is all that's needed to take a face from uncanny to perfect.
Manual Editing and Blending with External Tools
Let's be realistic: sometimes, AI gets you 90% of the way there, and the final 10% requires good old-fashioned human intervention. Programs like Adobe Photoshop, GIMP, or even Canva can be invaluable for those final touch-ups.
- Blending Best Features: If you generated several variations and one has a perfect face but a bad background, and another has a great background but a bad face, you can blend them! Cut out the good face from one image and paste it onto the body/background of the other. Use masking and blending modes to seamlessly integrate the elements.
- Subtle Retouching: For minor issues, manual retouching can be faster than AI regeneration.
- Liquify Tool: For slight asymmetry or a slightly off proportion, Photoshop's Liquify tool can subtly push and pull pixels to correct the shape of a nose, eye, or jawline.
- Healing Brush/Clone Stamp: To remove small blemishes, weird pixel artifacts, or unwanted textures on the skin.
- Adjustments: Tweaking brightness, contrast, color balance, or sharpness can sometimes make a "flat" or "off" face come to life.
- Compositing: If the face is beyond repair, you might consider compositing a completely different, high-quality face (either AI-generated or stock photography) onto your image. This requires more skill but offers maximum control.
Don't be afraid to combine AI tools with traditional photo editing. They complement each other beautifully, turning a frustrating "almost perfect" image into a truly stunning one. When AI gets things a bit wrong, knowing How to Fix Bad AI Image Results is a skill every creator needs.
Best Practices for Consistent and Realistic Faces
Achieving consistently good faces with AI isn't just about one trick; it's a holistic approach that involves understanding the AI, strategic prompting, and smart post-processing. Here are some final best practices to integrate into your workflow.
Iteration and Variation Seeds
Think of AI image generation as a lottery: the more tickets you buy (i.e., generations you run), the higher your chances of hitting the jackpot. Don't settle for the first result, especially when it comes to faces.
- Generate Multiple Images: Always generate at least 4-8 images per prompt. Most platforms offer this by default. You'll often find that even with the exact same prompt, there's significant variation, and one or two faces will be much better than the others.
- Iterate on Prompts: If your initial results aren't cutting it, don't just hit "generate" again. Tweak your prompt. Add more detail, try different negative prompts, or adjust your style descriptors. Small changes can lead to dramatic improvements.
- Utilize Seeds: If you get a face you almost love, but need a slight variation, most AI tools offer a "seed" number. This seed determines the initial random noise the AI starts with. By using the same seed number and making small prompt adjustments, you can generate variations that retain the core structure and style of the original image, including the face. This is invaluable for maintaining character consistency across multiple images, a common challenge for creators.
Utilizing ControlNet and Reference Images
For those who crave ultimate control, especially with Stable Diffusion, tools like ControlNet are game-changers. ControlNet allows you to feed the AI an existing image (a "reference image") to guide specific aspects of the generation, such as pose, depth, or even facial structure.
- Pose and Structure: You can provide a simple stick figure drawing or a photo of a person in a specific pose. ControlNet will ensure the AI-generated character adheres to that pose, which implicitly helps with facial angles and overall head structure.
- Facial Reference (IP-Adapter/Face-Swap): Advanced users can use specific ControlNet models (like IP-Adapter or dedicated face-swap models) to provide a reference face. This means you can guide the AI to generate new images using the facial features of a specific person, dramatically increasing consistency and realism. While this is more advanced, it's incredibly powerful for projects requiring consistent characters.
- Image Prompts (Midjourney): Midjourney offers a simpler version of this with "image prompts," where you can upload an image and ask the AI to use it as a stylistic or content reference alongside your text prompt. This can sometimes help with facial consistency, though it's less precise than ControlNet.
Choosing the Right AI Tool for Faces
Different AI image generators excel in different areas. While one might be fantastic for abstract art, another might shine when it comes to photorealistic portraits.
- Midjourney: Often lauded for its aesthetic quality and ability to produce highly artistic and often beautiful faces, especially in its newer versions. It tends to generate more consistent and aesthetically pleasing faces out-of-the-box compared to some other tools, though it has a strong stylistic bias that sometimes needs to be tamed with
--style raw. Many artists find Midjourney Pros and Cons for Creators helpful for understanding its strengths. - Stable Diffusion: Offers the most granular control, especially when paired with local installations and extensions like ControlNet and specific "checkpoints" (models). If you're willing to invest time in learning, Stable Diffusion allows you to fine-tune generations for exceptional facial realism and consistency. It's often considered one of the Best AI Image Generator for Photorealism once mastered.
- DALL-E (in ChatGPT): Very good for general-purpose image generation and often produces decent faces, especially in simple, straightforward prompts. Its integration into ChatGPT makes it easy to iterate and refine prompts in a conversational manner.
- Adobe Firefly: Excellent for commercial use due to its IP indemnification and focus on safe, ethical image generation. Its faces are generally well-formed and can be easily integrated into Adobe's creative suite. For businesses, exploring Adobe Firefly Review for Commercial Use is a must.
- Leonardo AI: Known for its user-friendly interface and a good selection of models that can produce realistic results. Its free tier is quite generous, making it a popular choice for those just starting out. Our Leonardo AI Free Tier Review gives a good overview.
Ultimately, experiment with different tools. What works best for one type of face or project might not be ideal for another. Don't be afraid to mix and match or use one tool for initial generation and another for post-processing. The world of AI image generation is vast, and finding your personal best "tool combo" is part of the creative journey.
Disclaimer
The information provided in this article is for general guidance and informational purposes only. While AI image generation tools are constantly evolving, results can vary based on prompt quality, model updates, and individual user settings. Always refer to the specific terms of service and usage guidelines for any AI tool you use, especially concerning commercial use and copyright.