How to Upscale AI Images to 4K
It's a frustrating scenario many of us in the AI image generation world have faced: you've crafted the perfect prompt, the AI spits out a stunning visual, but then you download it, and it's… tiny. Or blurry. Or simply not sharp enough for that print, website banner, or high-res display you had in mind. You deserve crisp, detailed images, and this guide is here to walk you through exactly how to take those promising AI creations and elevate them to glorious 4K resolution.
Why Your AI Images Aren't Always Print-Ready Right Out of the Gate
Let's be real, you spend a lot of time finessing those prompts, aiming for visual perfection. So when the AI delivers something that looks fantastic in a small preview but falls apart when you zoom in, it can feel like a punch to the gut. It's not a reflection of your prompting skills; rather, it's a common technical hurdle we all encounter when working with AI image generators. Understanding why this happens is the first step toward fixing it.
The Technical Realities of Initial AI Generation
Most AI image models, especially the popular ones we use daily, operate with efficiency and speed in mind during their initial generation phase. Think about it: when you're rapidly iterating through prompts, trying out different styles or compositions, the system isn't trying to render a massive, perfectly detailed image from scratch every single time. That would consume incredible amounts of computational power and take ages. Instead, they often generate images at a lower base resolution – perhaps 512×512 pixels, 1024×1024, or something similar – to give you quick feedback and allow for rapid experimentation.
This approach makes a lot of sense from a practical standpoint. If every generation took minutes, your creative flow would grind to a halt. The GPUs (Graphics Processing Units) that power these models have limitations, too, especially regarding VRAM (video RAM), which is crucial for handling large image data. Generating directly at 4K or higher resolutions would be incredibly VRAM-intensive and slow down the process significantly for everyone. So, the initial low-res output is a necessary compromise to make the tools fast and accessible. You can often see the impact of this when comparing outputs from different generators, even among the best AI image generators.
The Frustration of Pixelation and Lack of Detail
We've all been there: you finally get an image that's almost perfect for your blog post, a social media graphic, or even a piece of digital art you want to sell. But then you download it, open it up, and boom – the edges are fuzzy, textures are indistinct, and those intricate details you envisioned are just a blur. It's incredibly frustrating when a brilliant concept is undermined by a lack of resolution, making it unsuitable for anything beyond a small thumbnail.
This lack of detail can manifest in various ways. Faces might look smoothed over or slightly distorted. Textures like fabric, wood, or skin can lose their natural grain. Fine lines become pixelated jaggies. For anyone who cares about quality, this can feel like a significant roadblock. You want your AI creations to stand proudly alongside traditional artwork or photography, not look like they've been stretched too thin. This is precisely why knowing How to Upscale AI Images is such a critical skill in your AI toolkit.
Demystifying AI Upscaling: More Than Just Stretching Pixels
When we talk about "upscaling" in the context of AI images, it's really important to distinguish it from the old-school method of simply enlarging an image. For years, if you tried to make a small image bigger using standard photo editing software, you'd end up with a blurry, pixelated mess. AI upscaling is a completely different beast, and understanding its underlying magic can help you achieve truly impressive results.
The Core Difference Between Upscaling and Simple Enlargement
Imagine you have a tiny digital photo of a cat. If you just open it in a basic image editor and tell it to be four times bigger, what happens? The software essentially takes each existing pixel and replicates it, or tries to blend it with its neighbors (a process called interpolation). The result is a larger image, but it's much blurrier because there's no new information being added – just stretched or averaged old information. It's like trying to make a small drawing bigger by literally drawing larger squares over the existing ones; you don't gain any fine detail.
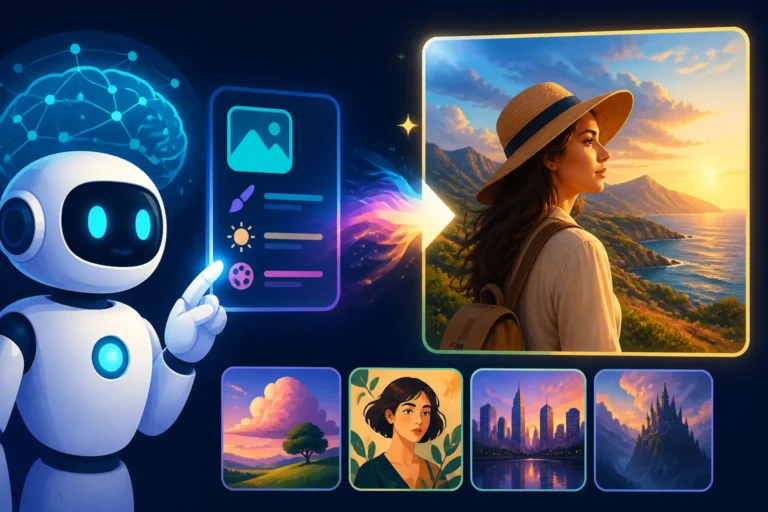
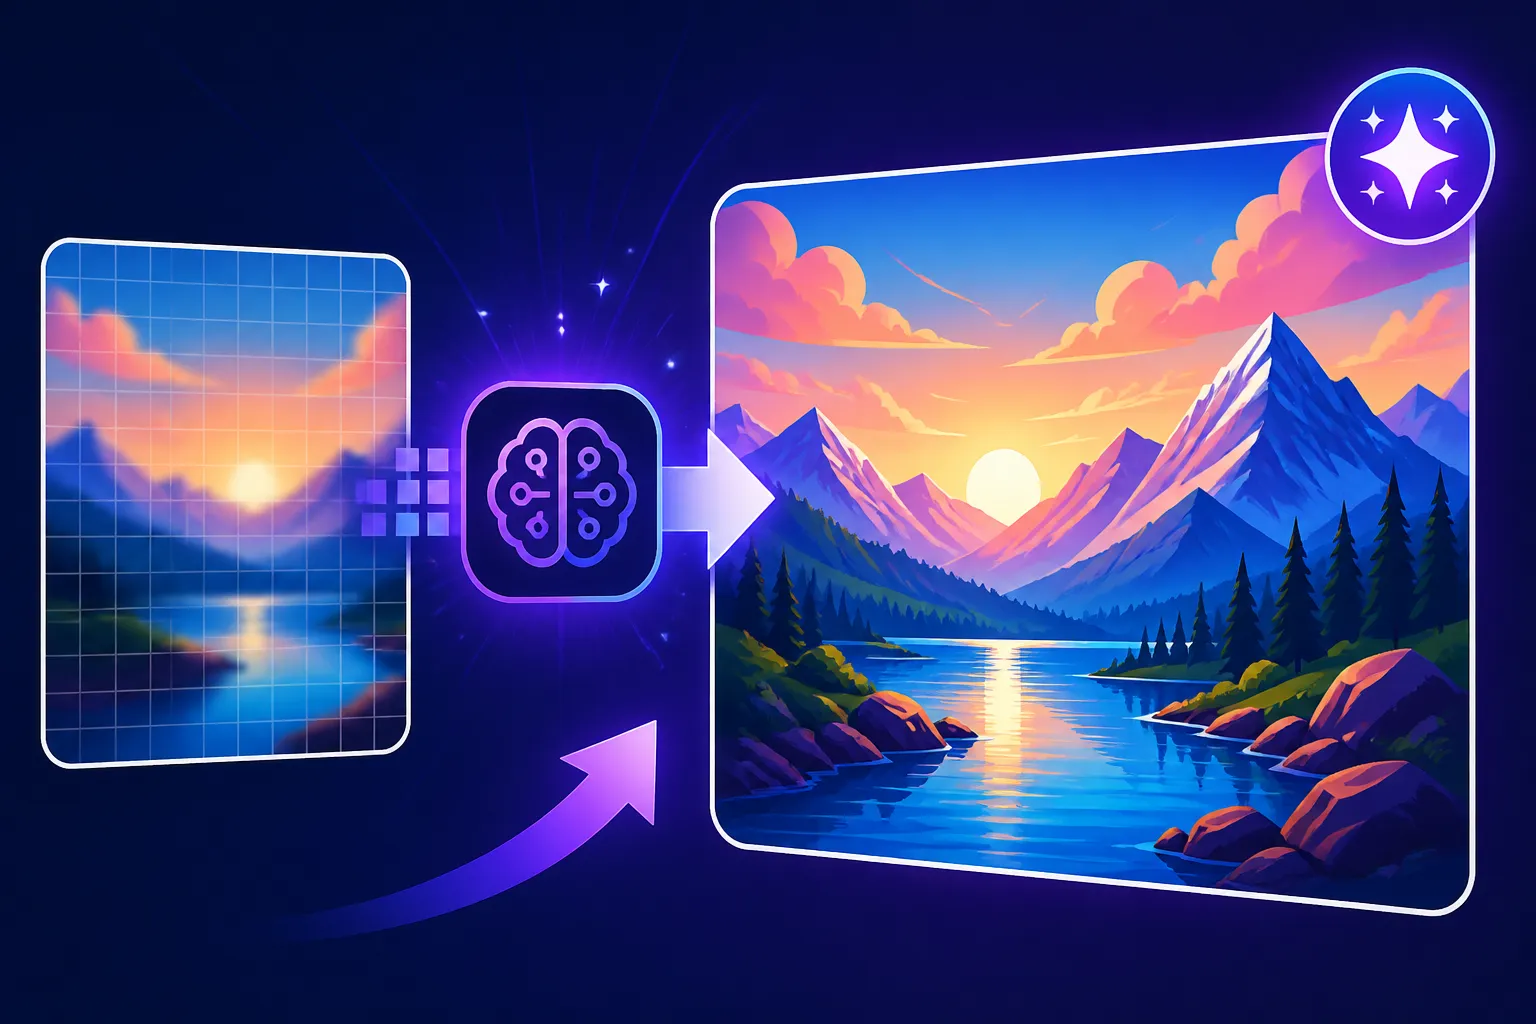
AI upscaling, however, is far more sophisticated. Instead of just stretching existing pixels, AI models use advanced neural networks that have been trained on vast datasets of high-resolution images. When you feed a low-resolution image into an AI upscaler, it doesn't just enlarge it; it "analyzes" the image, recognizes patterns, and intelligently infers what new pixels should be added to create a higher-resolution version. It's actively trying to reconstruct or enhance detail, rather than just duplicating what's already there. This is why AI-powered upscaling can breathe new life into an image, making it look sharper and more detailed than you ever thought possible.
How AI Models "Invent" Detail During Upscaling
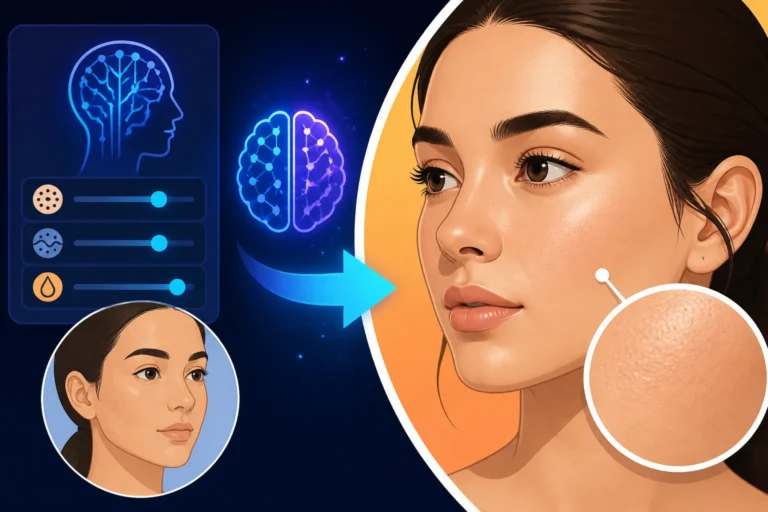
This "invention" of detail is where the true genius of AI upscaling lies. The neural networks within these tools have learned from millions of image pairs (low-res alongside their high-res counterparts). They've seen countless examples of how things like hair strands, skin pores, fabric textures, or architectural details should look when going from low to high resolution. So, when an AI upscaler sees a blurry patch that might be hair, it doesn't just make that blurry patch bigger; it draws upon its training to generate plausible, intricate hair strands, complete with highlights and shadows, that weren't explicitly present in the original low-res version.
It's not truly "inventing" out of thin air, but rather making highly educated guesses based on its vast knowledge base. This is a form of inference. For instance, if it sees a blurry eye, it can infer the likely shape of an iris, the subtle reflections, and even individual eyelashes, then generate those details. This makes the image not just larger, but genuinely richer in information. This capability is a game-changer for digital artists and content creators, allowing us to take a promising initial render and turn it into something truly spectacular for various uses, like those discussed in Best AI Image Uses for Content Creators.
Setting Realistic Expectations for Upscaling Results
While AI upscaling is incredibly powerful, it's not magic, and it's important to set realistic expectations. The old adage "garbage in, garbage out" still holds true to a degree. If your original AI-generated image is extremely low quality – heavily pixelated, full of bizarre artifacts, or fundamentally flawed – even the best upscaler might struggle to produce a perfect 4K result. It can enhance and infer, but it can't always perform miracles and completely fix a fundamentally broken image.
Think of it this way: an upscaler can take a decent sketch and turn it into a beautiful painting by adding color, texture, and shading. But if you give it an unintelligible scribble, it can only make a larger, more detailed unintelligible scribble. The quality of the input image directly impacts the quality of the output. Also, different upscalers might excel at different types of images. Some are fantastic with photorealism, others with anime, and some are generalists. Experimentation is key to finding the best tool for your specific needs, which is why resources like Best AI Image Upscalers and How to Use Them are invaluable. Don't expect every image to come out perfectly, but with a good initial image and the right tool, you can get astonishing results.
Your Go-To Guide for Achieving 4K AI Image Quality
The journey from a decent low-res AI image to a stunning 4K masterpiece doesn't have to be complicated. With the right tools and a clear process, you can consistently achieve high-quality results suitable for almost any purpose. Let's break down how to make your AI art truly shine.
Selecting the Best Tool for Your Upscaling Needs
The first and arguably most critical step is choosing an upscaling tool that aligns with your workflow and the type of images you're working with. The AI upscaling landscape is diverse, offering everything from dedicated standalone applications to integrated features within your favorite AI image generators. Each has its strengths, often employing different algorithms (like ESRGAN, SwinIR, or custom proprietary models) optimized for various tasks.
For instance, some tools might specialize in photorealistic images, meticulously recreating skin textures and subtle lighting, while others are better suited for illustrations, artwork, or even anime. Some are cloud-based and require an internet connection, processing images quickly on powerful servers, while others are desktop applications that leverage your local hardware. Consider whether you need batch processing, specific artistic styles, or simply a straightforward "enlarge and enhance" function. Tools like Magnific AI are known for their incredible detail restoration, while others like Topaz Gigapixel AI offer robust control for desktop users.
Here's a quick comparison of popular upscaling options and their common use cases:
| Upscaling Tool | Type | Key Feature(s) | Best For | Price Model |
|---|---|---|---|---|
| Magnific AI | Online | Advanced detail inference, "creativity" | Photorealism, artistic styles, extreme upscales | Subscription (paid) |
| Topaz Gigapixel AI | Desktop (Local) | Lossless enlargement, noise reduction | Photography, detailed artwork, fine control | One-time purchase |
| Upscale.media | Online | Simple, fast, background removal | Quick everyday upscales, product photos | Free/Subscription |
| ImgUpscaler | Online | Anime, general images, batch processing | Anime, illustrations, quick enhancements | Free/Subscription |
| Fotor AI Enlarger | Online | General image enhancement | User-friendly, basic photo upscaling | Free/Subscription |
| Midjourney (Upscale option) | Integrated | Cohesive style, detail enhancement | Midjourney generations, consistent style | Subscription (paid) |
| DALL-E 3 (Upscale) | Integrated | Simple quality bump | Within ChatGPT/Copilot, quick enhancement | Subscription (paid) |
| Stable Diffusion (Upscalers) | Model-based | Highly customizable, various models | Specific artistic styles, open-source control | Free (local)/Paid (cloud) |
When deciding, think about the initial quality of your generated images and what level of control you desire. If you're often getting images that are only slightly undersized, a simple integrated upscaler within your AI generator might suffice. If you're working with intricate art that needs significant enhancement, a dedicated tool like Magnific AI or Topaz Gigapixel AI could be a better investment. For those who prioritize cost, exploring free tiers of tools is also a smart move, as some offer good initial results.
A Step-by-Step Process for Upscaling Any AI Image
While each upscaling tool has its unique interface, the general workflow remains remarkably consistent. Here’s a generalized step-by-step process you can follow to upscale your AI images to 4K:
-
Generate Your Base Image: Start by creating your desired image using your preferred AI image generator. Focus on getting the composition, subject, and overall aesthetic right, even if the resolution isn't perfect. Remember, a good starting image is crucial for great upscaling results. You can find tips for this in How to Get Better AI Image Results.
-
Download the Highest Available Resolution: Even if it's not 4K, always download the largest size offered by your AI generator. This provides the upscaler with the most data to work with.
-
Choose Your Upscaling Tool: Based on the table above and your specific needs, select the AI upscaler you want to use. Navigate to its website or open the desktop application.
-
Upload Your Image: Look for an "Upload," "Drag & Drop," or "Choose File" button. Select the AI image you just downloaded. Most tools will automatically start processing a preview or offer initial options.
-
Configure Upscaling Settings: This is where you fine-tune the process.
- Scale Factor: Most tools offer options like 2x, 4x, or custom scaling. To reach 4K, if your original is, say, 1024×1024, a 4x upscale would get you to 4096×4096 (a common 4K dimension).
- Noise Reduction: If your original image has a grainy or noisy appearance, this setting can help smooth it out without losing important detail.
- Sharpening: This can enhance edges and make details pop. Use it judiciously to avoid an overly artificial look.
- Detail Enhancement/Creativity: Some advanced tools, like Magnific AI, offer "creativity" or "detail enhancement" sliders. Higher settings can add more inferred detail but might also introduce more stylistic changes, which can be useful or detrimental depending on your goal.
- Other options: You might find settings for face refinement, artifact suppression, or specific artistic styles. Experiment with these to see their effect.
-
Preview and Adjust: Many upscalers provide a side-by-side comparison or a movable window that shows the original and the upscaled version. Critically examine the details: faces, textures, edges, and any text. Adjust your settings as needed until you're happy with the preview. If you notice strange distortions or artifacts, you might need to try different settings or even a different tool, as outlined in How to Fix Bad AI Image Results.
-
Download Your 4K Image: Once satisfied, proceed to download your newly upscaled 4K image. Most tools will output a JPEG or PNG file.
Remember that patience and experimentation are your best friends here. Don't be afraid to try different settings or even different tools to get the perfect result for each image.
Pro-Tips for Maximizing Image Fidelity
Getting to 4K is great, but getting to high-quality 4K requires a few extra tricks up your sleeve. These tips can help you push your upscaled images to their absolute best.
First and foremost, start with the highest possible quality base image. This cannot be stressed enough. If your initial AI generation is already well-defined with minimal artifacts, the upscaler has a much easier job and will produce superior results. If your initial image from a tool like Midjourney or DALL-E is already looking a bit rough, consider regenerating it before attempting to upscale. The less "fixing" the upscaler has to do, the better. This is especially true for intricate details where Midjourney Image Quality Tested and Reviewed or DALL-E Image Quality Tested and Reviewed often show their strengths.
Secondly, consider a multi-pass upscaling approach for extreme detail. While a single 4x upscale is often enough, for truly massive enlargements or to recover maximum detail, you might try a 2x upscale with one tool, download that, and then feed that slightly larger, cleaner image into a second upscaler for another 2x pass. This can sometimes yield better results than a single, aggressive 4x or 8x pass, as each pass can focus on a smaller "jump" in resolution and refine details more effectively. Be careful not to overdo it, as too many passes can introduce artificiality.
Finally, don't shy away from light post-processing. Even after upscaling, a little touch-up in a traditional photo editor (like Adobe Photoshop, GIMP, or even Canva) can make a huge difference. You might want to:
- Adjust colors and contrast: Upscaling can sometimes slightly alter the color profile.
- Apply subtle sharpening: A tiny amount of additional sharpening can make an image pop, especially if the upscaler's sharpening felt a bit too aggressive or too subtle.
- Remove minor artifacts: Occasionally, an upscaler might introduce tiny, unwanted specks or slight distortions. These are often easy to clean up manually. For more on this, check out How to Remove AI Image Artifacts.
- Noise reduction: If the upscaler struggled with noise, a targeted noise reduction filter might help without blurring details you want to keep.
By combining powerful AI upscaling with strategic post-processing, you can ensure your images not only reach 4K but look professional and polished. This dedication to refinement is what truly separates good AI artists from great ones.
Exploring Top AI Upscaling Platforms
The market for AI upscaling tools is constantly evolving, with new players emerging and existing ones refining their capabilities. Knowing which platforms stand out can save you a lot of time and help you achieve the best results for your specific needs.
Dedicated Upscalers: The Specialists in High-Res
These are the tools built specifically for the purpose of taking lower-resolution images and intelligently increasing their size and detail. They often employ cutting-edge algorithms and massive training datasets to achieve impressive results.
One of the most talked-about dedicated upscalers recently is Magnific AI. This online tool has quickly gained a reputation for its ability to transform even moderately detailed images into incredibly sharp, rich, and high-resolution works of art. What sets Magnific AI apart is its "creativity" and "stylization" parameters, which allow the AI to not just increase resolution but also intelligently add plausible new detail and refine artistic elements. Users often report that Magnific AI can make an image look "more real" or "more artistic" than the original, pushing beyond simple pixel enlargement. It's particularly fantastic for photorealistic images and complex artistic styles, making it a strong contender if you're looking for extreme fidelity, and many ask if Magnific Upscaler: Worth the Price.
Then there's Topaz Gigapixel AI, a long-standing powerhouse in the desktop software space. Unlike many online tools, Gigapixel AI runs locally on your computer, offering powerful control over the upscaling process. It's revered by professional photographers and digital artists for its ability to enlarge images up to 600% without significant loss of quality, often doing a remarkable job of recovering textures and details that would be lost with traditional methods. Its strength lies in its multiple AI models optimized for different image types (e.g., standard, architectural, compressed, art, low resolution), allowing for highly tailored results.
For more straightforward and often free options, platforms like Upscale.media and ImgUpscaler provide quick and easy solutions. These web-based tools are typically designed for simplicity, allowing you to upload an image, select a scale factor (usually 2x or 4x), and download the result. While they might not offer the deep customization or detail inference of Magnific AI or Gigapixel AI, they are excellent for fast, everyday upscales, especially for social media graphics or website elements where extreme detail might not be the top priority. Many of these tools also boast features like background removal, which can be handy for product shots.
AI Image Generators with Built-in Upscaling
Beyond dedicated upscalers, many popular AI image generators have started integrating their own upscaling features directly into their platforms. This offers a seamless workflow for creators, allowing them to generate and upscale within a single environment.
Midjourney, for example, has always offered upscaling options within its Discord interface (and now its web app). After generating a grid of images, you can select one to "U" (upscale). While Midjourney's initial upscalers primarily refined the chosen image to a larger resolution with more detail, newer versions and features continue to improve this. The advantage here is that the upscaling process is inherently consistent with Midjourney's distinctive artistic style, ensuring that the enhanced image retains the original aesthetic. As versions evolve, so does the quality of the upscale, making it worth keeping an eye on updates like Midjourney V7 Features and Updates.
DALL-E 3, particularly when accessed through platforms like ChatGPT or Microsoft Copilot, also offers a form of upscaling or resolution enhancement. While it might not always provide explicit "4K" options in the same way dedicated tools do, DALL-E 3 often generates images at a higher native resolution than its predecessors and allows for further processing that enhances detail. The benefit is its ease of use: the image is generated, and a higher-quality version is often just a click away, making it incredibly user-friendly for quick, high-impact visuals. This is especially useful for those creating images directly within chat interfaces, where speed and simplicity are key.
Similarly, Leonardo AI and Stable Diffusion also incorporate various upscaling methods. Leonardo AI, known for its diverse model library and robust editing features, allows users to upscale images after generation, often with control over different upscaler models. This gives creators flexibility to choose an upscaler that best suits the artistic style of their image. Stable Diffusion, being open-source and highly customizable, has a vast ecosystem of community-developed upscaler models and extensions (like img2img pipelines with custom checkpoints or external upscalers like ESRGAN integrated into web UIs like Automatic1111). This level of control makes Stable Diffusion a favorite for those who want to fine-tune every aspect of their image generation and enhancement process, and understanding Stable Diffusion Prompt Syntax Explained can further improve results.
The choice between a dedicated upscaler and an integrated solution often comes down to your primary workflow and the level of specific control you need. For quick enhancements, integrated tools are fantastic. For the ultimate in detail recovery and artistic refinement, a dedicated upscaler might be your best bet.
Common Challenges and Troubleshooting Tips
Even with the best tools, upscaling AI images can sometimes throw a few curveballs. It's normal to encounter issues, and knowing how to troubleshoot them can save you a lot of headaches and ultimately lead to better results.
Dealing with Unwanted Artifacts and Distortions
One of the most common frustrations when upscaling AI images is the appearance of unwanted artifacts or subtle distortions. These can manifest as:
- "AI look" or over-sharpening: The image might appear unnaturally smooth, plastic-like, or have halos around edges due to excessive sharpening.
- Geometric distortions: Lines that should be straight might appear slightly wavy or jagged, especially in architectural scenes.
- Strange textures: The upscaler might generate peculiar, repeating patterns or textures that weren't present, or intended, in the original image.
- Facial distortions: Sometimes, faces can look a bit "off" or even uncanny after aggressive upscaling, especially if the original resolution was very low.
Troubleshooting steps:
-
Adjust Upscaler Settings: Your first line of defense is always the upscaler's own settings.
- Reduce Sharpening: If the image looks overly crisp or has halos, dial back the sharpening slider.
- Increase Noise Reduction (judiciously): If the "AI look" is due to fine, artificial grain, a slight increase in noise reduction can help, but don't overdo it, or you'll lose detail.
- Lower Detail Enhancement/Creativity: If the tool has these parameters, reducing them can make the upscaler less "inventive" and stick closer to the original image's data. This can help when the upscaler adds too many unneeded details or changes the style too much.
- Try Different Models/Algorithms: Some upscalers offer different AI models (e.g., "photo," "art," "anime"). Experimenting with these can yield better results for specific image types.
-
Use a Different Upscaling Tool: If one upscaler consistently produces undesirable artifacts, switch to another. Different algorithms handle details and distortions in unique ways. For instance, if Magnific AI is too "creative," Topaz Gigapixel AI might offer a more faithful, albeit less transformative, enlargement. Check out alternatives mentioned in Best AI Image Generator Overall to see what might fit better.
-
Pre-Process the Original Image: Before upscaling, if your original AI image has noticeable flaws (e.g., minor pixelation, a bit of noise), try a very light cleanup in a photo editor first. A subtle blur or noise reduction before upscaling can sometimes give the upscaler a cleaner base to work from.
-
Post-Process the Upscaled Image: After upscaling, open the 4K image in an editing program.
- Manual Touch-ups: Zoom in and manually fix any small, noticeable artifacts. Spot healing brushes or clone stamps can be your best friend here.
- Subtle Blurring: If an area looks too sharp or artificial, a very small, localized Gaussian blur can sometimes soften it just enough.
- Noise Addition: Ironically, sometimes adding a tiny amount of film grain or noise can make an overly "AI-generated" image look more natural. This is a great tip for How to Make AI Images Look Less AI and How to Add Realism to AI Images.
Managing File Sizes and Processing Times
Upscaling to 4K or higher resolutions invariably leads to larger file sizes. A typical 4K image (e.g., 3840×2160 pixels) can easily range from a few megabytes to tens of megabytes, especially if saved in formats like PNG which are lossless. For web use, large file sizes can dramatically slow down page load times, impacting user experience and SEO.
Tips for managing file size:
-
Choose the Right File Format:
- JPEG: Ideal for photographs and images with continuous tones. You can adjust the compression level to find a balance between quality and file size. Good for web use.
- PNG: Best for images with sharp lines, transparent backgrounds, or large areas of solid color (like logos or illustrations). Offers lossless compression, but results in larger files.
- WebP/AVIF: Modern formats offering excellent compression for both photographic and graphic images, often with smaller file sizes than JPEG or PNG at comparable quality. Consider converting to these for web optimization.
-
Optimize for Web Use: If your 4K image is destined for a website, use an image optimization tool (online or desktop) to compress it without visible loss of quality. Services like TinyPNG, Compressor.io, or ImageOptim can significantly reduce file sizes.
-
Consider Your Target: Do you really need a full 4K image for every single application? For a small thumbnail, a 1080p image might be more than sufficient. Scale down the 4K image to the exact dimensions needed for its final placement, then optimize.
Tips for managing processing times:
- Internet Speed: For online upscalers, a fast and stable internet connection is crucial for uploading and downloading large files.
- Tool Performance: Some online upscalers are faster than others. Premium tiers often offer priority processing.
- Local vs. Cloud: If you have powerful local hardware (especially a good GPU), a desktop upscaler like Topaz Gigapixel AI can be very fast. If your local machine is modest, cloud-based solutions might be quicker.
- Batch Processing: If you have many images, look for upscalers that offer batch processing to save time.
When Upscaling Isn't Enough
There are times, despite your best efforts and the most advanced tools, when upscaling just won't cut it. If your original AI-generated image is fundamentally flawed – perhaps the anatomy is completely wrong, the composition is a mess, or crucial elements are distorted beyond recognition – an upscaler can only make those flaws more prominent.
In these situations, the most efficient solution isn't to try and polish a turd; it's to go back to the drawing board. Revisit your prompt. Refine it. Add more detail, negative prompts, or specific instructions to guide the AI toward a better initial generation. Sometimes, a slight tweak in your original prompt can make all the difference, resulting in a much stronger base image that upscalers can then effortlessly enhance. Consider resources on How to Write AI Image Prompts or Best AI Image Prompt Formulas to improve your starting point. It's often quicker and less frustrating to get a good initial image than to spend hours trying to salvage a bad one with upscaling.
Remember, upscaling is a powerful enhancement tool, but it works best when it has something solid to work with.
Disclaimer
The information provided in this article is for general informational purposes only. While we strive to offer accurate and up-to-date guidance, the field of AI image generation and upscaling is rapidly evolving. The performance, features, and pricing of tools mentioned can change at any time. We recommend doing your own research and due diligence before making any purchasing decisions or relying solely on this information for critical projects.