Best AI Image Upscalers and How to Use Them
Ever generated an incredible AI image, only to realize it's a tiny, pixelated mess when you try to use it for anything serious? It's a frustratingly common experience, and it can truly derail your creative workflow. This comprehensive guide is here to shed light on the magic of AI image upscalers, helping you transform those small, low-resolution creations into crisp, high-quality visuals perfect for print, web, or any professional application.
Why AI Image Upscaling is a Game-Changer
Let's be real, a lot of the initial images churned out by AI generators, especially if you're on a free tier or just experimenting, often come out at a resolution that's frankly laughable for anything beyond a tiny thumbnail. You spend ages crafting the perfect prompt, get a visual that almost nails it, then download it and realize it's a mere 512×512 pixels. That's where AI upscaling steps in, not just as a nice-to-have, but as an absolute necessity for anyone serious about using AI-generated art.
Overcoming Low-Resolution Limitations
Think about it: most AI image generation models, like early versions of DALL-E or even some free Stable Diffusion interfaces, often default to lower resolutions to save computational power and generate images faster. While this is great for rapid prototyping and quick ideas, it leaves you in a lurch when you need something high-fidelity. Trying to simply stretch a small image in traditional photo editing software usually results in a blurry, pixelated mess – a visual headache known as interpolation. It's like trying to make a small watercolor painting look like a giant mural by just pulling the canvas; everything just gets stretched thin and loses its crispness.
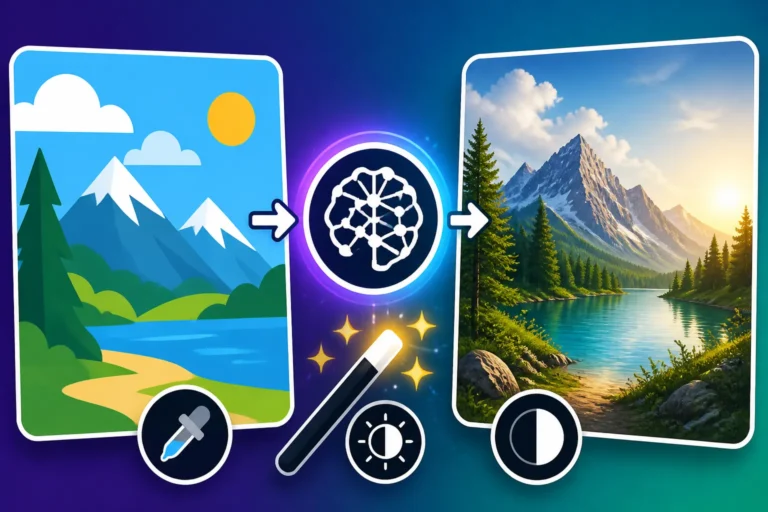
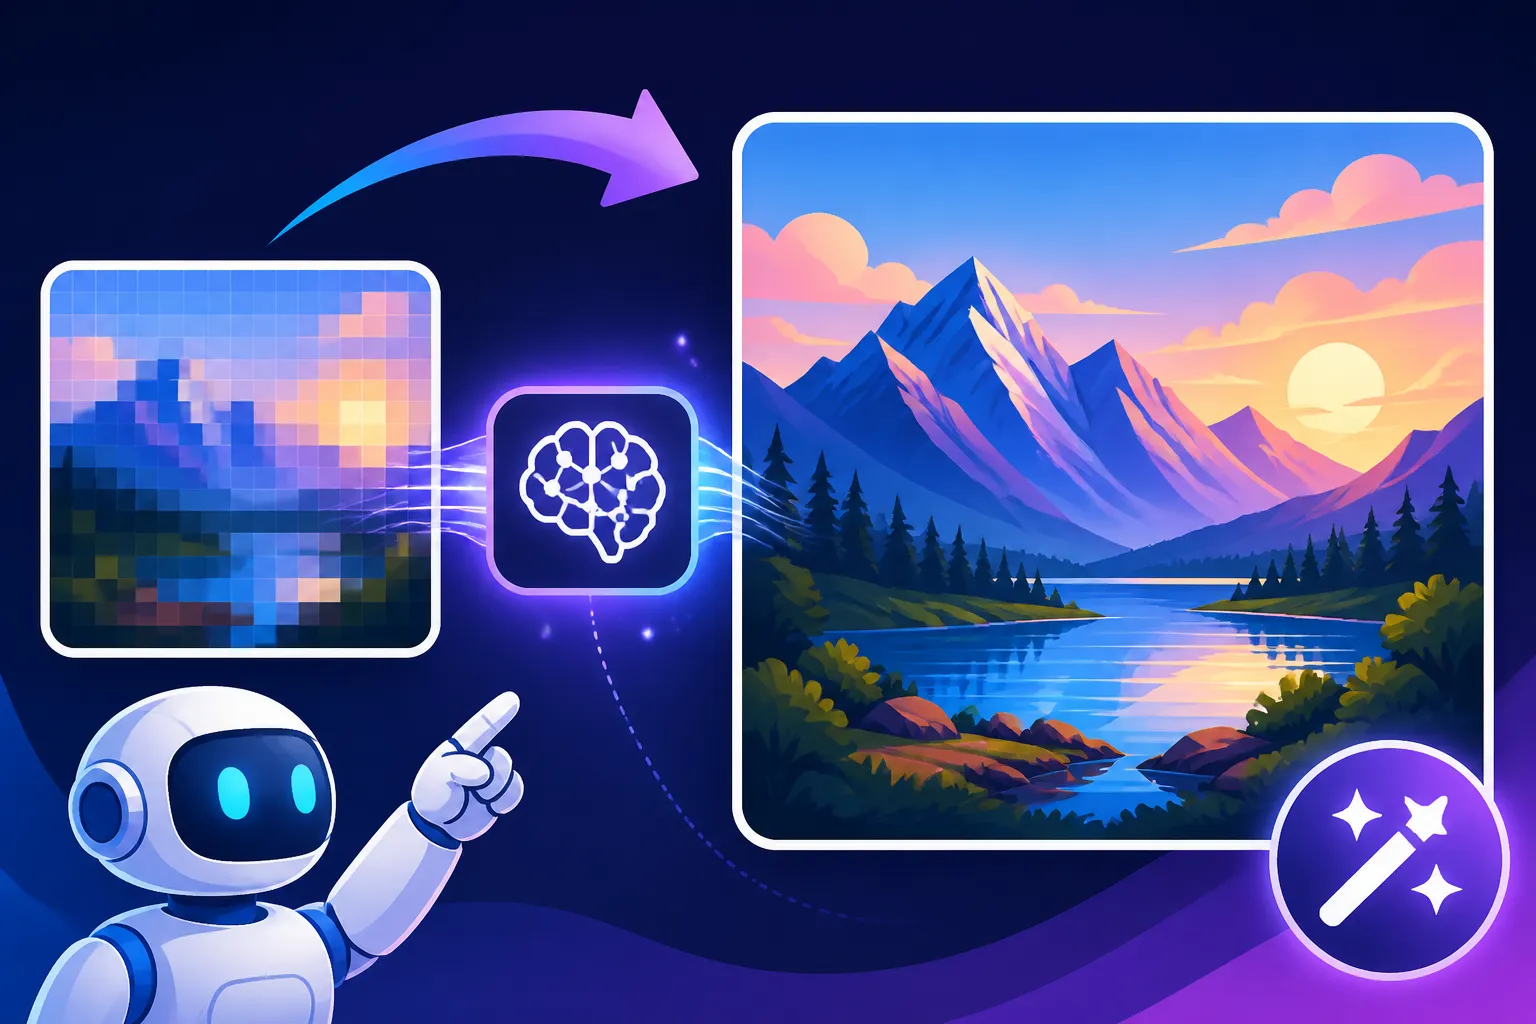
AI upscalers, however, don't just stretch pixels. They use sophisticated algorithms trained on vast datasets of high-resolution images to intelligently add detail and data. When you feed a low-res image into an AI upscaler, it doesn't just make the pixels bigger; it analyzes patterns, textures, and edges, then essentially "guesses" what new, intricate details should be there to make the image appear naturally larger and sharper. This is a monumental shift from traditional upscaling methods, turning what used to be a dead end into a launching pad for stunning visuals.
Enhancing Detail and Clarity
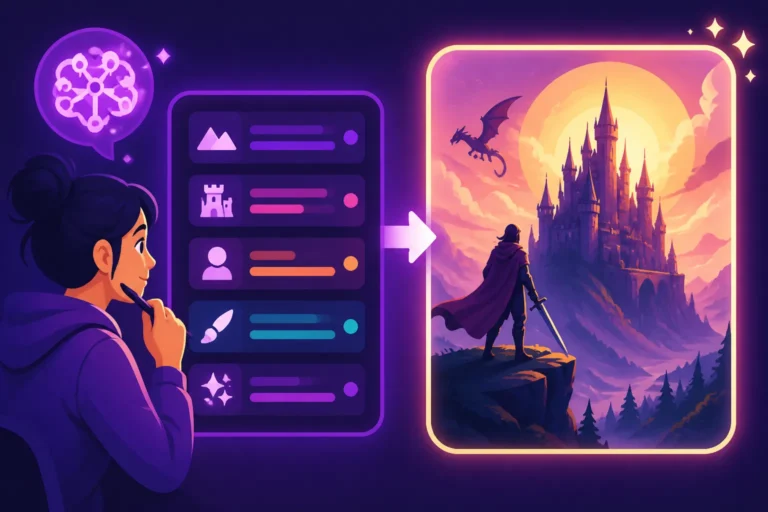
This intelligent addition of detail is where AI upscalers truly shine. Imagine you've generated a striking fantasy landscape with an ancient castle in the distance, but the intricate stonework and tiny flags are barely discernible. A good AI upscaler can take that image and not only make the castle larger but also invent believable textures for the stones, add individual bricks, and make those distant flags ripple with more convincing detail. It's not magic, but it feels pretty close!
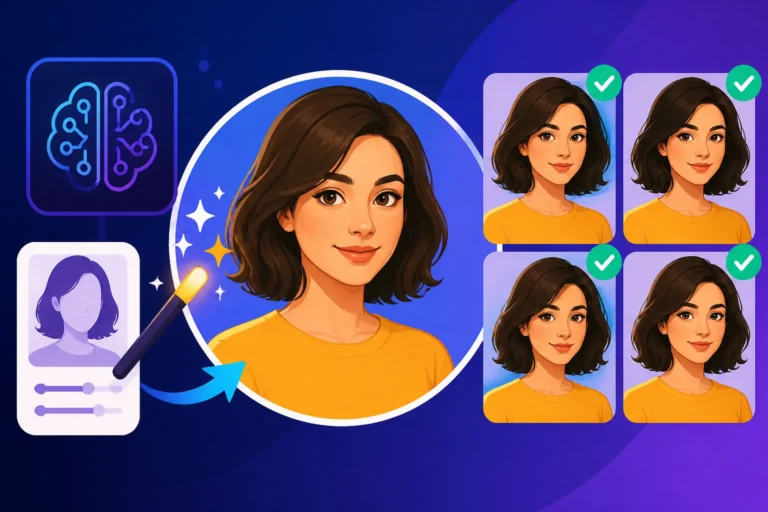
The algorithms look for common patterns associated with higher resolution images. For instance, if a section of your image is clearly a human eye, the AI upscaler knows how to render more lifelike eyelashes, iris texture, and subtle reflections that weren't explicitly present in the original low-resolution data. This results in a much clearer, more defined image that maintains its artistic integrity, rather than becoming a muddled blob. This kind of enhancement is crucial for things like portraits or highly detailed scenes where every bit of clarity counts. You might even find that an upscaled image reveals details you didn't notice in the smaller version!
Preparing Images for Print and Professional Use
If you're creating images for print – whether it's a book cover, a poster, or even a T-shirt design – resolution is king. Print media typically requires much higher DPI (dots per inch) than digital screens, usually 300 DPI for high-quality results. A 512×512 pixel image, even if it looks okay on your phone screen, will look atrocious when blown up to poster size. The same goes for professional web use, like hero images on a website, high-resolution product photography, or detailed graphics for marketing campaigns. Blurry images look unprofessional and can actively deter your audience.
AI upscalers bridge this gap by providing images that are not just bigger but genuinely better quality, making them suitable for a wide array of commercial and professional applications. Need a stunning visual for a client presentation? Upscale it. Want to print your latest AI masterpiece as a fine art print? Upscale it. This capability transforms AI art from a fun hobby into a powerful tool for designers, marketers, and artists who need high-fidelity assets. It's about taking your initial AI creations and giving them the professional polish they deserve, ensuring they stand up to scrutiny in any context.
Top AI Image Upscalers Worth Exploring
The market for AI image upscalers has exploded, and it can be tough to know where to start. Many tools offer similar promises, but their approaches, pricing, and ultimate quality can vary significantly. Let's dive into some of the most notable players that have earned their reputation for delivering impressive results.
Magnific AI Upscaler: The Detail Maestro
When it comes to pushing the boundaries of detail and photorealism, Magnific AI Upscaler: Worth the Price often comes up in conversations among pros. This tool isn't just about scaling up; it's about reimagining the image with incredible added detail. It uses advanced algorithms to infer and generate textures, micro-details, and realistic features that simply weren't present in the original low-res file.
How it works: Magnific AI uses a generative approach, meaning it doesn't just enhance existing pixels but actually creates new information. You upload your image, specify the upscale factor, and then, crucially, you can add text prompts to guide the AI on what kind of detail to generate. For instance, if you have a photo of a rocky mountain, you can prompt it to add "more intricate rock formations, moss, lichen, realistic shadows" to enhance its output. This makes it incredibly powerful for transforming even blurry images into stunning, high-definition art pieces.
Strengths:
- Unparalleled Detail Generation: It can add truly astonishing levels of detail, making low-res images look like they were originally captured with a high-end camera.
- Prompt-Guided Enhancement: The ability to use prompts to direct the AI's detail generation gives you a remarkable degree of creative control over the final output.
- Excellent for Photorealism: If you're aiming for realistic textures and fine details, Magnific AI is often a top choice.
Potential Drawbacks:
- Cost: It can be more expensive than other upscalers, reflecting its advanced capabilities.
- Processing Time: Generating such intricate detail can take longer than simpler upscaling tools.
- Learning Curve: The prompt-guided aspect means there's a slight learning curve to master its full potential.
Upscale.media: Quick and Easy Scaling
For those who need a straightforward, fast, and often free solution for general-purpose upscaling, Upscale.media is a popular choice. It's designed to be incredibly user-friendly, making it accessible even if you're completely new to AI tools.
How it works: You simply upload your image, and Upscale.media processes it automatically. It typically offers a few upscale factors (e.g., 2x, 4x) and might include basic enhancement options like noise reduction or background removal. The focus here is on simplicity and speed, providing decent quality without requiring complex inputs or settings.
Strengths:
- Ease of Use: Extremely intuitive interface, perfect for beginners.
- Speed: Generates upscaled images very quickly.
- Free Tier: Often provides a generous free tier for basic upscaling, which is great for casual users or those on a tight budget.
- Web-Based: No software installation required, accessible from any browser.
Potential Drawbacks:
- Less Detail Generation: While it enhances clarity, it won't add the same level of invented intricate detail as something like Magnific AI.
- Limited Customization: You have fewer controls over the upscaling process.
- Watermarks on Free Plans: Some free tiers might apply watermarks or have resolution limits.
HitPaw Photo Enhancer: Feature-Rich for Diverse Needs
HitPaw Photo Enhancer stands out by offering a broader suite of AI-powered editing tools alongside its upscaling capabilities. It’s a downloadable software, providing more robust features and often operating faster than purely web-based solutions for large batches.
How it works: HitPaw utilizes various AI models tailored for different enhancement tasks: a "General Model" for everyday photos, a "Denoise Model" for grainy images, a "Face Model" for portraits, and a "Colorize Model" for old black-and-white photos. Its upscaling function can go up to 8x, with specific algorithms designed to improve texture, sharpness, and color accuracy based on the chosen model.
Strengths:
- Multiple AI Models: Specialized models for different image types (faces, landscapes, anime) often yield better, targeted results.
- Batch Processing: Efficiently handles multiple images at once, a time-saver for large projects.
- Offline Capability: As desktop software, it doesn't rely on an internet connection once installed, offering privacy and consistent performance.
- Beyond Upscaling: Includes other useful features like image denoise, sharpening, and colorization.
Potential Drawbacks:
- Paid Software: Primarily a paid application, though free trials are usually available.
- Installation Required: Requires downloading and installing software, which might not suit all users.
- Resource Intensive: Can be demanding on your computer's hardware, especially for high-resolution upscaling or batch processing.
Topaz Gigapixel AI: Professional-Grade Precision
Topaz Gigapixel AI is a long-standing favorite among professional photographers and designers who demand the absolute highest quality and control. It's renowned for its ability to upscale images by up to 600% while intelligently adding crisp detail, making it a powerful tool for print, archival, and large-format reproduction.
How it works: Topaz Gigapixel AI uses proprietary AI models that have been extensively trained on millions of images. It identifies and corrects blurring, pixelation, and noise, while simultaneously enhancing edges and textures. It offers various AI models (e.g., Standard, Lines, Art, Low Resolution) that you can select based on your image type, providing a fine-tuned approach to enhancement. The software also allows for extensive fine-tuning of noise reduction and blur suppression, giving users granular control over the final output.
Strengths:
- Industry Standard Quality: Often cited as producing some of the best upscaling results, particularly for photographic images.
- Granular Control: Offers numerous sliders and settings to fine-tune the output, including options for noise reduction, blur suppression, and face refinement.
- Dedicated Desktop Application: Ensures stable performance and allows for large file handling without browser limitations.
- Excellent for Diverse Image Types: Handles everything from highly detailed photos to illustrations and compressed JPEGs with impressive results.
Potential Drawbacks:
- Premium Price: It's a professional tool with a professional price tag, typically a one-time purchase, but updates may require subscription.
- Resource Intensive: Can be demanding on your system's CPU and GPU, especially with large files and high upscale factors.
- Learning Curve: While powerful, mastering all its settings takes a bit of time and experimentation.
Stable Diffusion Upscalers: For the Control Enthusiast
For those who love to tinker, customize, and maintain full control over their AI art generation, the various upscaling options within the Stable Diffusion Review: Free and Customizable ecosystem are incredibly compelling. These aren't standalone programs but rather integrated features or models within Stable Diffusion user interfaces like Automatic1111 or ComfyUI.
How it works: Stable Diffusion offers several methods for upscaling. One popular method involves using the img2img (image-to-image) feature, where you feed your low-resolution image back into the model along with a prompt and instruct it to generate a higher-resolution version. You can combine this with specific upscaling models (often called "upscaler models" or "ESRGAN models") that are designed to enhance detail. Tools like ControlNet can even be used to guide the upscaling process more precisely, ensuring structural integrity while increasing resolution. This level of customization is unmatched, but it comes with a steeper learning curve.
Strengths:
- Ultimate Customization: You have unparalleled control over every aspect of the upscaling, from the model used to the denoising strength and the prompt guiding the process.
- Free (if self-hosted): If you run Stable Diffusion locally, the upscaling capabilities are essentially free, requiring only your hardware resources.
- Integration with Workflow: Seamlessly integrates with your existing Stable Diffusion generation pipeline.
- Access to Community Models: A vast community constantly develops new and improved upscaler models (like various ESRGAN versions) that you can download and use.
Potential Drawbacks:
- Steep Learning Curve: Setting up and effectively using Stable Diffusion upscalers requires technical knowledge and experimentation.
- Hardware Requirements: Running Stable Diffusion locally, especially for high-resolution upscaling, demands a powerful GPU.
- Time-Consuming: The process can be more involved and take longer than using dedicated, simpler upscaling tools.
Let's put some of these key players side-by-side:
| Feature/Tool | Magnific AI | Upscale.media | HitPaw Photo Enhancer | Topaz Gigapixel AI | Stable Diffusion Upscalers |
|---|---|---|---|---|---|
| Primary Approach | Generative/Prompt | Automatic | Model-Based | Model-Based | Model-Based/Prompt |
| Max Upscale Factor | Varies, high | 4x (often) | 8x | 6x (600%) | Very high (custom) |
| Detail Added | Exceptional | Good | Very Good | Excellent | Excellent (custom model) |
| Ease of Use | Moderate | Very Easy | Easy (GUI) | Moderate | Difficult (technical) |
| Cost | Paid (subscription) | Free/Paid | Paid (one-time) | Paid (one-time) | Free (self-hosted) |
| Platform | Web | Web | Desktop | Desktop | Desktop (GUI/CLI) |
| Batch Processing | No | Limited | Yes | Yes | Yes (via scripts/GUI) |
| Creative Control | High (prompts) | Low | Medium | High | Very High |
| Best For | Max detail/artistic | Quick/casual uses | Diverse enhancements | Pro photographers | Advanced users/customization |
How to Effectively Use AI Image Upscalers
Choosing the right upscaler is just the first step. To truly get the most out of these powerful tools, you need to understand the workflow and a few best practices. It's not just a "push button and magic happens" scenario, though some simple tools come close!
Choosing the Right Upscaler for Your Project
The "best" upscaler really depends on your specific needs and what kind of image you're working with. There's no one-size-fits-all solution, much like there's no single Best AI Image Generator for Quality that suits everyone.
- For maximum creative detail and artistic transformation: If you have a conceptual AI image from, say, Midjourney, and you want to completely elevate its detail, texture, and overall realism, then a generative upscaler like Magnific AI could be your hero. It's excellent for making low-res art pieces shine.
- For quick, general-purpose enlargement of photos: If you have a slightly blurry photo or a small social media graphic you need to enlarge with decent quality and minimal fuss, then a straightforward, often free, web-based tool like Upscale.media is a fantastic choice. It's all about speed and simplicity.
- For professional photography or archival needs: When precise control over noise, sharpness, and maintaining photographic integrity is paramount, especially for print, tools like Topaz Gigapixel AI are designed for this level of fidelity. They excel at enhancing existing photographic details.
- For diverse image types and batch processing: If you deal with a variety of images – from portraits to cartoons – and need a robust desktop application that can handle multiple tasks beyond just upscaling, HitPaw Photo Enhancer offers a comprehensive solution with different AI models.
- For advanced users who want full control and custom models: If you're already deep into the AI art scene with Stable Diffusion and want to experiment with specific upscaler models or integrate upscaling directly into a complex generation workflow, then leveraging Stable Diffusion's built-in upscaling methods is the way to go. This is where you can truly fine-tune every parameter.
Consider your budget, technical comfort, and how often you'll be using the tool. Many offer free trials, so don't hesitate to experiment before committing. You might even find that a combination of tools works best for your specific workflow – perhaps a simple web tool for quick jobs and a more powerful desktop application for critical projects.
Step-by-Step Upscaling Workflow
While each upscaler has its unique interface, the general workflow usually follows these steps:
- Start with Your Best Low-Res Image: Don't feed a terrible image into an upscaler and expect miracles. How to Fix Blurry AI Images starts before upscaling. Ensure the original low-resolution image is the best version you have, free of obvious artifacts or composition issues. AI upscalers are enhancers, not miracle workers for fundamentally flawed images.
- Upload Your Image: Navigate to your chosen upscaler (web-based or desktop app) and find the "Upload" or "Import" button. Select the image you want to upscale from your computer.
- Choose Upscale Factor (and Model, if applicable): Most tools will give you options like 2x, 4x, or even 8x. Select the magnification you need. Some advanced tools, like Topaz Gigapixel AI or HitPaw, will also ask you to choose an AI model (e.g., "Standard," "Photo," "Art," "Face," "Anime") that best suits your image content. Picking the right model can significantly impact the quality.
- Adjust Settings (Optional but Recommended): This is where you dive deeper. Look for sliders or toggles for:
- Noise Reduction: Reduces graininess, especially important for heavily compressed or low-light images.
- Sharpening/Details: Enhances edges and fine textures. Be careful not to overdo this, or it can look artificial.
- Artifact Suppression: Helps remove digital anomalies like JPEG compression squares.
- Prompting (Magnific AI): If using a generative upscaler, this is where you input text descriptions to guide the AI's detail creation. "Add intricate wood grain, worn leather texture, subtle reflections."
- Preview and Iterate: Most good upscalers offer a preview window where you can see the result before committing. Zoom in and inspect details. If you're not happy, adjust your settings or try a different AI model. This iterative process is key to getting optimal results.
- Download Your High-Res Image: Once satisfied, hit the "Upscale" or "Process" button and then download your newly enhanced, high-resolution image. Make sure to choose a high-quality format like PNG or TIFF if available, especially if you plan to do further editing or printing.
Tips for Optimal Results and Troubleshooting
Even with the best tools, you might encounter issues. Here's how to troubleshoot and get the most out of your upscaling efforts:
- Don't Over-Upscale Unnecessarily: While it's tempting to go straight for 8x, sometimes a 2x or 4x upscale is sufficient and looks more natural. Over-upscaling an extremely poor-quality image can sometimes introduce artifacts or a "painted" look. Start with a moderate factor and increase if needed.
- Test Different Models: If your upscaler offers multiple AI models (e.g., "Photo," "Art," "Face"), try them all! The "Photo" model might excel at landscapes, but the "Art" model could work wonders on a cartoon illustration. You'll be surprised how much difference it can make.
- Adjust Noise Reduction and Sharpening Carefully: These two settings are a delicate balance. Too much noise reduction can make an image look smooth and plasticky, while too much sharpening can introduce halos around edges and make the image look artificial. Zoom in to 100% or 200% on critical areas (like eyes or fine textures) to judge the effect.
- Consider Pre-Processing: For very noisy or highly compressed images, a quick pass through a dedicated noise reduction tool before upscaling can sometimes yield better results. Similarly, for images with extreme color shifts, a minor color correction beforehand can help the upscaler focus purely on detail.
- Look for AI "Hallucinations": Sometimes, especially with generative upscalers like Magnific AI or Stable Diffusion's
img2imgprocess, the AI might add details that weren't intended or don't quite fit. Keep an eye out for strange textures, extra limbs, or distorted elements, particularly in complex areas. This is where the iterative process and careful prompting come in handy. - Use High-Quality Original Prompts for Generations: Remember, the better the original AI generation from tools like Midjourney or DALL-E, the better the upscaler can perform. A well-crafted prompt in the first place, perhaps aiming for "ultra-detailed" or "photorealistic," will give your upscaler a much stronger foundation to work with. For more on this, check out guides on How to Write AI Image Prompts.
Common Pitfalls and Best Practices in AI Upscaling
Navigating the world of AI image upscaling can sometimes feel like a minefield of potential issues. But with a little knowledge of common pitfalls and some solid best practices, you can consistently achieve stunning results.
Avoiding Over-Sharpening and Artifacts
This is probably the most common mistake newcomers make. It's tempting to crank up the "sharpening" slider to 11, thinking it will make your image look super crisp. In reality, what often happens is that you introduce harsh halos around edges, an unnatural, granular texture, or a digital "crunchiness" that screams "AI-generated!" or "over-edited!" This is especially true for images that already have some compression artifacts or are inherently soft.
Best Practices:
- Subtlety is Key: Start with minimal sharpening and gradually increase it. Zoom in to 100% or even 200% on your image to see the true effect. If edges start looking like they're outlined in neon, you've gone too far.
- Balance with Noise Reduction: Sharpening often accentuates noise, so if you're adding sharpness, you might also need a touch of noise reduction to keep the image clean. Again, a careful balance is required.
- Consider Context: What looks "sharp" for a web thumbnail might be "over-sharpened" for a large print. Always consider the final use case when adjusting these settings. Some tools, like Topaz Gigapixel AI, offer intelligent sharpening that minimizes artifacts, making them easier to use effectively.
Understanding Different Upscaling Models
Not all AI upscaling models are created equal, and they are often specialized for different types of images. What works beautifully for a photograph of a person might make an anime character look strange, and vice-versa. This is why many professional upscalers, and open-source options like those in Stable Diffusion, offer a selection of models.
Model Types and Their Uses:
- General/Standard Models: These are good all-rounders, designed to work adequately on a wide range of images. They're a safe bet if you're unsure.
- Photographic/Realistic Models: Optimized for natural images, these excel at enhancing skin texture, fabric details, landscapes, and other real-world elements. They prioritize realism and often perform extensive noise reduction.
- Art/Illustration Models: Designed for drawings, paintings, digital art, and sometimes even 3D renders. They focus on maintaining clean lines, smooth gradients, and artistic integrity without adding photographic noise.
- Face Models: Highly specialized for human faces, these models are trained to accurately reconstruct and enhance facial features like eyes, lips, and hair, often correcting common AI-generated flaws like distorted eyes or uneven skin.
- Anime/Cartoon Models: Tailored specifically for animated characters, these models preserve the distinct style, bold outlines, and flat colors often found in anime and cartoons, avoiding the introduction of realistic textures.
Best Practices:
- Experiment: If your chosen upscaler offers different models, don't just stick to the default. Try the model that best matches your image's style. You might find a "Photo" model makes your AI-generated painting look too realistic, or an "Art" model makes your photorealistic image lose detail.
- Read Descriptions: Many tools provide brief descriptions of what each model is best for. Pay attention to these tips.
- Leverage Community Models: For Stable Diffusion users, the community regularly releases new and specialized upscaler models (e.g., various ESRGAN permutations) that can be incredibly powerful for niche applications. Exploring these can yield astonishing results.
Integrating Upscaling into Your Creative Workflow
Upscaling shouldn't be an afterthought; it should be a planned step in your creative process, especially if you're aiming for high-quality final outputs. Thinking about How to Generate AI Images Without Paying often means starting with lower-res outputs, making upscaling a crucial part of the free workflow.
Where Upscaling Fits In:
- Initial Generation & Selection: Use your preferred AI image generator (Midjourney, DALL-E, Stable Diffusion, etc.) to create your initial low-resolution images. Generate several variations and select the one with the best composition, colors, and overall concept. Don't worry too much about minor details at this stage, as the upscaler will enhance them.
- Basic Cleanup (Optional): If your chosen image has obvious flaws that can't be fixed by upscaling (e.g., a missing limb, a major compositional error), fix them before upscaling using image editing software or the AI tool's inpainting/outpainting features. This is crucial for avoiding magnified mistakes.
- Upscale: Now, feed your refined low-res image into the AI upscaler. This is where you transform it into a high-resolution canvas. Many users often ask, "Is Midjourney worth the subscription?" Part of that value is its excellent built-in upscaling, but even with Midjourney, external upscalers like Magnific AI can take it to the next level.
- Final Polish: After upscaling, open your high-resolution image in a traditional photo editor (like Adobe Photoshop or Affinity Photo). This is the time for subtle adjustments:
- Color Grading: Fine-tune colors, contrast, and saturation.
- Retouching: Correct any small artifacts or oddities that the upscaler might have introduced, especially in complex areas like hands or faces.
- Cropping/Composition: Make final adjustments to the framing.
- Adding Text/Graphics: Integrate any overlays, logos, or text required for your project.
- Specific Detail Enhancement: Sometimes you need to How to Enhance AI Image Details further manually after upscaling, especially if it's a critical area.
By strategically integrating upscaling, you ensure that your AI-generated art is not just creative but also production-ready, standing shoulder-to-shoulder with professionally created visuals.
Disclaimer
Please note that the information provided in this article is for general guidance and informational purposes only. The field of AI image generation and upscaling is rapidly evolving, and tool features, pricing, and capabilities are subject to change without notice. Always refer to the official websites and documentation of specific AI tools for the most accurate and up-to-date information. While we strive for accuracy, individual results may vary based on your specific input, settings, and hardware.