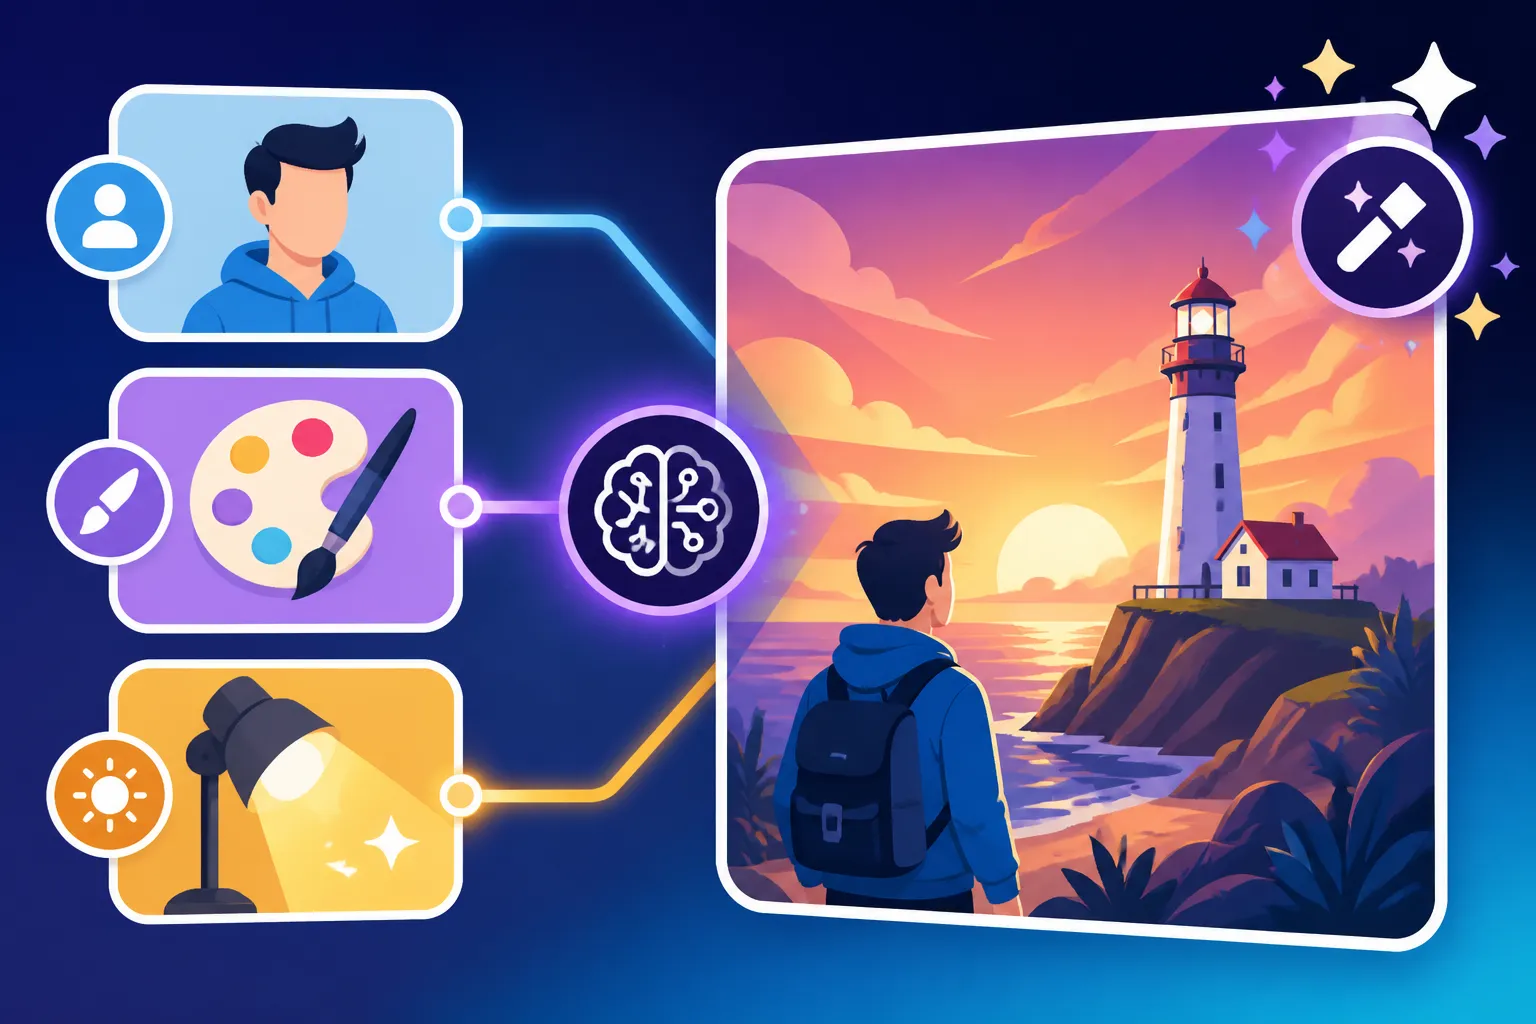
Prompt Structure: Subject, Style, Lighting
You typed a careful sentence into an AI image generator, hit generate, and got something that looked like a stock photo from a different decade. The subject was roughly right, but the mood, the style and the light were all wrong. That gap is almost always a structure problem. This guide breaks prompts into subject, style and lighting so you can control each one deliberately.
Why Prompt Structure Matters More Than Fancy Words
When people start out with image generators, they tend to treat the prompt box like a search engine. They type a handful of keywords, maybe add “beautiful, 8k, masterpiece,” and hope the model fills in the rest. Sometimes it does. More often it fills the gaps with its own defaults, and those defaults are generic by design.
I spent my first few months doing exactly this. I would get one lucky image out of twenty and have no idea why it worked. The turning point came when I started treating every prompt as three separate decisions: what is in the picture, how it is rendered, and how it is lit. Once I did that, my hit rate improved dramatically, and more importantly, I could fix a bad result instead of rerolling blindly.
How Image Models Read Your Prompt
Modern image models turn your text into a numerical representation and use it to steer the image from noise toward something that matches. They do not read your prompt like a person reading a brief. They pick up on concepts, associations and emphasis. Words near the start of a prompt often carry more weight, repeated concepts get reinforced, and vague words get interpreted using whatever the model saw most often in training images.
This is why “a woman in a cafe” produces a surprisingly similar image across many tools. The model leans on the average of everything it associates with those words. Your job is to give it enough specific direction in each layer that it stops reaching for the average.
The Three-Layer Formula
The simplest reliable structure looks like this: subject first, then style, then lighting, with optional extras such as composition, camera and mood woven in. In plain words, you are answering three questions in order:
- What or who is the main focus, what are they doing, and where?
- What medium, genre or visual treatment should the image have?
- What kind of light shapes the scene, and what time of day or setup is it?
You do not need to label these parts in the prompt. Write them as natural phrases or a short sentence. If you want a broader overview of prompt writing before going deeper, How to Write AI Image Prompts is a good companion to this guide.
Structure Versus Length
A structured prompt is not necessarily a long one. A tight prompt with all three layers often beats a rambling paragraph. I regularly get excellent results with prompts of 25 to 40 words, as long as each layer is clear. When a prompt goes past 75 words, models tend to start ignoring details or blending them unpredictably. For a deeper look at this trade-off, see How Long Should an AI Image Prompt Be.
Layer One: Defining the Subject Clearly
The subject is the anchor of your image. If it is fuzzy, nothing else you add will rescue it. Most failed prompts I see from beginners fail here first.
Start With a Specific Noun
“A dog” is a subject. “A scruffy grey Irish wolfhound” is a much better one. “A cat” gives the model total freedom; “a sleepy ginger tabby curled on a windowsill” gives it a clear target. Specific nouns and adjectives narrow the range of possible images and push the model away from generic defaults.
The same applies to people. Instead of “a man,” describe age range, build, clothing and expression: “a weathered fisherman in his sixties, wearing a yellow oilskin jacket, squinting into the wind.” You are not writing a novel, but every specific detail you give is one less detail the model invents.
Add Action and Context
A subject standing still in an empty space looks like a catalogue photo. Give it something to do and somewhere to be. “A fisherman mending nets on a stone harbour wall in a small Irish village” tells the model about pose, props and environment all at once.
Context also helps the model resolve ambiguity. “A bat” could be an animal or a piece of sports equipment. “A bat hanging upside down in a limestone cave” removes the doubt. Whenever your subject word has multiple meanings, the context phrase should settle it.
Build a Detail Hierarchy
Put the most important element first, then supporting details, then background. Here is the order I use:
- Main subject with key descriptors
- Action or pose
- Secondary objects or characters
- Setting and background
For example: “A young chef plating a delicate dessert, a copper pan and fresh herbs on the counter, a busy restaurant kitchen blurred in the background.” The model reads the chef as the star, the props as support and the kitchen as atmosphere.
If you need several subjects, be careful. Most models struggle with three or more distinct characters, each with specific attributes, and will mix up clothing or features. Keep multi-character scenes simple, or generate elements separately. How to Prompt for Consistent Characters covers techniques for keeping characters stable across images.
| Weak subject | Stronger subject | What changed |
|---|---|---|
| A house | A narrow blue Victorian terraced house with a red front door | Specific type, colour and detail |
| A woman reading | A woman in her thirties reading a paperback on a park bench, autumn leaves at her feet | Age, action detail, setting |
| A robot | A rusty, boxy service robot sweeping a rain-soaked alley | Condition, shape, task, location |
| Food | A steaming bowl of ramen with a soft-boiled egg and spring onions | Exact dish and visible ingredients |
| A landscape | Rolling green hills dotted with sheep under a wide sky, a stone wall in the foreground | Terrain, details and foreground anchor |
Layer Two: Choosing a Style That Fits
Once the subject is pinned down, style decides how it looks. The same fisherman can be a gritty documentary photo, a cheerful children’s book illustration or a moody oil painting. Leaving style out means the model chooses, and most models default to a polished, slightly glossy digital look.
Medium First
The clearest way to set style is to name the medium. Photography, watercolour, oil painting, charcoal sketch, 3D render, pixel art, vector illustration, linocut print and anime illustration all pull the model in very different directions. A single medium word often does more than a paragraph of adjectives.
For photography, you can be more precise with phrases like “documentary photograph,” “studio portrait,” “35mm film photo” or “editorial fashion photograph.” For painting, “loose watercolour with visible paper texture” is more useful than just “watercolour.” How to Prompt for Specific Art Styles has longer lists of medium terms if you want to experiment.
Genre, Era and Movement
After medium, add genre or period cues. “Art nouveau poster,” “1970s sci-fi paperback cover,” “Dutch Golden Age still life” and “mid-century modern illustration” each bring a whole visual vocabulary with them: colour palettes, line quality, typography styles and composition habits.
I avoid naming living artists in prompts. Beyond the ethical questions, it tends to produce imitation rather than something that feels like your own work, and many platforms restrict it anyway. Movement and era descriptions give you plenty of control without leaning on a specific person’s style.
Rendering and Finish
The final style layer is about finish. Words like “highly detailed,” “soft focus,” “grainy,” “flat colours,” “matte,” “glossy,” “painterly” and “clean lines” adjust the texture of the image. They are especially useful when the medium alone leaves room for interpretation.
Be wary of empty quality words. “Masterpiece,” “best quality” and “ultra-detailed 8k” were popular in early Stable Diffusion communities because certain models were trained on images tagged that way. Many newer models ignore them or treat them as noise. A specific rendering note usually beats a generic quality boost.
| Style category | Example terms | Typical effect |
|---|---|---|
| Photographic | Documentary photo, studio portrait, 35mm film, macro photograph | Realistic textures, lens behaviour, natural detail |
| Painterly | Oil painting, gouache, impressionist, loose watercolour | Visible brushwork, softer edges, artistic colour |
| Graphic | Vector illustration, flat design, screen print, poster art | Bold shapes, limited palette, clean edges |
| Drawn | Charcoal sketch, pencil drawing, ink line art | Monochrome or limited tone, emphasis on line |
| Digital and 3D | 3D render, isometric, clay render, low poly | Smooth surfaces, controlled geometry, toy-like or technical feel |
| Stylised | Anime, comic book, children’s book illustration, pixel art | Strong conventions, exaggerated features, playful tone |
Layer Three: Lighting That Shapes the Mood
Lighting is the layer most beginners skip, and it is the one that most changes how professional an image feels. Photographers and cinematographers obsess over light for good reason. The same subject and style can feel warm, eerie, clinical or romantic depending entirely on the light.
Source and Direction
Start with where the light comes from. Natural sources include “morning sunlight through a window,” “overcast daylight,” “golden hour sun low on the horizon” and “moonlight.” Artificial sources include “neon signs,” “candlelight,” “a single bare bulb,” “studio softbox” and “streetlights.”
Direction matters as much as source. “Backlit,” “side-lit,” “lit from below” and “top light” all produce very different shadows. Side lighting adds drama and texture. Backlighting creates glowing edges and silhouettes. Lighting from below feels unsettling, which is why horror films use it.
Quality and Colour Temperature
Light can be hard or soft. Hard light, such as direct midday sun or a bare flash, creates crisp shadows and strong contrast. Soft light, such as an overcast sky or a large diffused window, wraps around the subject and flatters faces. Adding “soft diffused light” or “harsh direct light” gives the model a clear instruction.
Colour temperature sets the emotional tone. “Warm tungsten light” feels cosy and nostalgic. “Cool blue twilight” feels calm or melancholy. “Teal and orange colour grading” feels cinematic. Mixing temperatures, such as a warm lamp inside against cool blue dusk outside, creates depth and visual interest.
Named Lighting Setups
Photographers have names for classic setups, and models usually recognise them. “Rembrandt lighting” gives a small triangle of light on the shadowed cheek. “Butterfly lighting” places light high and in front, typical in beauty portraits. “Rim lighting” outlines the subject. “Chiaroscuro” means strong contrast between light and dark. Using these names is a shortcut to a whole lighting arrangement.
| Lighting term | What it describes | Best for |
|---|---|---|
| Golden hour | Low, warm sun shortly after sunrise or before sunset | Portraits, landscapes, nostalgic scenes |
| Blue hour | Cool, even light just after sunset | Cityscapes, calm or melancholy moods |
| Overcast soft light | Diffused daylight with gentle shadows | Product shots, natural portraits |
| Rembrandt lighting | Side key light creating a triangle on the cheek | Dramatic, classic portraits |
| Rim lighting | Light from behind outlining the subject | Separation from background, heroic feel |
| Neon lighting | Coloured artificial light from signs | Cyberpunk, nightlife, urban scenes |
| Candlelight | Warm, flickering, low light | Intimate, historical or cosy scenes |
| Chiaroscuro | Strong contrast between light and shadow | Moody, painterly, theatrical images |
If you want more lighting vocabulary and examples, How to Add Lighting to AI Prompts goes deeper into each setup.
Putting the Layers Together
Knowing the layers is one thing. Combining them into prompts that work reliably across tools is the real skill. Here is how I assemble and refine prompts in practice.
Example Prompts Built Layer by Layer
Take a simple idea: an old bookshop.
Subject only: “An old bookshop.” The result is usually a generic shop interior with neat shelves.
Add detail: “A cramped old bookshop with towering shelves, stacks of books on the floor and a cat asleep on the counter.” Now the scene has character.
Add style: “A cramped old bookshop with towering shelves, stacks of books on the floor and a cat asleep on the counter, warm watercolour illustration with ink outlines.” The image now has a clear visual identity.
Add lighting: “A cramped old bookshop with towering shelves, stacks of books on the floor and a cat asleep on the counter, warm watercolour illustration with ink outlines, late afternoon sunlight streaming through a dusty window.” The final version feels deliberate, with mood and depth.
Each addition changes one thing, which makes it easy to see what each layer contributes.
Adapting to Different Tools
Different generators reward slightly different prompt styles. Midjourney responds well to short, evocative phrases and has its own parameters for aspect ratio and stylisation. Tools built into chat assistants, such as the image features in ChatGPT, handle full natural-language sentences and follow instructions about layout more literally. Stable Diffusion models, especially community fine-tunes, often respond to comma-separated keyword lists and support weighting syntax. Flux tends to follow long descriptive prompts closely, and Ideogram is especially strong when text needs to appear in the image.
| Tool | Prompt style that works best | Notes on structure |
|---|---|---|
| Midjourney | Short descriptive phrases | Subject first, style and lighting as compact phrases, parameters at the end |
| ChatGPT image generation | Full natural sentences | Can follow layout and text instructions closely |
| Stable Diffusion | Keyword lists with optional weights | Negative prompts are very useful |
| Flux | Detailed natural descriptions | Rewards specific lighting and camera language |
| Ideogram | Clear descriptions with quoted text | Strong for posters and typography |
Whatever the tool, the three layers stay the same. Only the phrasing changes. For tool-specific advice, Midjourney Prompt Guide and Stable Diffusion Prompt Guide go into the details.
Iterating One Layer at a Time
When a result is close but not right, change only one layer per generation. If the subject is wrong, fix the subject and keep style and lighting the same. If the mood is off, adjust the lighting only. Changing everything at once makes it impossible to learn what worked.
I keep a simple log of prompts and results so I can return to what worked. How to Iterate on AI Image Prompts explains a more systematic approach, including how to use seeds to keep compositions stable while testing changes.
Common Mistakes and How to Fix Them
Even with a solid structure, a few habits can undermine your results. These are the ones I see most often, including in my own early prompts.
Contradictory Instructions
Asking for “a dark moody scene with bright cheerful colours” or “minimalist and highly detailed” confuses the model. It will compromise, and the compromise is usually muddy. Decide what matters most and remove the conflicting term. If you want contrast, describe it explicitly: “a dark room with a single bright red umbrella.”
Overloading One Layer
Some prompts stack five style terms, such as “watercolour, oil painting, 3D render, anime, photorealistic.” The model cannot do all of them, so it blends them into something strange. Pick one primary medium, then refine with one or two finish terms. The same applies to lighting: one main source and one modifier usually beat a long list.
Forgetting What You Do Not Want
Sometimes the fix is to say what you do not want. Many tools support negative prompts, where you list things to avoid, such as “blurry, extra fingers, watermark, text.” This is especially effective in Stable Diffusion. Tools without negative prompts often respond to phrasing like “no text in the image” in plain language. How to Use Negative Prompts covers how and when to use them, and Common AI Image Prompt Mistakes lists other pitfalls worth avoiding.
The good news is that every one of these mistakes becomes obvious once you think in layers. When an image disappoints, ask yourself which layer failed, fix that layer, and try again. That habit turns random rerolling into a skill you can build on.
Disclaimer
This article is for general informational purposes only and does not constitute professional advice. Laws, prices and regulations vary by location and change over time. Consult a qualified professional for guidance on your specific situation.