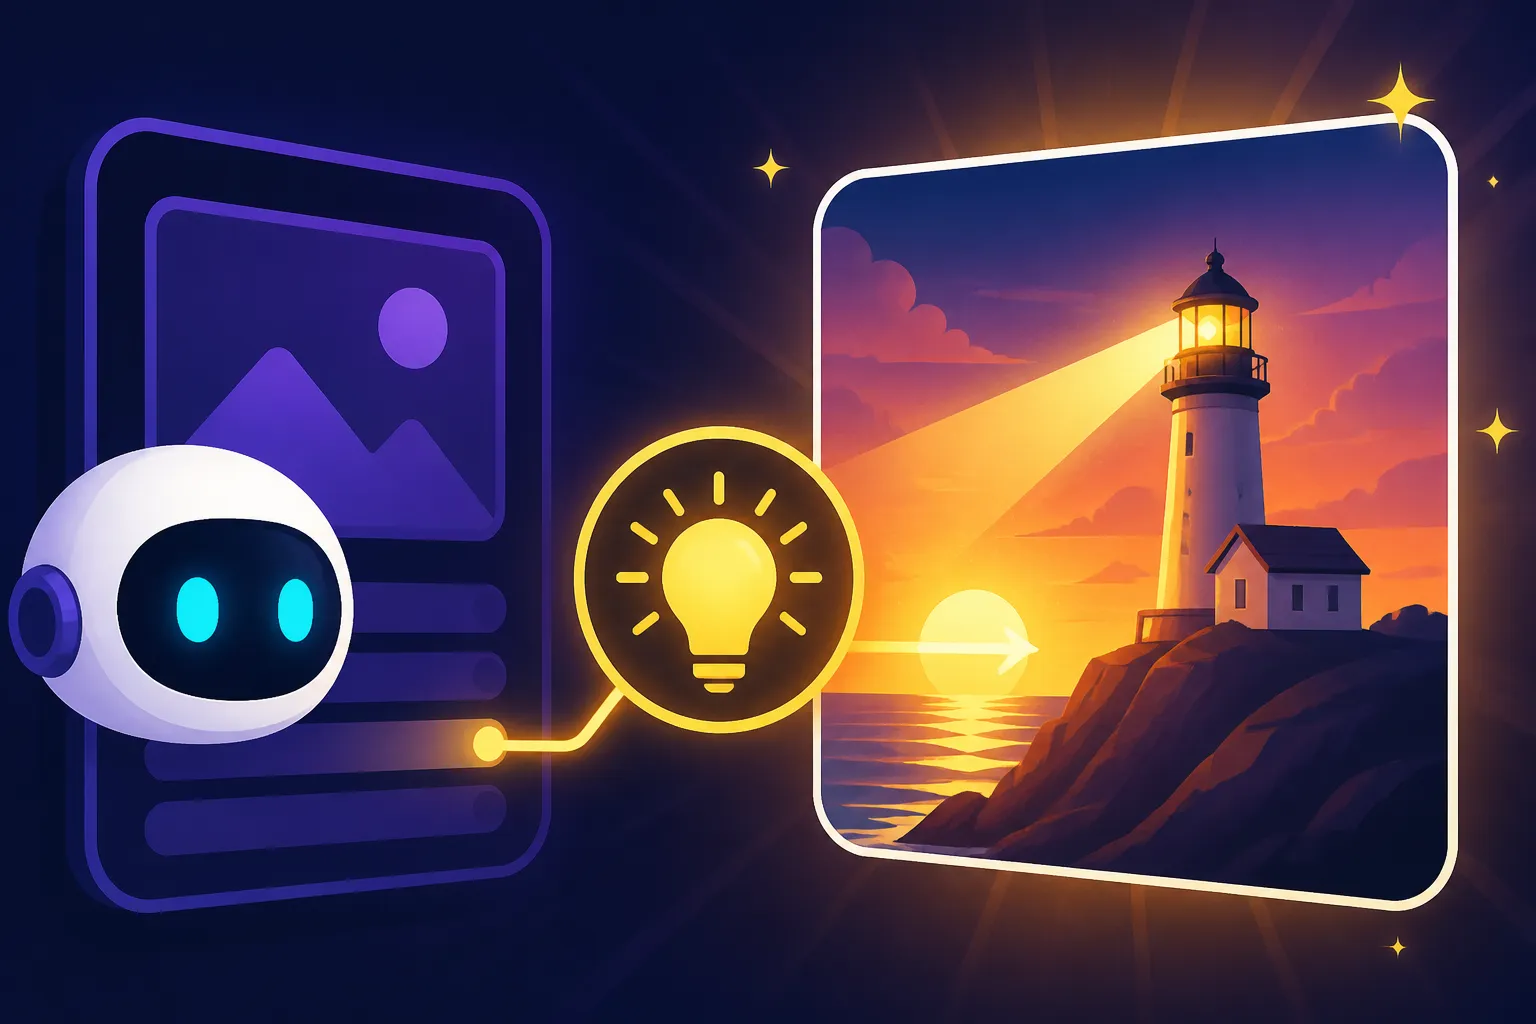
How to Add Lighting to AI Prompts
Have you ever generated an AI image that just felt… flat? Like it was missing that spark, that vibrant energy that makes an image truly pop? It's a common frustration, believe me. You nail the subject, the style, the composition, but without careful attention to lighting, your masterpiece can end up looking dull or unrealistic. This comprehensive guide is here to change that, showing you exactly how to wield the power of light in your AI prompts to transform your creations from merely good to absolutely breathtaking.
Why Lighting Matters So Much in AI Image Generation
Think about traditional photography or painting. What's one of the first things a seasoned artist considers? Light! It's not just about illumination; it's about mood, drama, focus, and realism. The same goes for AI image generation. Without intentionally guiding the AI on how to light your scene, you're leaving a crucial element to chance, often resulting in images that lack impact or believability.
Setting the Scene and Mood
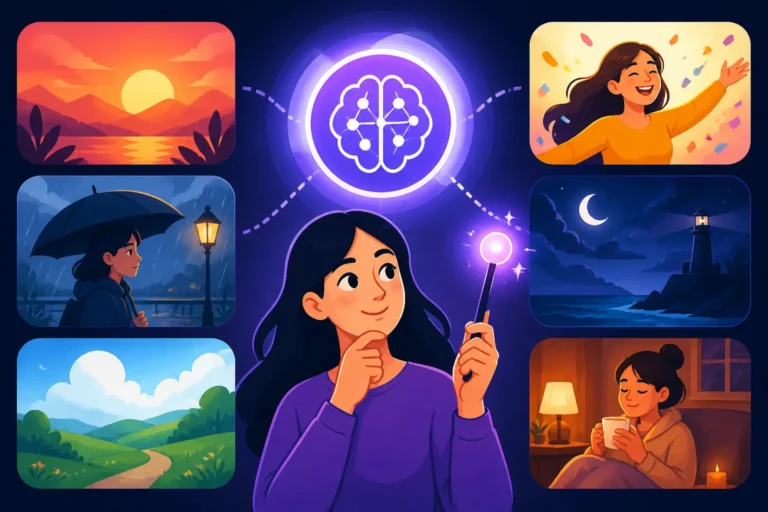
Lighting is an emotional powerhouse. It dictates the entire atmosphere of your image, instantly communicating a feeling before a viewer even consciously processes the subject. Imagine a dark, moody alleyway lit only by the harsh glow of a single streetlamp—it evokes mystery, perhaps a touch of danger. Now picture that same alleyway bathed in soft, warm morning sunlight; the feeling shifts entirely to one of calm or even hope.
When you specify lighting in your prompts, you're not just telling the AI what to light, but how it should feel. Want a whimsical fairy tale scene? Think "soft, dappled sunlight filtering through ancient trees." Aiming for a gritty urban noir? "Harsh, stark neon glow reflecting off wet pavement" will do the trick. This deliberate choice is what separates generic AI art from truly evocative pieces that resonate with an audience.
Guiding the Viewer's Eye
A well-lit image isn't just pretty; it's smart. Lighting acts as an invisible hand, directing your viewer's gaze to exactly where you want it to go. Brightness, contrast, and shadow can create focal points that demand attention. If a specific character or object is central to your image's narrative, strategic lighting ensures it stands out.
Consider a portrait. If the light falls beautifully on the subject's face, highlighting their eyes or a particular expression, that's where your attention naturally goes. Conversely, if the background is brighter or more complex, the subject might get lost. By adding specific lighting directives to your AI prompts, such as "spotlight on the main character" or "rim lighting highlighting the contours," you take control of the visual hierarchy and make sure your intended message is clear.
Enhancing Realism and Depth
Perhaps one of the most common complaints about early AI art was its often flat, two-dimensional quality. This largely stemmed from a lack of sophisticated lighting. In the real world, light interacts with surfaces, casts shadows, creates reflections, and varies in intensity, all of which contribute to our perception of depth and volume. Without these nuances, an image looks artificial.
By incorporating specific lighting conditions, you instruct the AI to render these intricate interactions. "Strong directional light" will produce crisp shadows, giving objects a tangible presence. "Subtle ambient occlusion" adds soft shading to corners and creases, making surfaces feel more grounded. This attention to how light plays on forms and textures is what truly brings an AI-generated image to life, making it feel less like a digital creation and more like a captured moment from reality. For more on making your images believable, check out our guide on How to Prompt for Photorealistic Images.
Understanding Key Lighting Terminology for Prompts
Before you can effectively tell an AI how to light your scene, it helps to speak its language, or at least understand the concepts it's interpreting. Familiarizing yourself with some fundamental lighting terms will empower you to write more precise and impactful prompts, leading to significantly better results.
Types of Light Sources
This is your starting point: what kind of light is illuminating your scene? Simply specifying the source can dramatically change the outcome.
- Natural Light: This encompasses sunlight, moonlight, and atmospheric conditions. You can be incredibly specific here. Think "golden hour sunlight," "soft overcast light," "harsh midday sun," "twilight glow," "moonlit night," or "dappled light filtering through leaves." Each of these conjures a distinct mood and visual quality. Using terms like "sun-drenched," "moonbeam," or "starlight" can also be highly effective.
- Artificial Light: This category is vast and offers immense creative control. Consider "neon signs," "fluorescent lights," "incandescent bulbs," "candlelight," "firelight," "headlights," "stage lights," "fairy lights," or "street lamps." Don't forget their color and intensity, e.g., "warm incandescent glow" or "cold blue fluorescent light." The more detail, the better.
- Environmental Light: This refers to light that comes from the surroundings, often bouncing off surfaces. "Ambient light" suggests a soft, diffuse illumination that fills the scene evenly, reducing harsh shadows. You might also specify "reflected light" from a particular surface, like "reflected light from a snowy landscape."
Directional Lighting
Where is the light coming from relative to your subject? This is critical for shaping forms and creating shadows.
- Front Lighting: The light source is directly in front of the subject, facing the camera. This tends to flatten features and reduce shadows, often making images appear less dynamic. While good for showing detail, it can lack depth.
- Backlighting (Rim Lighting): The light source is behind the subject, often creating a silhouette or a bright halo (a "rim") around the subject's edges. This is fantastic for adding drama, separating the subject from the background, and creating a sense of mystery or ethereal beauty. You could prompt for "strong backlighting" or "subtle rim lighting."
- Side Lighting: The light source comes from the side, creating strong shadows and highlights that emphasize texture and form. This is excellent for adding depth, drama, and dimension to your subjects. "Dramatic side lighting" can create stark contrasts, while "soft side lighting" offers a more nuanced look.
- Top Lighting: Light comes from directly above the subject. This can create strong shadows under the eyes and nose, often used for dramatic or somewhat harsh effects. Think of a single bare bulb hanging overhead.
- Under Lighting: Light comes from below the subject. This is often unsettling or spooky, as it's an unnatural direction for light. It's fantastic for horror themes or creating a distorted, eerie mood.
Qualities of Light
Beyond the source and direction, the quality of the light profoundly impacts the visual output.
- Hard Light: Characterized by sharp, well-defined shadows and high contrast. Think of a sunny day with no clouds, or a direct spotlight. Prompts might include "harsh sunlight," "direct flash," or "sharp, focused beam." This adds drama and intensity.
- Soft Light: Produces gentle, diffused shadows with smooth transitions between light and dark. Overcast days, light filtered through a sheer curtain, or a large studio softbox are examples. Prompts like "soft, diffused light," "gentle illumination," or "cloudy day light" create a more subtle, flattering, and often serene atmosphere.
- Color Temperature: Light isn't always white. It has a color temperature, measured in Kelvin. "Warm light" (lower Kelvin) tends towards oranges and yellows, like a sunset or candlelight. "Cool light" (higher Kelvin) leans towards blues and whites, like shade on a clear day or moonlight. Be explicit: "warm golden light," "cool blue ambient light," or "neutral daylight."
- Intensity: How bright is the light? "Bright," "dim," "intense," "subdued," "overexposed," "underexposed." This affects the overall brightness of your image and the range of tones. "High-key lighting" uses predominantly bright tones and minimal shadows, creating a light, airy feel. "Low-key lighting" uses mostly dark tones and strong shadows, creating a dramatic, mysterious, or somber mood.
By combining these elements, you can craft incredibly detailed lighting descriptions for your AI. For instance, instead of just "sunset," try "dramatic golden hour backlighting, with long, soft shadows, casting a warm orange glow across the scene."
Practical Strategies for Integrating Lighting into Your Prompts
Now that we've covered the language, let's talk about putting it into practice. Crafting effective lighting prompts isn't just about listing terms; it's about thoughtful integration and a bit of experimentation. It's an iterative process, much like any creative endeavor. If you're new to prompting in general, our AI Image Prompt Guide for Beginners can offer a great foundation.
Starting with the Basics: Simple Lighting Descriptors
You don't need to be a lighting guru from day one. Begin by incorporating simple, yet powerful, lighting descriptors into your core prompts. Even a few well-chosen words can make a monumental difference.
- General Mood: Start with broad terms that define the overall atmosphere. "Bright and airy," "dark and moody," "vibrant and colorful," "subdued and calm." These set the initial stage for the AI's interpretation of light. For example, instead of just "a cottage in the woods," try "a cottage in the woods, enveloped in a soft, ethereal glow."
- Time of Day/Weather: This is a simple yet highly effective way to imply lighting. "Early morning light," "late afternoon sun," "stormy weather with dramatic shadows," "foggy morning," "clear starry night." The AI is usually quite good at interpreting these conditions and rendering appropriate lighting. A prompt like "a bustling city street" becomes much more atmospheric when you add "a bustling city street at dusk, illuminated by glowing neon signs and soft lamplight."
- Primary Light Source: Explicitly state the dominant light source. "Sunlight," "moonlight," "candlelight," "fireplace glow." This is especially crucial if you want something specific that isn't the default 'daylight' setting. For instance, "a knight in shining armor" could be transformed by "a knight in shining armor, lit by the flickering orange glow of a roaring dragon's breath."
Remember, even these simple additions stack up. Each descriptive word adds another layer of instruction for the AI, guiding it closer to your vision. Don't be afraid to experiment with one or two new lighting terms in your existing prompts to see the immediate impact. Our Prompt Structure: Subject, Style, Lighting guide dives deeper into how to balance these elements.
Advanced Techniques: Layering and Specificity
Once you're comfortable with the basics, you can start layering more detailed and specific lighting instructions. This is where you gain granular control and achieve truly unique effects.
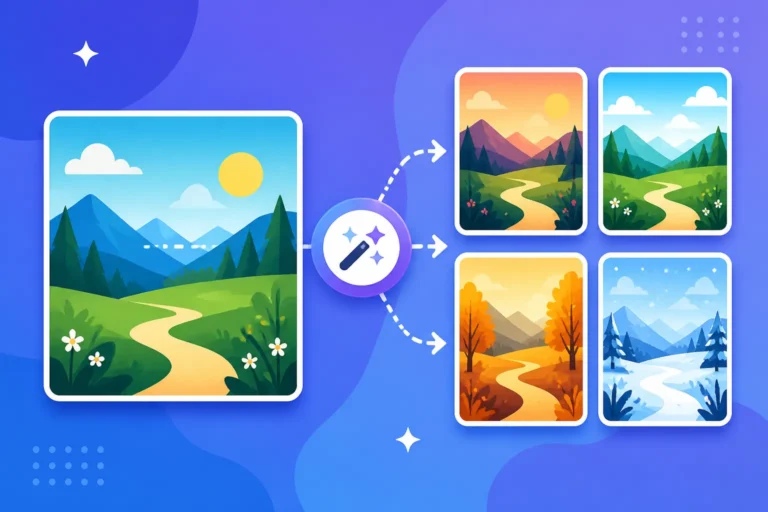
- Combine Source, Direction, and Quality: Don't just say "sunset." Say "dramatic golden hour backlighting, with long, soft shadows, casting a warm orange glow across the silhouette of a lone tree." See how many specific elements are packed into that?
- Source: Golden hour
- Direction: Backlighting
- Quality: Dramatic, soft shadows, warm orange glow
- Highlight and Shadow Details: Go beyond simply "shadows." Describe them. "Deep, intricate shadows," "razor-sharp cast shadows," "subtle ambient shadows," "luminous highlights," "specular reflections on metallic surfaces." The AI can often pick up on these nuances and render them with impressive detail. For example, if you're prompting for a portrait, you might add, "catchlight in the eyes, subtle shadows defining the cheekbones."
- Color of Light: Be explicit about the color temperature or tint of your light. "Cool blue moonlight," "magenta stage lighting," "verdant green glow from a magical artifact." This adds a huge amount of atmosphere. If you're working with a tool like Midjourney, you might even find specific parameters to fine-tune color. Remember to consider Midjourney Parameters Explained for such cases.
- Negative Prompts for Undesired Lighting: Just as you can tell the AI what you want, you can also tell it what you don't want. If your images are consistently coming out too dark, try
:: no dim light, no shadows, no underexposed. If they're too flat,:: no flat lighting, no soft shadows. This is an incredibly powerful technique, and you can learn more about it in our article on How to Use Negative Prompts.
When you layer these details, you're building a rich, multifaceted instruction set for the AI, leaving less to arbitrary interpretation. It might feel like a lot at first, but with practice, it becomes second nature.
Iteration and Refinement: The Path to Perfection
Even with the most detailed prompt, your first attempt might not be perfect. That's absolutely fine! AI image generation is an iterative process, a dialogue between you and the machine. Think of it as sculpting: you start with a rough form and gradually refine it.
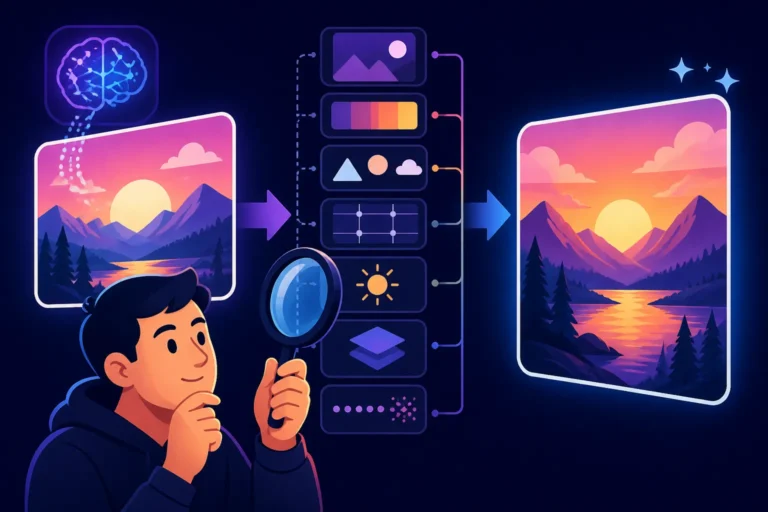
- Analyze the Output: Look critically at the images the AI generates. What's working with the lighting? What's not? Is it too bright, too dark, too harsh, too soft? Are the shadows correct? Is the mood right?
- Adjust and Regenerate: Based on your analysis, tweak your prompt. If it's too dark, add terms like "brightly lit," "high key," or increase the intensity of your light source. If it's too flat, try "strong directional lighting," "dramatic shadows," or "side lighting." Don't be afraid to change just one or two words at a time to isolate the effect of each adjustment.
- Use Seed Numbers (where available): Many AI tools, like Stable Diffusion or Midjourney, allow you to use a "seed" number to reproduce a similar initial image composition. If you get a great composition but the lighting is off, regenerate with the same seed and modify only the lighting terms in your prompt. This helps you isolate the impact of your lighting changes.
- Experiment with Weights (where available): Some AI platforms allow you to assign "weights" to different parts of your prompt, giving certain keywords more emphasis. If you really want the lighting to be dominant, you might try
(dramatic backlighting::1.5) a mysterious figure...This tells the AI to pay extra attention to that specific lighting description. For more advanced control, explore How to Use Weights in AI Prompts.
The key is patience and persistent experimentation. Every iteration teaches you something new about how the AI interprets your words. Keep refining, and you'll eventually hit that sweet spot where the lighting perfectly complements your scene. If you find yourself consistently getting undesirable results, consult our guide on How to Fix Bad AI Image Results.
Common Lighting Styles and How to Prompt for Them
Different moods and visual aesthetics often call for distinct lighting approaches. By understanding common lighting styles, you can quickly achieve the desired look for your AI images, whether you're aiming for cinematic drama or soft, romantic charm.
Dramatic and High Contrast Lighting
This style is all about creating tension, mystery, and visual impact. It uses strong differences between light and shadow to create striking compositions and emphasize form.
- Film Noir/Chiaroscuro: Think classic black and white movies with sharp angles and deep shadows.
- Prompt elements:
high contrast,dramatic shadows,deep chiaroscuro,hard light,stark lighting,single light source,spotlight,razor-sharp shadows,moody,gritty,ominous. - Example prompt: "A lone detective in a trench coat, standing in a dimly lit alleyway, dramatic chiaroscuro lighting, deep, sharp shadows cast by a single streetlamp, high contrast, film noir aesthetic, rain-soaked pavement reflecting the stark light."
- Prompt elements:
- Cinematic/Epic: Often used for large-scale scenes, emphasizing grandeur and atmosphere with powerful lighting.
- Prompt elements:
cinematic lighting,epic scale lighting,god rays,volumetric lighting,shafts of light,backlighting,dynamic lighting,dramatic clouds,stormy sky. - Example prompt: "A majestic fantasy castle perched on a cliff, dramatic cinematic lighting, god rays piercing through stormy, volumetric clouds, powerful backlighting silhouetting the turrets, vibrant magical glow emanating from within."
- Prompt elements:
- Cyberpunk/Neon: Characterized by vibrant, artificial lights and deep shadows, reflecting a futuristic, often dystopian setting.
- Prompt elements:
neon lighting,fluorescent glow,cyberpunk lighting,glowing city lights,wet streets reflecting light,holographic projections,electric glow,harsh artificial light. - Example prompt: "A futuristic city street at night, vibrant neon lighting, glowing holographic advertisements reflected on wet pavement, harsh fluorescent glow illuminating dark alleyways, a lone figure walking under the electric light."
- Prompt elements:
Soft, Ambient, and Natural Lighting
In contrast to dramatic lighting, this style prioritizes a gentle, diffuse, and often more realistic illumination. It's excellent for creating serene, intimate, or dreamy moods.
- Golden Hour/Magic Hour: The period shortly after sunrise or before sunset, known for its warm, soft, golden light.
- Prompt elements:
golden hour light,magic hour,warm glow,soft sunlight,long shadows,diffused warmth,ethereal light,dappled sunlight. - Example prompt: "A young woman reading a book by a window, soft golden hour light streaming through sheer curtains, warm diffused glow on her face, long gentle shadows in the room, peaceful, serene atmosphere."
- Prompt elements:
- Overcast/Diffuse Light: Light on a cloudy day, which is naturally soft and even, minimizing harsh shadows.
- Prompt elements:
overcast light,soft ambient lighting,diffused daylight,even illumination,gentle shadows,flat light (if desired for a specific effect),subtle tones. - Example prompt: "A serene forest path, soft overcast light filtering through the dense canopy, gentle ambient illumination, subtle shadows defining the trees and foliage, tranquil, calming atmosphere."
- Prompt elements:
- Candlelight/Firelight: Warm, flickering light that creates an intimate, cozy, or romantic mood.
- Prompt elements:
candlelight glow,flickering firelight,warm incandescent,soft orange light,dancing shadows,intimate illumination,cozy ambiance. - Example prompt: "A cozy cabin interior during winter, flickering candlelight casting warm orange glow on rustic wooden walls, dancing shadows, intimate and inviting ambiance, fireplace softly roaring in the background."
- Prompt elements:
Thematic and Artistic Lighting
Beyond realism, lighting can be a powerful artistic tool to convey specific themes or aesthetic styles, often bending reality for creative effect.
- Volumetric/Atmospheric Lighting: Light that is visible as it passes through a medium like fog, dust, or smoke, creating visible shafts or glows.
- Prompt elements:
volumetric lighting,god rays,light shafts,foggy light,hazy atmosphere,dust motes illuminated,misty light. - Example prompt: "An ancient ruin in a forgotten jungle, volumetric light piercing through thick jungle mist, dramatic god rays illuminating overgrown stone carvings, hazy, mysterious atmosphere."
- Prompt elements:
- Studio Lighting: Controlled lighting setups typically used in photography or film sets, aiming for specific, often stylized, effects.
- Prompt elements:
studio lighting,key light,fill light,rim light,three-point lighting,softbox lighting,beauty dish lighting,controlled lighting. - Example prompt: "A high-fashion portrait of a model, professional studio lighting, perfect three-point lighting setup, softbox lighting creating gentle highlights and shadows, clean, elegant, high-definition."
- Prompt elements:
- Magical/Fantasy Lighting: Often involves unnatural light sources, glowing objects, or fantastical atmospheric effects.
- Prompt elements:
magical glow,ethereal light,luminous aura,sparkling light,enchanted luminescence,glowing runes,mystical light. - Example prompt: "A fairy in an enchanted forest, glowing with an ethereal, iridescent blue light, magical light illuminating moss and flowers, sparkling dust motes in the air, whimsical, dreamlike."
- Prompt elements:
By exploring and experimenting with these different lighting styles, you'll unlock a new level of creative control over your AI images. This is where AI truly becomes a powerful artistic collaborator. For more on prompting specific artistic qualities, consider reviewing AI Image Prompt Examples by Style.
Troubleshooting Lighting Issues in AI-Generated Images
Even with your best prompting efforts, AI models can sometimes produce unexpected or less-than-ideal lighting. It's a common hurdle, but don't despair! Most lighting issues can be diagnosed and corrected with a little careful observation and targeted prompt adjustments.
Fixing Flat or Lifeless Lighting
One of the most frequent complaints is that images generated by AI can look flat, lacking depth and dimension. This usually stems from a lack of contrast or insufficient shadow information.
- Problem Diagnosis: The image appears uniformly lit, with soft or nonexistent shadows, making objects blend into the background. Details are present, but the overall scene lacks visual "pop" or realism. It looks like it was taken with a direct, flat flash, or in very even, diffused light when that wasn't your intention.
- Solution Strategies:
- Introduce Stronger Directional Cues: If your image is flat, the AI probably didn't get enough information about where the light is coming from. Add terms like
dramatic side lighting,harsh direct sunlight,strong backlighting,spotlight, orfocused beam. Specify the direction to create clear highlights and shadows. - Emphasize Contrast: Use keywords that push the AI towards a higher contrast image:
high contrast,deep shadows,stark lighting,chiaroscuro. These terms explicitly tell the AI to create a greater difference between the lightest and darkest parts of the image. - Specify Texture and Volume: Sometimes, enhancing how light interacts with surfaces can indirectly improve depth. Add descriptors like
light catching rough textures,specular highlights on metallic surfaces,volumetric light highlighting dust particles. - Negative Prompts for Flatness: Actively tell the AI what not to do. Include
:: no flat lighting,:: no dull illumination,:: no ambient light only. This can help nudge the model away from its default, often softer, lighting interpretations. - Use a Reference Image (if supported): If your AI tool allows image-to-image prompting or reference images, provide an image with the type of dramatic or dynamic lighting you're aiming for. This can give the AI a strong visual cue.
- Introduce Stronger Directional Cues: If your image is flat, the AI probably didn't get enough information about where the light is coming from. Add terms like
Correcting Unnatural Shadows and Highlights
Sometimes the AI gets too creative with shadows or highlights, placing them in illogical spots or rendering them unrealistically. This can break the illusion of realism instantly.
- Problem Diagnosis: Shadows might be going in multiple directions, appearing detached from objects, or having unnatural shapes. Highlights might be blown out (overexposed) or appear on surfaces that shouldn't reflect light in that way. Objects might look like they're floating or disconnected from their environment.
- Solution Strategies:
- Refine Light Source and Direction: Be extremely specific about one primary light source and its direction.
Single light source from the top-left,only light from the window on the right,harsh sunlight from directly above. This helps the AI calculate consistent shadows. - Describe Shadow Qualities: Instead of just "shadows," describe them:
long, consistent shadows,soft, diffused shadows blending naturally,sharp, defined cast shadows. This guides the AI on how to render them. - Ground the Scene: Add environmental details that influence shadows.
Sunlight casting shadows of trees on the ground,streetlamp illuminating the wet pavement, casting long shadows of pedestrians. This helps the AI understand the physics of light within the scene. - Adjust Intensity and Exposure: If highlights are blown out, try
subdued lighting,underexposed,soft, non-glaring light. If shadows are too harsh,soft ambient lighting,fill lightcan help soften them. You might need to adjust the overall brightness of your scene with terms likebrightordim. - Inpainting/Outpainting (Post-Generation): Some advanced AI tools, or external editing software, allow you to selectively modify parts of an image. If a shadow is slightly off, you might use an inpainting feature to correct it without regenerating the whole image. This is a powerful technique discussed further in How to Edit AI Images with Inpainting.
- Refine Light Source and Direction: Be extremely specific about one primary light source and its direction.
Achieving Consistent Lighting Across Multiple Images
For projects requiring a series of images (e.g., a comic, a product line, a character study), maintaining consistent lighting is paramount but notoriously difficult with AI.
- Problem Diagnosis: Images generated with similar prompts have wildly different lighting conditions, moods, and shadow placements, making them feel like they belong to different series. A character looks like they're in sunshine in one panel and indoors at night in the next, without an intentional change.
- Solution Strategies:
- Standardize Your Lighting Block: Create a "lighting block" in your prompt that you use for every image in the series. For example:
[Character description], [setting], **consistent studio lighting, soft fill light, subtle rim light, neutral color temperature, evenly lit**.or[Character description], [setting], **dramatic cinematic backlighting, golden hour glow, long, distinct shadows, vibrant warm tones**. - Use Seed Numbers (Carefully): While a seed ensures similar composition, it doesn't guarantee identical lighting across different subjects. However, for a sequence of minor variations on the same subject and setting, using the same seed number and lighting prompt can help.
- Reference Images for Consistency: If your tool supports it, use a consistent reference image that embodies the desired lighting style for all your generations. This gives the AI a strong visual anchor.
- Prompt for the Environment First: Sometimes, focusing on the environmental lighting first can help. Instead of
character, consistent lighting, trya room with warm ambient light, then place character in the room. - Batch Generation with Minor Variations: Generate a large batch of images with your standardized lighting prompt, then cherry-pick the ones that match best. You might find a few outliers that work perfectly together.
- Character Consistency Prompting: For characters, combine your lighting efforts with techniques from How to Prompt for Consistent Characters. A character that always appears under "noir lighting" is more consistent than one whose lighting varies wildly.
- Standardize Your Lighting Block: Create a "lighting block" in your prompt that you use for every image in the series. For example:
Consistency often requires more effort in prompting, but the payoff in a cohesive series of images is well worth it. It’s all about creating a robust framework that the AI can stick to.
Tools and Features That Help with Lighting Prompts
The landscape of AI image generation tools is vast and ever-evolving, and many platforms are incorporating advanced features to give users more control over lighting. Understanding what's available can significantly enhance your prompting workflow.
Specific AI Tools and Their Lighting Capabilities
Different AI models interpret prompts in unique ways, and some have specific functionalities that are particularly helpful for lighting.
- Midjourney: Known for its artistic prowess, Midjourney often defaults to atmospheric and aesthetically pleasing lighting. It excels at interpreting evocative, descriptive lighting terms. Users often find success with dramatic lighting, ethereal glows, and specific time-of-day prompts. Midjourney's
--style rawparameter can sometimes offer more literal interpretation of lighting, while--style expressivemight lean into more artistic, stylized light. Exploring a Midjourney Prompt Guide or even a Midjourney V7 Review will reveal deeper insights into its unique capabilities and parameters for controlling ambiance and light. - DALL-E (especially via ChatGPT/GPT Image): DALL-E 3, integrated into platforms like ChatGPT, is excellent at understanding natural language, making it very responsive to descriptive lighting prompts. It often produces more realistic and coherent scenes, and its ability to understand complex sentence structures makes it good for layering multiple lighting instructions. A specific DALL-E Prompt Guide can help you get the most out of it.
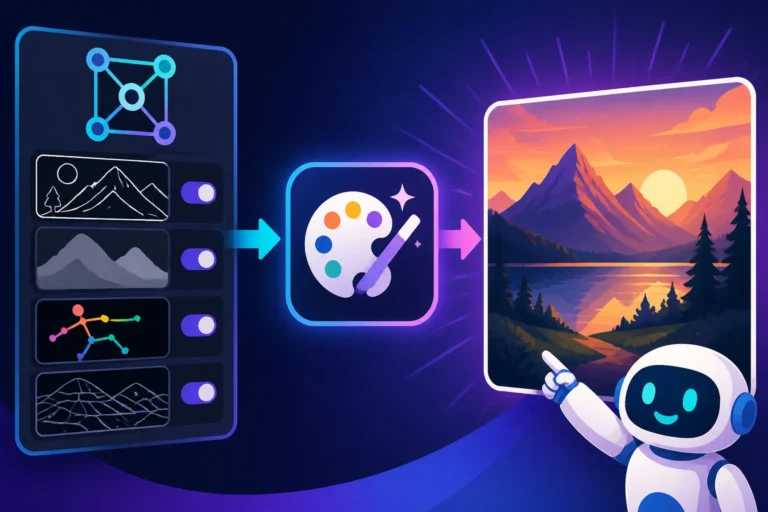
- Stable Diffusion: This open-source model offers unparalleled customization. With various models (check out Stable Diffusion 3.5 Review), LoRAs, and ControlNet, users have precise control over lighting. You can train custom models on specific lighting styles or use ControlNet to enforce specific shadow patterns or lighting setups from reference images. While it has a steeper learning curve, the control is unmatched. Our guide on Stable Diffusion Prompt Guide covers the basics.
- Adobe Firefly: Designed with commercial use in mind, Adobe Firefly often produces clean, professional-looking images. It's particularly good at interpreting standard photographic lighting terms and excels when you need consistent, well-lit product shots or marketing images. Its focus on creative control means it often has intuitive sliders or options for light intensity and mood. If you're using it for commercial endeavors, read our Adobe Firefly Commercial Safety Review.
- Leonardo AI: This platform provides a user-friendly interface with many models and features, including options to adjust light intensity and mood directly within its UI. It often has presets for different lighting conditions (e.g., "cinematic," "dynamic," "ambient") that you can select, augmenting your text prompts. Leonardo AI Review gives a good overview of its capabilities.
Many tools are continually adding new ways to control lighting, so always check the latest updates and features of your preferred platform.
Utilizing Parameters and Negative Prompts
Beyond just descriptive words, many AI tools offer specific parameters and techniques to further refine your lighting.
- Parameters for Light Control:
- Aspect Ratio (
--arin Midjourney): While not directly a lighting parameter, choosing the right aspect ratio influences the composition and how light falls on the scene. A wide aspect ratio might accommodate long, dramatic shadows better. - Stylize (
--sin Midjourney): This parameter can influence how artistic or realistic the lighting appears. A higher stylize value might lead to more dramatic, exaggerated lighting effects. - Chaos (
--cin Midjourney): A higher chaos value can sometimes introduce more varied and unexpected lighting, which could be beneficial for creative exploration but detrimental for consistency. - Specific Lighting Models/Styles: Some tools offer different base models or "styles" that inherently favor certain lighting characteristics. For example, a "photorealistic" model will likely generate more naturalistic lighting than an "anime" model.
- Aspect Ratio (
- Negative Prompts: This is your secret weapon against unwanted lighting effects.
- Combatting Overexposure: If your images are consistently too bright, use
:: no overexposed,:: no blown highlights,:: no harsh glare. - Fixing Underexposure/Darkness: If images are too dark, use
:: no underexposed,:: no dim light,:: no deep shadows (unless intended). - Eliminating Flatness:
:: no flat lighting,:: no lack of depth,:: no even lighting (unless desired). - Removing Unnatural Lights: If you're getting weird light sources, try
:: no artificial lights,:: no harsh reflections,:: no lens flare (unless desired).
- Combatting Overexposure: If your images are consistently too bright, use
| Lighting Issue | Common Prompt Adjustments (Positive) | Common Negative Prompts (Negative) |
|---|---|---|
| Flat/Lifeless | dramatic side lighting, high contrast, sharp shadows, rim light |
::no flat lighting, ::no dull, ::no even illumination |
| Too Dark | brightly lit, high key lighting, luminous, sun-drenched |
::no underexposed, ::no dim light, ::no deep shadows |
| Too Bright/Washed Out | subdued lighting, low key lighting, moody, soft focus |
::no overexposed, ::no blown highlights, ::no glare |
| Unnatural Shadows | consistent single light source, realistic shadows, grounded shadows |
::no multiple shadows, ::no detached shadows, ::no floating objects |
| Lack of Depth | volumetric lighting, dynamic shadows, depth of field, 3D render |
::no flat image, ::no 2D, ::no soft shadows (unless desired) |
| Wrong Color Temp | warm golden glow, cool blue light, neutral daylight |
::no warm tones, ::no cool tones, ::no color cast |
Remember, the power of negative prompts lies in their specificity. The more precise you are about what you don't want, the more effectively the AI can avoid it, allowing your positive lighting descriptions to shine through. By combining thoughtful positive prompts with strategic negative prompts, you gain a powerful dual-control system over your AI-generated lighting.
Disclaimer
The information provided in this article is for general guidance and informational purposes only. While we strive to provide accurate and up-to-date content, the field of AI image generation is rapidly evolving. Specific features, prompt interpretations, and capabilities of AI tools can change frequently. Always refer to the official documentation and community resources for the most current information regarding any particular AI image generator.