How to Get Better AI Image Results
You know that feeling when you type out what you think is a perfectly clear request for an AI image, only to get back something that looks like it belongs in a surreal art gallery, or worse, a blurry mess? It’s frustrating, right? The promise of amazing AI art can feel distant when your generations are consistently falling short of your vision. This comprehensive guide is here to demystify the process, helping you understand how these tools "think" so you can consistently produce the stunning, high-quality AI images you’ve been dreaming of.
Understanding the AI's "Brain": How Image Generators Work
Before we can master generating incredible images, it's crucial to understand a little bit about what's happening under the hood. It's not magic, though it often feels like it! These tools are complex algorithms, and knowing their general operating principles can drastically improve your prompt crafting. Think of it like learning how a camera works before you try to shoot a masterpiece; you need to grasp the fundamentals.
The Core Concept of Text-to-Image Generation
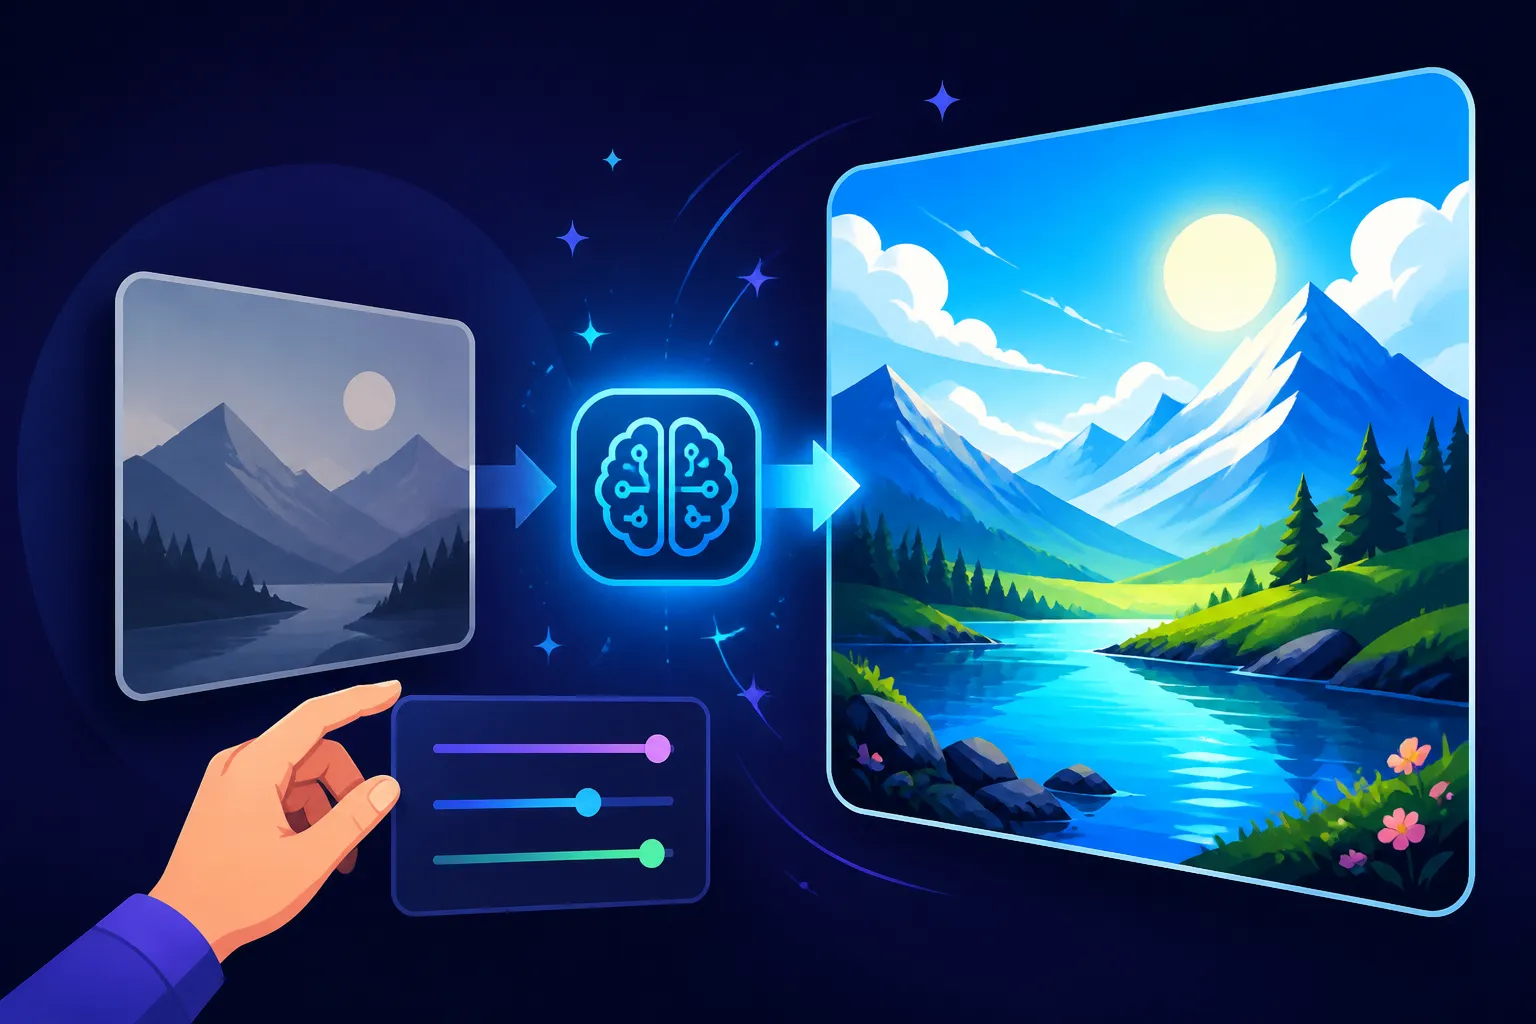
At its heart, an AI image generator is a sophisticated translation machine. You provide text – your prompt – and it translates that linguistic input into visual output. Most modern AI image generators, like Midjourney, DALL-E, and Stable Diffusion, are built upon what are known as diffusion models. These models work by starting with a field of random noise (like TV static) and then, guided by your text prompt, iteratively "denoise" that static until a coherent image emerges. Each step refines the image, making it more detailed and aligned with your description.
This iterative denoising process is why detailed and well-structured prompts are so effective. The more information you give the AI about what to denoise into, the better it can guide the process. If you just say "cat," it has a million ways to interpret that. But if you say "a fluffy Persian cat, sitting regally on a velvet cushion, in a sunlit art studio, photorealistic," you've given it a much clearer roadmap. The AI essentially looks at billions of images it's been trained on, understands the relationships between words and visual concepts, and then synthesizes a new image based on your specific textual cues.
Different Models and Their Specialties
It's easy to assume all AI image generators are cut from the same cloth, but they each have their own nuances, strengths, and even artistic "personalities." Just like different artists have their preferred mediums and styles, various AI models excel in different areas. For instance, you might find that Midjourney Review: Is It Worth It in 2026 often produces images with a distinctly artistic, almost painterly quality, excelling at imaginative and fantastical scenes. It's fantastic for generating evocative, aesthetically pleasing images right out of the gate.
On the other hand, a tool like Adobe Firefly has been developed with a strong emphasis on commercial safety and ease of use, particularly within the Adobe ecosystem. It might not always capture the same level of artistic flair as Midjourney for abstract concepts, but it shines when you need clean, professional-looking assets, especially for marketing or graphic design. Then there's Stable Diffusion, which, especially when run locally, offers unparalleled customization and control through its open-source nature, letting users fine-tune models for hyper-specific outputs, from anime to architectural renders. Knowing these specialties can save you a lot of time and frustration; you wouldn't use a paintbrush to sculpt clay, and you shouldn't expect every AI to be perfect for every single task. Exploring options like Best AI Image Generator Overall can help you determine which tool aligns best with your specific creative needs.
Learning from Your Inputs: How AI Interprets Prompts
One of the most challenging aspects of using AI image generators is understanding how they interpret your text. It's not always a literal, word-for-word translation. Instead, the AI looks for semantic relationships, patterns, and weighted importance in your prompt. For example, simply listing adjectives doesn't always guarantee the AI will give equal weight to each one. Sometimes, the order of words matters, and placing key descriptors early in your prompt can give them more emphasis.
The AI also draws from its vast training data. If you ask for a "fantasy castle," it will pull from countless images of fantasy castles it's seen, blending elements to create something new. But if you ask for a "fantasy castle in the style of Hayao Miyazaki," it attempts to blend "fantasy castle" with the specific visual characteristics and color palettes associated with Miyazaki's work. This means that if the AI has limited data on a very niche concept or combines two concepts it hasn't frequently seen together, the results might be unpredictable. Continuous learning and experimentation are key here, as each prompt teaches you a little more about the AI's "understanding" and helps you refine your approach.
Mastering the Art of Prompt Engineering
Okay, now that we've peeked behind the curtain a bit, let's talk about the real game-changer: prompt engineering. This isn't just about typing words; it's about strategically crafting your instructions to guide the AI effectively. Many beginners just throw a few words in and hope for the best, but with a little intention, you can elevate your results dramatically. Think of yourself as a director, giving very specific cues to a highly skilled, but sometimes literal-minded, artist. If you're struggling, a guide like AI Image Prompt Guide for Beginners can be incredibly helpful.
The Anatomy of an Effective Prompt: Subject, Style, Details
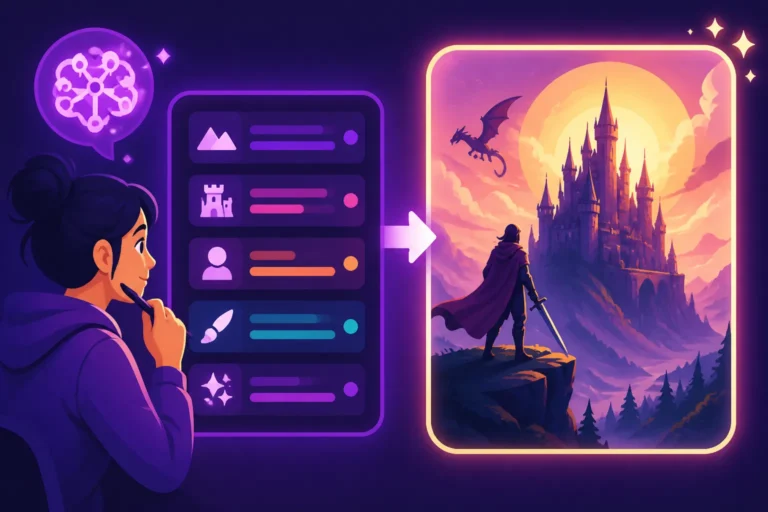
An effective prompt is like a well-written paragraph, not a random word salad. It typically follows a structure that prioritizes clarity and specificity.
- Subject: Start with the core of your image. What is the main thing you want to generate? Is it "a lone wolf," "a bustling city street," or "a vintage spaceship"? Be direct and precise. The AI needs to know its primary focus.
- Action/Setting: What is the subject doing, or where is it located? "A lone wolf howling at the moon," "a bustling city street at night," "a vintage spaceship landing on a desert planet." This provides context.
- Style/Art Direction: This is where you inject the aesthetic. Do you want it to look like a painting, a photograph, a 3D render, or something else? Specify "oil painting," "cinematic photography," "Pixar animation style," "vaporwave art." You can even mention specific artists or art movements, like "in the style of Van Gogh" or "Art Deco."
- Details/Modifiers: This is where you add the richness. Think about colors ("vibrant blues and purples"), textures ("weathered stone," "smooth chrome"), lighting ("dramatic chiaroscuro," "soft ambient light"), mood ("eerie atmosphere," "joyful and whimsical"), composition ("wide shot," "close-up portrait"), and anything else that adds to your vision. For example, instead of "flowers," try "a bouquet of iridescent blue roses in a crystal vase, bathed in ethereal moonlight, hyperrealistic, intricate details."
The more clearly you break down your vision into these components, the better the AI can piece together the image you desire. It’s a process of gradually adding layers of instruction until the picture in your head starts to appear on your screen.
Leveraging Keywords and Modifiers for Precision
Keywords and modifiers are your secret weapons for guiding the AI's creative direction. They allow you to fine-tune aspects that a simple subject description wouldn't cover. For instance, if you want a particular atmosphere, words like "ethereal," "gritty," "serene," or "chaotic" can make a significant difference. For visual quality, terms like "photorealistic," "hyperdetailed," "4K," "8K," "cinematic," "award-winning photography," or "Unreal Engine render" can push the AI towards higher fidelity and specific rendering styles.
Consider using descriptive adjectives that cover aspects like:
- Quality: masterpiece, best quality, ultra-detailed, sharp focus
- Art Style: watercolor, anime, cyberpunk, gothic, abstract expressionism
- Lighting: volumetric lighting, golden hour, neon glow, softbox lighting
- Camera Angle/Shot: wide shot, close-up, Dutch angle, drone view
- Mood/Emotion: melancholy, vibrant, tranquil, intense
Sometimes, even subtle modifiers can have a profound impact. For example, "a girl eating ice cream" vs. "a happy girl eating ice cream, bokeh background, sun dappled light." The latter gives the AI so much more to work with, resulting in a much more specific and often higher-quality image. It’s all about teaching yourself the vocabulary the AI understands best, and you can explore this further with a dedicated How to Write AI Image Prompts guide.
The Power of Negative Prompts and Prompt Weights
Sometimes it's not enough to tell the AI what you do want; you also need to tell it what you don't want. This is where negative prompts come in handy. A negative prompt is a list of terms or concepts you want the AI to avoid including in the generated image. This is incredibly useful for correcting common AI quirks or steering clear of undesired elements. For example, if you're consistently getting blurry images, you might use a negative prompt like ugly, blurry, low quality, deformed, worst quality. If you're generating people and struggle with distorted hands, adding extra fingers, deformed hands, poorly drawn hands can help.
Prompt weights, available in some tools like Midjourney or Stable Diffusion, take this a step further by allowing you to assign numerical values to different parts of your prompt, indicating their relative importance. For example, in Midjourney, a red apple::2, green leaves::1 would make "red apple" twice as important as "green leaves." This allows for incredibly fine-tuned control over the composition and focus of your image. Learning How to Use Negative Prompts can drastically clean up your generations and move them closer to your ideal.
Refining Visual Elements: Style, Lighting, and Composition
Once you have the basics of prompt structure down, the next level of mastery comes from controlling the nuanced visual elements that truly make an image pop. This isn't just about what's in the image, but how it looks. Think like a photographer or a painter making deliberate choices about presentation.
Guiding the Aesthetic: Artistic Styles and Influences
One of the most exciting capabilities of AI image generators is their ability to emulate a vast array of artistic styles. You're not just generating an image; you're generating it in a specific artistic language. This can range from broad categories to very specific artist influences.
- General Art Styles: Impressionistic, Expressionistic, Cubist, Surrealist, Baroque, Rococo, Minimalist, Cyberpunk, Steampunk, Grunge, Art Nouveau, Art Deco, Renaissance, Pop Art.
- Digital Art Styles: 3D render, digital painting, vector art, pixel art, low poly, Voxel art, concept art.
- Photography Styles: Film photography, documentary photography, street photography, fashion photography, studio portrait, macro photography, landscape photography, astrophotography.
- Specific Artists: Mentioning artists like "in the style of Van Gogh," "by H.R. Giger," "inspired by Alphonse Mucha," or "reminiscent of Studio Ghibli" can evoke very particular aesthetics. However, be aware that the AI's interpretation might be an amalgamation rather than a direct copy, given copyright considerations and the ethical training data it was fed.
Experimenting with different styles can completely transform your images, taking them from generic to genuinely captivating. For example, a simple "dragon" becomes much more interesting when it's "a majestic dragon in the style of fantasy concept art, digital painting, dramatic lighting."
Shaping the Mood with Lighting and Camera Angles
Lighting and camera angles are fundamental tools for any visual artist to convey mood, emphasize subjects, and create depth. AI image generators respond incredibly well to these directives.
- Lighting:
- Emotional Impact: "Soft, diffused lighting" creates a calm, serene mood. "Dramatic chiaroscuro lighting" (strong contrasts between light and shadow) evokes mystery or intensity. "Golden hour lighting" (warm, soft light around sunrise/sunset) is perfect for idyllic or romantic scenes. "Neon glow" can define a futuristic or cyberpunk setting.
- Source and Direction: Specify "backlighting" for a silhouette effect, "rim lighting" to outline your subject, "studio lighting" for a polished look, or "natural light" for an organic feel. Even time of day matters: "midday sun," "moonlight," "twilight."
- Atmospheric Effects: "Volumetric lighting," "god rays," "fog," "mist," "smoke," and "lens flare" can add incredible depth and realism.
- Camera Angles:
- Perspective: "Wide shot" captures the entire scene. "Close-up portrait" focuses on intricate details of a face. "High-angle shot" can make a subject appear vulnerable, while a "low-angle shot" makes it seem powerful. "Dutch angle" adds tension or disorientation.
- Lens Choice: Though less commonly used, you can experiment with "wide-angle lens," "telephoto lens," or "fisheye lens" to achieve specific distortions or perspectives.
- Depth of Field: "Shallow depth of field" or "bokeh background" will blur the background, making your subject stand out, a common technique in portrait photography.
By thoughtfully incorporating these elements into your prompt, you're not just telling the AI what to draw, but how to present it, transforming a simple image into a narrative.
Composing Your Scene: Framing and Subject Placement
Composition is the arrangement of visual elements within an image. Good composition leads the viewer's eye, creates balance, and enhances the story being told. While AI can sometimes surprise you with interesting compositions, you can guide it significantly.
- Rule of Thirds: Often, including terms like "rule of thirds" in your prompt can encourage the AI to place your main subject off-center, creating a more dynamic and visually appealing image.
- Framing: "Framed by trees," "looking through a window," or "peering over a wall" can add layers and context to your scene. "Center composition" will put your subject squarely in the middle, which can be impactful for symmetry or direct focus.
- Negative Space: Sometimes you need breathing room, especially if you plan to add text later. Phrases like "ample negative space," "minimalist background," or "subject on one side, empty space on the other" can help. This is particularly useful for things like How to Use AI Image Generators for Youtube Thumbnails or creating ad creatives.
- Perspective: "Foreground focus," "background blurred," "looking up," "looking down," or "from a bird's eye view" all dictate where the AI should focus its attention and from what vantage point.
By paying attention to these compositional aspects, you can move beyond randomly generated images to create visuals that are intentionally designed and aesthetically compelling. It's about taking control of the entire visual narrative.
Achieving Photorealism and Consistency
For many users, especially those creating product photos, marketing materials, or realistic character designs, achieving a high degree of photorealism and consistency is paramount. This can be one of the trickiest aspects of AI generation, as the AI often defaults to more artistic or stylized interpretations.
Techniques for Realistic Textures and Details
Photorealism isn't just about looking like a photo; it's about the intricate details that make a photo feel real. This includes textures, subtle imperfections, and the way light interacts with surfaces.
- High-Quality Descriptors: Always include terms like
photorealistic, hyperrealistic, ultra-detailed, sharp focus, real photograph, natural light, DSLR photo, 8K resolution, incredibly detailed, realistic textures. These push the AI to prioritize detail and realism over stylization. - Material Specificity: Don't just say "a wall." Say "a weathered brick wall with peeling paint and moss growing in the cracks" or "a polished concrete wall with subtle reflections." Describe the materials:
smooth glass, rough wood grain, soft velvet, shimmering silk, metallic sheen, organic textures. - Environmental Factors: Add details about the environment that would naturally affect realism:
subtle dust particles, humid air, morning dew, natural imperfections, creases in fabric. These small touches mimic the real world's inherent messiness and complexity, making the AI image feel more authentic. - Avoid Over-Stylization: When aiming for realism, avoid conflicting stylistic keywords like "concept art," "digital painting," or "cartoon." Stick to photographic and real-world terms.
By stacking these detailed descriptors, you force the AI to render your subject with the fidelity required for genuine photorealism. Many specific guides, like How to Write AI Prompts for Photorealistic Images, can dive even deeper into this.
Maintaining Character and Scene Consistency
This is a massive pain point for creators: how do you get the same character, the same room, or the same product in different poses or scenarios? AI models are designed to generate new images each time, which makes consistency a challenge, but not an impossible one.
- Detailed Character Descriptions: Start with an extremely detailed description of your character:
female, 30s, long wavy brown hair, blue eyes, fair skin, wearing a denim jacket and white t-shirt, cheerful expression. Include specific clothing, accessories, and distinguishing features. The more unique and detailed the description, the more likely the AI is to reproduce it. - Reference Images (where available): Many advanced AI tools now offer an "image prompt" or "image-to-image" feature, where you can upload an existing image to guide subsequent generations. This is invaluable for maintaining consistency. You can use an initial AI-generated image as your reference for the next one, guiding the AI to create variations while preserving core elements.
- Seed Values: When you generate an image, the AI often uses a "seed" number. If you use the same prompt and the same seed, you'll get a nearly identical image. By recording seed values of successful generations, you can often generate variations while keeping the core subject consistent.
- Scene Elements: For scene consistency, describe fixed elements with precise detail:
a minimalist living room with a large bay window, a tan sectional sofa, and a geometric rug. Then, you can change the focal point or character within that consistent setting. If your chosen tool supports it, you might even consider creating specific "style references" or "character sheets" for your AI, as discussed in How to Prompt for Consistent Characters.
It often requires generating many images and carefully selecting the best ones, using them as references, and continually refining your prompts. It's an iterative dance with the AI.
Overcoming Common Photorealism Challenges: Hands, Faces, Anatomy
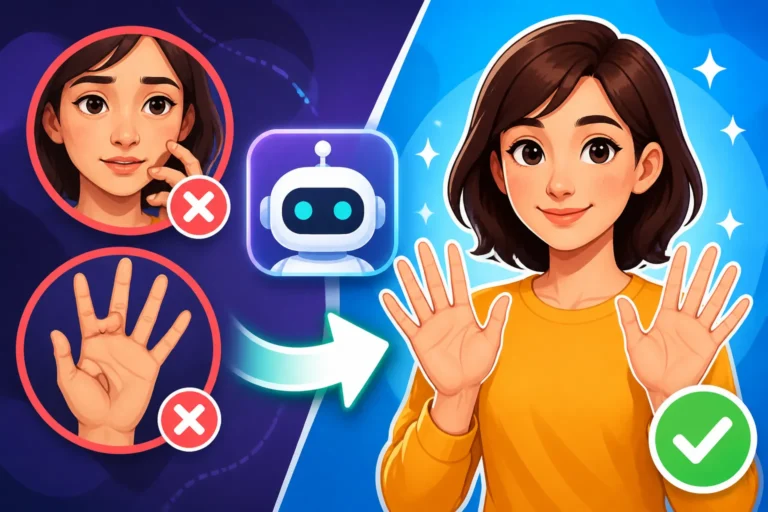
Let's be honest: AI-generated hands can be terrifying. And faces can sometimes look like they've seen better days, or just plain off. These are common challenges in AI image generation, largely because hands and faces are incredibly complex and nuanced for an AI to render perfectly.
- Hands:
- Negative Prompts: This is your first line of defense. Explicitly add
deformed hands, extra fingers, malformed, poorly drawn hands, ugly handsto your negative prompt. - Composition: Try to generate images where hands are less prominent or obscured. Full body shots or portraits that crop above the hands can bypass the issue.
- Focus on the Subject: Sometimes, by adding
focus on face, beautiful face, detailed eyes, you can make the AI prioritize the face over the hands, leading to better results there. - Inpainting/Outpainting: If your AI tool supports editing features like inpainting, you can generate the image and then selectively regenerate or "paint over" problematic hands with new prompts, or use an external editor like Photoshop's generative fill.
- Negative Prompts: This is your first line of defense. Explicitly add
- Faces and Anatomy:
- Specific Descriptors: For faces, use terms like
beautiful face, intricate facial details, expressive eyes, smooth skin texture, flawless complexion. For anatomy,anatomically correct, well-proportioned, realistic body. - Iteration: Generate multiple variations. Often, out of a batch of four images, one or two might have a perfectly normal face or hands, while others are distorted.
- Reference Images: Again, if your tool allows, using a reference image of a human face or body can significantly improve anatomical accuracy.
- Focus: Ensure your prompt clearly emphasizes the importance of the face or full body if that's your key element, especially for close-up shots.
- Specific Descriptors: For faces, use terms like
While AI is getting better at rendering these complex human features, they remain a hurdle. Patience and strategic prompting, combined with post-processing, are often the best approach.
Iterative Refinement and Advanced Techniques
The journey to better AI images isn't usually a one-and-done prompt. It's an iterative process, much like traditional art where an artist sketches, refines, and then adds details. Embracing this workflow is crucial for consistent quality.
Iterating on Prompts: Small Changes, Big Differences
Think of your prompt as a living document. You type something, you get an image, and then you evaluate it. What worked? What didn't? What could be improved? Even tiny tweaks can yield vastly different results.
- One Change at a Time: Resist the urge to overhaul your entire prompt after one generation. If you change too many things, you won't know which specific alteration led to the improvement or degradation. Change one descriptive word, add one modifier, or adjust one parameter, then re-generate.
- Adding Specificity: If the AI missed something, make it more explicit. If you wanted "blue eyes" but got brown, change "blue eyes" to "vibrant cerulean blue eyes."
- Removing Ambiguity: If the AI misinterpreted something, rephrase it. Perhaps "a large dog" was interpreted as "a dog that is large" instead of "a Great Dane." Be precise with breeds or types.
- Experiment with Order: In many models, the order of words matters. Try moving your most important descriptors to the beginning of your prompt.
- Learn from Failures: Don't just discard bad images. Analyze them. What did the AI generate? Why might it have generated that? This helps you understand the AI's "vocabulary" better and avoid similar mistakes in the future.
This systematic approach to prompt iteration is at the core of How to Get Better AI Image Results. It’s a continuous learning loop where each generation informs your next prompt.
Utilizing Seed Values for Reproducibility
A "seed" is a numerical value that initializes the noise pattern from which the AI starts generating an image. Think of it as the unique starting point for the random static field the diffusion model works on.
- How it Works: If you use the exact same prompt and the exact same seed, the AI will generate the exact same image (or a very, very similar one, depending on the model and its updates). This is incredibly powerful for maintaining consistency or making minor adjustments.
- Finding the Seed: Most AI image generators will display the seed number alongside the generated image, especially if you look at the job details or click an "info" button.
- Use Cases:
- Minor Variations: If you love an image but want a slightly different expression on the face or a change in color, you can keep the seed, change only a small part of the prompt, and regenerate. This often gives you a variation that stays very close to the original's composition and style.
- Character Consistency: As mentioned before, if you generate a great character, save its seed. Then, you can use that seed (along with your character description) to generate the same character in different poses or settings.
- A/B Testing: You can generate two versions of an image using the same seed and slightly different prompts to see which prompt element has a stronger impact.
Understanding and leveraging seed values can be a game-changer for control and consistency, especially when you need a series of related images.
Image-to-Image and ControlNet for Specific Guidance
Beyond text prompts, many advanced AI tools offer powerful features that allow you to use existing images as input or exercise extremely granular control over the generation process.
- Image-to-Image (Img2Img): Instead of starting from scratch with noise, Img2Img allows you to provide an initial image (a sketch, a photo, another AI-generated image) and then guide the AI with a text prompt and that image. The AI then "diffuses" the input image, modifying it based on your text prompt while retaining elements of the original structure, colors, or composition. This is fantastic for:
- Stylizing Photos: Turning a photograph into an oil painting or a cartoon.
- Variations: Generating multiple variations of an existing image.
- Refining Sketches: Turning rough drawings into detailed renders.
- ControlNet (Primarily Stable Diffusion): ControlNet is an incredibly powerful extension, primarily for Stable Diffusion, that allows for unprecedented control over image generation. It works by taking an input image and extracting specific structural information (like edges, depth maps, pose estimations, or segmentation maps). The AI then uses this information to guide the generation, ensuring the output image adheres to the specified structure. For example:
- Pose Control: You can upload a photo of a person in a specific pose, and the AI will generate a new character in that exact pose.
- Edge Detection: Provide a line drawing, and the AI will "color in" or render a detailed image based on those exact lines.
- Depth Control: Use a depth map (which shows how far away objects are from the camera) to generate new images with the same spatial layout.
These advanced techniques require a bit more technical know-how, but they unlock a level of precision and artistic control that text-only prompting simply cannot achieve. If you're serious about mastering AI image generation, delving into these features is highly recommended. For instance, if you want to create vector art with precise lines, exploring tools like Recraft Review for Vector Art might lead you to ControlNet or similar precise image-to-image features.
Optimizing for Specific Use Cases
Not all AI-generated images are created equal, nor should they be. The ideal image for a social media post might be vastly different from a print-ready book cover. Understanding your specific use case helps you tailor your prompts and generation process for optimal results.
Crafting Images for Marketing and Social Media
When it comes to marketing and social media, your images need to grab attention quickly, convey a message, and often be adaptable across various platforms.
- Visual Impact: Social media scrolls quickly. Use vibrant colors, strong contrasts, and clear focal points to make your images stand out. Phrases like
eye-catching, scroll-stopping, viral potential, bold colorscan prompt the AI effectively. - Storytelling: Your image should communicate something. If it’s for a product, show it in use. If it’s for a service, evoke the feeling of that service. Prompt for
people interacting with [product], lifestyle scene, evocative storytelling. - Copy Space: Often, you’ll need to overlay text. Include
plenty of negative space, clear background for text, minimalist foregroundin your prompts. This is crucial for creating graphics that are both visually appealing and functional. - Aspect Ratios: Different platforms prefer different aspect ratios (e.g., 1:1 for Instagram feed, 9:16 for Stories/Reels, 16:9 for YouTube thumbnails). Most AI tools allow you to specify aspect ratios (e.g.,
--ar 16:9in Midjourney). Always generate in the correct ratio to avoid awkward cropping. - Brand Consistency: If you have brand colors or specific visual elements, try to incorporate them into your prompts. While challenging, consistent descriptions help the AI learn your desired aesthetic. This ties into the advice in How to Use AI Image Generators for Social Media Graphics.
Remember, the goal here is not just a pretty picture, but a functional one that serves your marketing objectives.
Generating High-Quality Logos and Text-Based Graphics
This is historically a weak point for many AI image generators, but advancements are making it more feasible. Getting crisp, readable text and distinct logos directly from AI can be a challenge. However, specific tools and techniques can help.
- Specialized Tools: Some AI image generators, like Ideogram, are specifically designed to handle text within images much better than others. If text is critical, explore tools known for this capability. Check out Ideogram Review: Best for Text in Images to understand its strengths.
- Simple Fonts and Short Text: Keep text requests short, simple, and specify sans-serif or bold fonts. Complex fonts or long sentences are still very difficult for AI to render accurately.
- Text Integration: Instead of asking for "a logo that says 'Awesome Co'," try to describe the visual elements of the logo and then separately generate the text if the AI fails. You might need to add the text in an external graphics editor.
- Negative Prompts for Garbled Text: Use
ugly text, distorted text, unintelligible, gibberishin your negative prompt to reduce artifacts. - Vector Art and SVGs: For logos, you ideally want vector graphics (SVGs) for scalability. While most AI outputs are raster images (JPG, PNG), some tools or workflows can convert AI images to vectors or directly generate them, like features in Recraft. For logos, you might start with AI for concepts and then refine them in a vector graphics program.
- Clean Design Principles: For logos, prompt for
minimalist design, clean lines, simple shapes, abstract emblemto guide the AI towards a professional look.
For anything mission-critical, particularly for client work, always be prepared to refine text and vector elements in traditional graphic design software after initial AI generation.
Creating Print-Ready and High-Resolution Outputs
Generating images for print media or large displays requires high resolution and often specific color profiles. AI images, especially from free tiers, sometimes default to lower resolutions.
- Resolution and Upscaling: Always specify high resolution in your prompt:
8K, 4K, ultra HD, print quality, high resolution. Even then, the raw output might not be sufficient. This is where upscaling tools become invaluable.- Integrated Upscalers: Many AI image generators offer built-in upscaling features. Use them.
- Dedicated Upscalers: Tools like Magnific AI Upscaler Review or Topaz Gigapixel AI are external solutions that use AI to intelligently increase image resolution, add detail, and reduce artifacts, making your images suitable for larger formats. You can learn more about this in How to Upscale AI Images.
- DPI (Dots Per Inch): While you can't typically prompt for DPI directly, aiming for high pixel dimensions implicitly helps. Most print jobs require 300 DPI at the final print size. Generate at the largest pixel dimensions your tool allows, then check its effective DPI at your desired print size.
- Color Profile (CMYK vs. RGB): AI tools generally generate images in RGB (Red, Green, Blue) color space, which is standard for screens. Print requires CMYK (Cyan, Magenta, Yellow, Key/Black). You'll almost certainly need to convert your RGB AI image to CMYK in a photo editor like Photoshop or GIMP before sending it to a professional printer. Be aware that colors might shift slightly during conversion.
- Noise and Artifacts: High-resolution images make any subtle noise, blur, or AI artifacts much more visible. Ensure your initial generation is as clean as possible using strong negative prompts and detailed positive prompts. Use image editing software to clean up any remaining imperfections.
Preparing AI images for print is often a multi-step process involving generation, upscaling, and post-processing, but it's entirely achievable with the right techniques.
Troubleshooting Common AI Image Generation Issues
Even with the best prompts and techniques, AI can sometimes throw you a curveball. Distorted figures, strange artifacts, or simply "not what I asked for" moments are part of the learning curve. Knowing how to diagnose and address these issues will save you endless frustration.
Diagnosing and Fixing Distorted Elements
Ah, the infamous AI distortions – extra limbs, melted faces, objects that make no sense. These happen because the AI is trying to synthesize a complex visual from its understanding of patterns, and sometimes those patterns don't quite align.
- "What Went Wrong?" Analysis: Look closely at the distorted element. Is it a misunderstanding of anatomy? A blend of two conflicting ideas? For example, if you ask for "a dog playing a guitar," and the dog has six legs, the AI might have accidentally blended "dog" with "guitar player" (who has two legs, but maybe it interpreted a guitar neck as a limb extension).
- Refine Your Prompt:
- Be More Specific: If a face is distorted, add
beautiful face, symmetric features, expressive eyes, realistic nose. If hands are the problem, addrealistic hands, five fingers, well-defined fingers. - Use Negative Prompts: This is your primary defense.
deformed, ugly, malformed, extra limbs, mutated, two heads, blurry, noisyare excellent starting points. - Simplify: Sometimes, prompts can be too complex or contradictory, leading to the AI getting confused. Try simplifying a section that might be causing issues.
- Be More Specific: If a face is distorted, add
- Generate More Variations: Often, within a batch of images, some will have distortions, while others will be perfectly fine. Generate more, inspect, and choose the cleanest one.
- Adjust Seed/Chaos (if applicable): If you're consistently getting distortions with a certain seed, try a new seed. In Midjourney, adjusting the
--chaosparameter can also lead to more varied (and potentially less distorted) results. - Image-to-Image / Inpainting: For more significant distortions, generate the best possible image, then use it as an image prompt (Img2Img) with a strong "denoising strength" and a new prompt to fix the specific area, or use inpainting to regenerate only the problematic section.
It's like being a detective: identify the problem, then apply targeted solutions.
Dealing with AI Artifacts and Unwanted Details
Beyond outright distortions, AI images can sometimes suffer from weird splotches, random shapes, unidentifiable objects in the background, or a general "AI look" that makes them feel artificial.
- Artifact Detection: Look for areas that seem out of place, repetitive patterns where they shouldn't be, or smudged details. These are often indicators of artifacts.
- Prompt Refinement:
- Be Explicitly Clean: Add
clean, crisp, no artifacts, smooth, coherent, professional, naturalto your positive prompt. - Negative Prompt for "AI Look": Try negative prompts like
unrealistic, digital art (if you want photography), cartoon, render, watermark, text (if unwanted), blurry, noisy, low quality. - Describe the Background: If unwanted objects appear in the background, be very specific about what should be there, or use
simple background, plain background, bokeh background, empty space.
- Be Explicitly Clean: Add
- Denoising Strength (Img2Img): When using image-to-image, a higher denoising strength will allow the AI to make more changes, potentially scrubbing out artifacts from the original image, but might also alter desired elements. A lower strength retains more of the original.
- Post-Processing: For stubborn artifacts, a quick pass through an image editor (like Photoshop's content-aware fill, cloning tools, or healing brushes) can quickly clean up minor imperfections. Don't be afraid to use traditional tools to finish the job.
The goal is to produce images that look polished and intentional, not like a collection of algorithmic errors. Sometimes you need to combine AI's power with a human touch to achieve perfection.
Upscaling and Enhancing Lower Quality Images
You've generated a fantastic image, but it's a bit small or lacks the crispness you need for its intended use. This is where upscaling and enhancement come into play.
- Understanding Resolution: AI images are generated at a specific pixel dimension. If you generated a 1024×1024 pixel image, it won't look good printed as a 24×24 inch poster without significant upscaling.
- Built-in Upscalers: Most good AI tools offer a basic upscaling function. This is usually the first step, as it leverages the model's own understanding to add detail.
- Dedicated AI Upscalers: For truly professional results, specialized tools are superior.
- How They Work: AI upscalers use sophisticated algorithms to "invent" missing pixels and details, rather than just stretching the existing ones. They can sharpen edges, enhance textures, and even restore fine details that might have been lost.
- Popular Options: While there are many, Magnific AI is gaining a lot of traction for its impressive ability to add incredible detail and resolution, making even small, blurry images stunning. Other notable mentions include Topaz Gigapixel AI and various open-source options.
- Workflow: Generate your best possible image at the highest native resolution your AI tool offers. Then, feed that image into a dedicated AI upscaler. Experiment with the upscaling factors (2x, 4x, 8x) and any enhancement settings the upscaler provides.
- Sharpening and Noise Reduction: After upscaling, you might want to apply a subtle amount of sharpening or noise reduction in an image editor. Be careful not to overdo sharpening, as it can introduce halos or artifacts.
- Consider File Format: For final outputs, PNG is often preferred for high-quality images with no compression artifacts, especially if there's text or sharp edges. JPEG is fine for web use where file size is a concern, but it's a lossy format.
Never settle for a low-resolution image if you have a need for higher quality. The tools exist to bring your AI creations to their full potential, ensuring your images look as good as your vision. For a deeper dive into the best options, check out Magnific Upscaler: Worth the Price.
Disclaimer
The information provided in this guide is for general informational purposes only and does not constitute professional advice. While AI image generation tools are powerful, the landscape of AI technology, including features, pricing, and capabilities, is constantly evolving. Always refer to the specific documentation and terms of service for any AI tool you use. Artistic results can vary widely based on individual prompts, model versions, and user skill.