How to Write AI Prompts for Photorealistic Images
It's incredibly frustrating when you're trying to conjure a truly photorealistic image with AI, only to end up with something that screams "computer-generated" or falls squarely into the uncanny valley. We've all been there, pouring our heart into a prompt, only to see a result that looks just a little off. This guide is dedicated to helping you master the art of writing AI prompts that consistently generate stunning, lifelike images, bridging that gap between your imagination and the machine's output.
Understanding the Quest for Photorealism in AI
Creating images that truly trick the eye into believing they're photographs is one of the biggest challenges and triumphs in the world of AI art. It's not just about describing what you want to see; it's about understanding how light, texture, composition, and human perception work, and then translating that understanding into language the AI can grasp.
Why Photorealism is So Tricky to Achieve
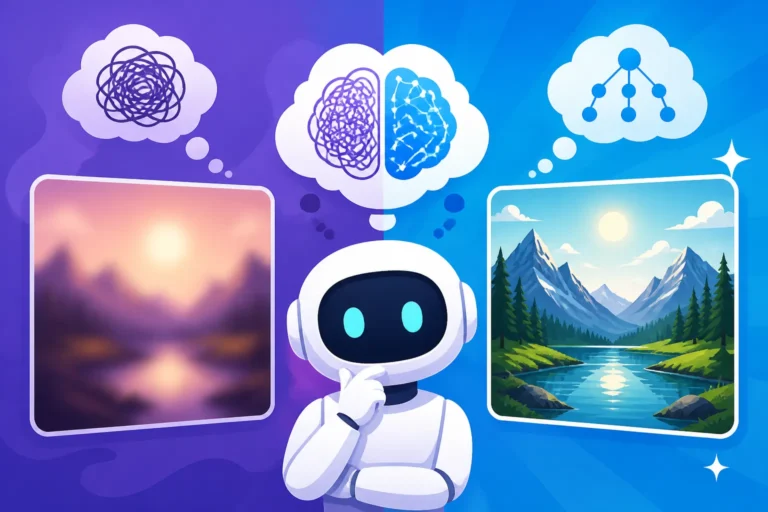
Think about it: a photograph captures a fleeting moment, a unique interplay of light, shadow, and substance in the real world. AI models, while powerful, learn from vast datasets of existing images. They're excellent at pattern recognition and combining elements, but they don't inherently "understand" physics or the nuances of how a particular lens might distort a scene. They operate on probabilities, trying to predict what combination of pixels best matches your textual description based on what they've seen before.
This often leads to images that are almost there but miss that subtle human touch or the perfect imperfection of reality. You might get a beautiful portrait, but the eyes feel a little too glassy, or the skin texture lacks the pores and blemishes that make a person truly unique. Shadows might not fall quite right, or reflections might seem distorted. The AI is piecing together fragments of reality without a true grasp of its underlying rules, which is why your prompts need to be exceptionally detailed and specific to guide it.
Common Pitfalls and Frustrations
One of the most common frustrations is the "generic output" phenomenon. You ask for a "forest," and you get a pretty, but utterly unremarkable, forest that could be anywhere. This happens because the AI defaults to the most common representation it has in its training data. Without specific instructions, it won't know you want a misty, ancient redwood forest at dawn with shafts of light filtering through the canopy and dew on the fern leaves.
Another big hurdle is consistency, especially with human subjects or complex objects. You might generate a fantastic character, but try to generate them again from a different angle or expression, and suddenly they're a completely different person. Hands and faces are notorious problem areas, often appearing distorted or with an incorrect number of digits. If you've ever spent an hour regenerating images trying to get a believable set of hands, you know the struggle is real. We often discuss How to Fix Bad AI Image Results and How to Fix AI Hands and Faces because these issues are so prevalent.
Finally, there's the battle against the "AI look." Overly smooth skin, unnaturally perfect symmetry, or a glossy, digital sheen can instantly give away that an image isn't real. Overcoming these default tendencies requires deliberate prompting that pushes the AI towards organic, realistic imperfections rather than idealized, synthetic ones.
The Core Components of a Photorealistic Prompt
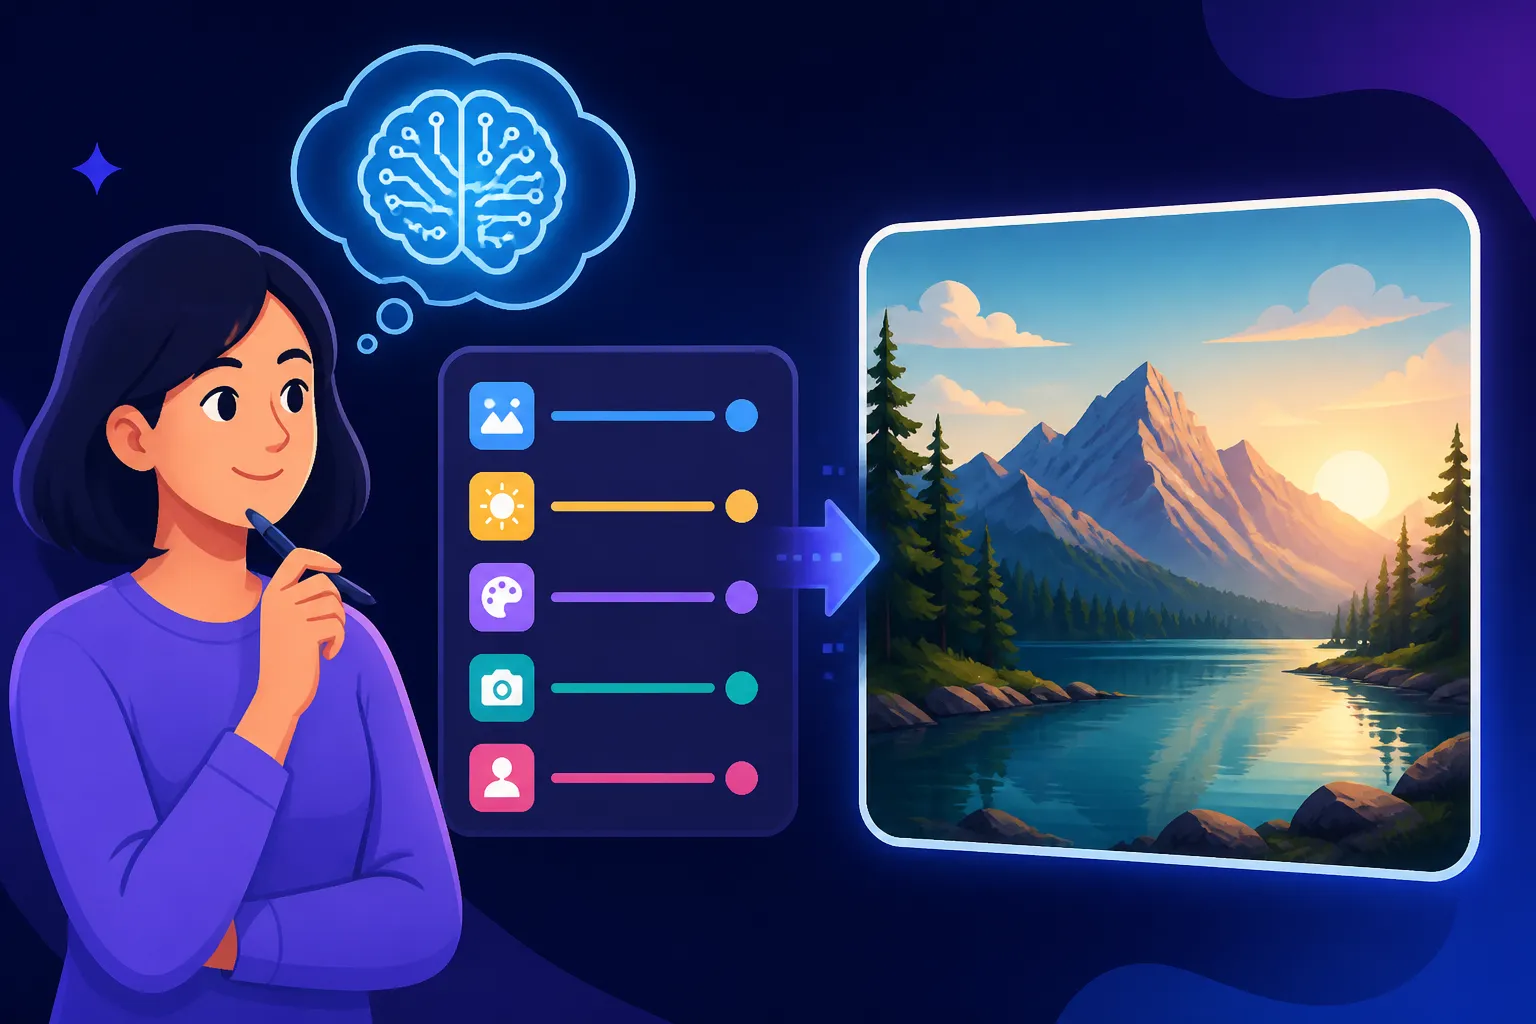
Think of your prompt as a script for a highly skilled, but literal, photographer. You need to give them all the essential information to compose the shot exactly as you envision it. Generic descriptions lead to generic results; specificity is your best friend.
Starting with a Strong Subject and Scene
The foundation of any good photorealistic prompt is a clear and vivid description of your main subject and the environment it inhabits. Don't just say "a cat"; say "a sleek black cat with piercing green eyes, perched gracefully on a sun-drenched windowsill." Every detail you add helps the AI narrow down its vast dataset to more relevant examples.
Describe the setting with sensory details. Is it a cozy, cluttered attic filled with antique furniture and dust motes dancing in the light, or a bustling street market in Marrakech with vibrant spices and textiles? The more evocative your description, the better. Consider the time of day, the season, and even the weather. "A serene autumn morning in a rural Japanese village, mist rising from the rice paddies, traditional houses nestled against rolling hills" paints a much clearer picture than just "Japanese village." This level of detail is crucial for even basic How to Write AI Image Prompts.
Mastering Lighting and Photography Terminology
This is where many people miss a huge opportunity. Lighting is arguably the single most important factor in making an image look photorealistic. A perfectly rendered subject will still look fake if the lighting is flat or inconsistent. This is also where you can differentiate your output from simply being "good AI art" to being truly convincing.
Here's a breakdown of common lighting terms and how they affect the image:
- Natural Lighting:
Golden hourormagic hour: Soft, warm, diffused light shortly after sunrise or before sunset. Creates long, soft shadows and a beautiful glow.Blue hour: The period of twilight when the sun is below the horizon but before full darkness. Produces a cool, ambient, bluish light.Overcast lighting: Soft, even, shadowless light, often used for portraits.Direct sunlight: Harsh, strong light with sharp shadows, good for high contrast.Backlight: Light coming from behind the subject, creating a halo effect or silhouette.Rim light: A thin line of light around the subject's edges, separating it from the background.Soft window light: Diffused, gentle light coming from a window, often with subtle shadows.
- Artificial Lighting:
Studio lighting: Controlled, professional lighting setup, often with softboxes or diffusers.Hard light: Concentrated, intense light source, like a bare bulb, creating sharp shadows.Soft light: Diffused light source, like a large lamp with a lampshade, producing gentle shadows.Dramatic lighting,cinematic lighting,low-key lighting: High contrast, often with deep shadows and specific highlights to create a mood.High-key lighting: Bright, even lighting with minimal shadows, often used for cheerful or ethereal scenes.Volumetric lighting: Light beams visible through mist or dust, like spotlights in a smoky room.
For example, instead of just "a girl in a field," try "a young woman with windswept hair standing in a field of wildflowers, shot during golden hour with a warm, soft rim light highlighting her profile." The more specific you are, the more control you exert over the final output, as detailed in our guide on How to Prompt for Golden Hour Lighting.
Adding Specific Details for Authenticity
The devil is in the details, and this is especially true for photorealism. Think about every element a real photographer considers.
- Texture: Don't just say "a brick wall." Specify "a weathered brick wall with peeling paint and moss growing in the cracks." For skin, you might want "subtle skin pores," "fine facial hair," or "light freckles." For fabric, describe its weave and drape: "crumpled linen tablecloth," "sheen of silk," or "coarse wool sweater."
- Imperfections: Real life isn't perfect. A stray hair, a slightly chipped mug, a worn spot on a wooden floor, or a reflection that isn't perfectly clean can add immense realism. These small imperfections break the "AI gloss" that often makes images look artificial.
- Composition and Angle: How is the image framed?
Close-up shot,medium shot,wide shot,full shot: Dictates the proximity to the subject.Eye-level shot,low-angle shot,high-angle shot,bird's-eye view: Affects perspective and mood.Dutch angle: Tilted horizon, creating disorientation.Rule of thirds,leading lines,depth of field,bokeh: Advanced compositional techniques.
- Atmosphere/Mood: Is it
serene,ominous,vibrant,melancholy? Use adjectives that convey the feeling you want the image to evoke. "A contemplative elderly man sitting on a park bench, the air hazy with morning fog, creating a soft, ethereal atmosphere." - Environment Interaction: How does the subject interact with its surroundings? Is the wind blowing their hair? Are they casting a long shadow? Is rain splashing around them?
Incorporating these details helps the AI understand the nuances of realism, making your images stand out. If you're struggling to get the nuances right, checking out How to Get Better AI Image Results can offer additional strategies.
Advanced Techniques for Ultra-Realistic AI Images
Once you've mastered the basics, it's time to dive into the more technical aspects that can elevate your photorealistic generations from good to truly exceptional.
Incorporating Camera and Lens Specifics
This is a powerful, yet often overlooked, layer of detail. Real photographs are captured with specific cameras and lenses, each imparting its own unique characteristics. By adding these details to your prompt, you're guiding the AI to mimic those photographic qualities.
- Camera Type:
Canon EOS R5,Sony Alpha a7 IV,Nikon Z7 II: Modern mirrorless cameras known for high resolution and dynamic range.Hasselblad X1D II 50C: Medium format camera, known for incredible detail and depth.Fujifilm GFX 100S: Another medium format option.Leica M11: Renowned for its distinctive, almost painterly, aesthetic and high-quality optics.Disposable camera: For a gritty, low-fidelity, vintage look.Film photography,shot on film,Kodak Portra 400,Fuji Superia: Specifies a film aesthetic, often adding grain, specific color shifts, and a softer look.
- Lens Type:
50mm f/1.8 lens(ornifty fifty): A classic for portraits, known for its natural perspective and beautiful bokeh (background blur).85mm f/1.4 lens: Excellent for portraits, provides more compression and even creamier bokeh.24-70mm f/2.8 lens: A versatile zoom lens, good for many situations.Macro lens: For extreme close-ups, revealing intricate details.Wide-angle lens: For expansive landscapes or architectural shots.Fisheye lens: For a distorted, ultra-wide perspective.
- Photography Techniques:
Shallow depth of field,deep depth of field: Controls how much of the image is in focus.Bokeh: The aesthetic quality of the blur in out-of-focus areas.Motion blur: For capturing movement.Grainy,noisy: To add a film-like texture.Sharp focus,crisp details: To emphasize clarity.
Consider this example: "A lone hiker standing atop a mountain peak at sunrise, shot on a Canon EOS R5 with a 24-70mm f/2.8 lens, shallow depth of field, natural volumetric lighting, cinematic color grading, hyperdetailed, photorealistic." By including these details, you're not just describing the what but also the how a professional photographer would capture it. This granular control is particularly useful when exploring options like Midjourney Prompt Guide or Stable Diffusion Prompt Guide where precise control is a hallmark.
Leveraging Negative Prompts Effectively
Negative prompts are crucial for pushing your images towards realism by telling the AI what not to include. Think of them as your personal quality control. This is where you actively combat the "AI look" and common artifacts.
Common negative prompt terms for photorealism include:
unrealistic,unreal,fake,digital art,illustration,cartoon,painting,drawing,render,cgilow quality,low resolution,blurry,out of focus,pixelated,grainy(unless you want film grain)distorted,deformed,mismatched,asymmetrical,extra limbs,bad anatomy,ugly,mutated,malformed hands,poorly drawn face,extra fingers,fused fingerswatermark,text,signature,logooversaturated,monochromatic(unless intended)
A robust negative prompt might look something like this: ((unrealistic, fake, digital art, illustration, cartoon, painting, drawing, render, cgi))), low quality, low resolution, blurry, out of focus, pixelated, distorted, deformed, bad anatomy, extra limbs, ugly, mutated, malformed hands, extra fingers, poorly drawn face, watermark, text, signature. Don't be afraid to experiment and build your own go-to list.
Iteration and Refinement: The Secret Sauce
Very rarely will you get a perfect photorealistic image on your first try. The process is iterative. Think of it like a conversation where you provide instructions, the AI generates, and then you give feedback. This is a core tenet of getting great results, regardless of whether you're following a specific DALL-E Prompt Guide or just experimenting.
- Start Broad, Then Refine: Begin with your core subject and scene.
- Add Lighting: Introduce specific lighting conditions.
- Layer Details: Incorporate textures, imperfections, and atmospheric elements.
- Introduce Technicals: Add camera and lens specifics.
- Apply Negative Prompts: Use them to clean up unwanted artifacts.
- Adjust Weights/Parameters: Many tools allow you to assign "weights" to parts of your prompt (e.g.,
(golden hour:1.2)to emphasize it) or adjust parameters like--stylizein Midjourney orCFG scalein Stable Diffusion. - Generate Variations: Use the AI's built-in variation features to explore similar but slightly different outputs.
- Upscale and Enhance: Once you have a strong candidate, use upscaling tools to increase resolution and add finer details. This is where tools like Magnific AI Upscaler can truly shine, transforming a good image into a stunning one. Our guide on How to Upscale AI Images offers more specific advice.
This dance of prompt, generate, evaluate, and refine is how you gradually sculpt the AI's output into your desired photorealistic vision.
Tools and Workflows for Photorealistic Generations
Not all AI image generators are created equal when it comes to photorealism. While many have improved dramatically, some still have a distinct edge.
Which AI Tools Excel at Realism
Different AI tools have their own strengths and quirks, particularly when it comes to rendering lifelike images. For achieving high levels of photorealism, certain platforms consistently deliver impressive results.
- Midjourney: This tool is renowned for its artistic prowess and often produces stunning, cinematic, and visually rich images. With recent versions like Midjourney V6 and V7, its photorealism capabilities have leaped forward dramatically, allowing for incredibly detailed faces, textures, and lighting. Users often find it excels at capturing atmospheric mood and complex scenes with a painterly yet realistic quality. If you're serious about photorealism, exploring Midjourney V7 Features and Updates is a must.
- Stable Diffusion: As an open-source model, Stable Diffusion offers unparalleled customization. With access to countless models (checkpoints), LoRAs (Low-Rank Adaptation), and ControlNet, you can fine-tune it to an extraordinary degree for photorealism. While it might require more technical know-how to set up and get consistent results, the control it offers for specific styles, poses, and details is unmatched. Many find it to be the Best AI Image Generator for Photorealism due to this flexibility.
- Leonardo AI: This platform is a fantastic choice, especially for those looking for a more user-friendly experience with powerful capabilities. It offers a variety of fine-tuned models, some specifically geared towards photorealism, and excellent image editing tools like inpainting and outpainting. It's often praised for its ability to generate realistic characters and objects with ease.
- DALL-E (especially in ChatGPT): While DALL-E 3, often accessed through ChatGPT or Microsoft Copilot, is fantastic for understanding complex prompts and rendering specific details, its photorealism can sometimes be a bit more stylized or "clean" compared to Midjourney or finely-tuned Stable Diffusion models. However, its prompt understanding is top-tier, making it easier to articulate intricate scenes. For general use and ease of access, its capabilities are highly impressive.
While other tools like Adobe Firefly are excellent for commercial safety and specific use cases, and Ideogram excels at text, for pure photorealism, the first three generally lead the pack.
Practical Workflow: From Concept to Final Image
Here’s a step-by-step workflow you can adopt to consistently produce photorealistic images:
- Brainstorm and Visualize: Before you even open your AI tool, close your eyes and truly visualize the image. What's the subject? Where are they? What time of day is it? What's the mood? What specific details are crucial? Take notes.
- Draft Your Initial Prompt: Start with a detailed description of your subject, action, and environment. Focus on keywords and evocative language. For example:
A weathered fisherman casting his net into the choppy, emerald-green waters of the North Sea, under a stormy, dramatic sky at dawn. - Add Lighting and Camera Details: Layer in the photographic terms.
...under a stormy, dramatic sky at dawn, low-angle shot, cinematic lighting, f/2.8 lens, capturing the spray of the waves. - Refine with Textures and Imperfections: Think about the fine details.
...fisherman with a grizzled beard and worn oilskins, casting his net into the choppy, emerald-green waters of the North Sea, under a stormy, dramatic sky at dawn, low-angle shot, cinematic lighting, f/2.8 lens, capturing the spray of the waves, droplets clinging to his beard, hyperdetailed, realistic. - Incorporate Negative Prompts: Add your list of things to avoid.
...realistic, ((unrealistic, fake, digital art, illustration, cartoon, painting, drawing, render, cgi))), low quality, blurry, bad anatomy, extra fingers. - Generate and Evaluate: Run your prompt. Look critically at the output. Does the lighting work? Are the textures believable? Are there any "AI tells" like weird hands or uncanny faces?
- Iterate and Adjust: This is where you make changes. If the lighting is too harsh, adjust the lighting terms. If the face isn't right, add more specific facial descriptions or use a
--seedto try variations of a good starting image. You might even experiment with How to Prompt for Realistic Faces for close-up shots. - Upscale and Post-Process: Once you have an image you love, upscale it to a higher resolution. You might also take it into an image editor like Photoshop or GIMP for minor tweaks, color grading, or to remove tiny imperfections that the AI missed. Sometimes, a little touch-up is all it takes to make it truly indistinguishable from a photo.
By following this systematic approach, you'll find yourself achieving photorealistic results more consistently and with greater control.
Prompt Element Impact on Realism
Here's a quick reference table demonstrating how different prompt elements contribute to photorealism:
| Prompt Element | Description | Impact on Realism | Example Keywords |
|---|---|---|---|
| Subject & Scene | Detailed description of the main focus and its environment. | Provides context, anchors AI to specific visual information. | grizzled sailor, ancient redwood forest, bustling Tokyo street, misty morning |
| Lighting | Specifies light source, direction, intensity, and color. | Crucial for atmosphere and depth, defines highlights and shadows. | golden hour, cinematic lighting, soft window light, backlight, dramatic shadows |
| Camera & Lens | Technical photographic specifications. | Mimics real camera aesthetics (bokeh, focal length, grain). | 50mm f/1.8, Canon EOS R5, shallow depth of field, film grain, bokeh, wide-angle |
| Details & Textures | Specific sensory descriptions of surfaces, materials, and small elements. | Adds tactile realism, breaks up generic AI smoothness. | weathered brick, peeling paint, subtle skin pores, dew on grass, crumpled fabric, fine wrinkles |
| Composition & Angle | Framing, perspective, and arrangement of elements. | Influences visual storytelling and sense of presence. | close-up, low-angle shot, rule of thirds, leading lines, eye-level |
| Mood & Atmosphere | Adjectives conveying emotional tone and environmental conditions. | Enhances immersion, adds emotional depth to the scene. | serene, ominous, vibrant, hazy, ethereal, foggy |
| Quality Modifiers | Direct commands for visual fidelity. | Directly pushes AI towards higher fidelity and detail. | photorealistic, hyperdetailed, ultra-realistic, 8K, RAW photo, masterpiece |
| Negative Prompts | Explicitly tells the AI what not to include or what qualities to avoid. | Eliminates common AI artifacts and stylistic deviations, fights the "AI look." | unrealistic, digital art, blurry, bad anatomy, extra fingers, ugly, watermark |
Disclaimer
The information provided in this guide is for general informational and educational purposes only and is not a substitute for professional advice. AI technology is rapidly evolving, and results may vary depending on the specific tools, models, and updates available at any given time. Always use AI-generated content responsibly and ethically.