How to Reverse-Engineer a Good Prompt
Have you ever scrolled through a gallery of AI-generated images, stopped dead in your tracks, and wondered, "How on Earth did they make that?" It's a common feeling, a mix of awe and a little bit of creative envy, especially when you see a stunning piece of AI art and have no idea how to recreate anything remotely similar. This guide is all about demystifying that process, showing you how to "reverse-engineer" those impressive AI prompts so you can learn from them and elevate your own image generation game.
The Frustration of the Flawless Image
It's a familiar scenario for many of us diving into the world of AI image generation. You see an absolutely breathtaking image online—perhaps a fantastical landscape with hyper-detailed foliage and ethereal lighting, or a photorealistic portrait that blurs the line between AI and photography. Your first instinct is often to try and replicate it, maybe by guessing a few keywords or hoping for a lucky shot. But more often than not, your attempts fall flat, producing something generic, distorted, or just miles away from your inspiration. This gap between inspiration and execution can be incredibly frustrating, making you feel like there's some secret language only a select few understand.
Why "Stealing" Prompts Doesn't Always Work
The immediate temptation might be to find the exact prompt used, copy-paste it, and call it a day. While some generous creators do share their full prompts, relying solely on this method isn't a sustainable path to true mastery. First, many platforms, especially the more advanced ones, often have complex prompting systems that include not just descriptive text but also parameters, weights, and even hidden 'style seeds' that aren't visible in a simple text string. For instance, a prompt for a photorealistic image in Midjourney might include --style raw or specific version numbers like --v 6.0 that dramatically alter the output, but these small details are easily missed or not shared.
Second, the underlying AI models are constantly evolving. A prompt that worked wonders last month might produce vastly different results today. What worked perfectly on DALL-E might not translate at all to Stable Diffusion, let alone something like Ideogram, which excels at text but has a different artistic approach. Each tool has its own nuances, its own way of interpreting words, and its own strengths and weaknesses. Simply copying a prompt without understanding why it works (or worked) means you're not learning the fundamental principles of prompt engineering. It’s like trying to bake a perfect cake by just knowing the ingredients without understanding the steps or oven temperature. You need to understand the recipe, not just steal it. For a deeper dive into the foundations, check out our guide on How to Write AI Image Prompts.
Recognizing the Elements of a Great AI Image
Before you can deconstruct a prompt, you need to learn how to look at an AI image with a critical eye. It's about moving beyond "that looks cool" to "what makes that look cool?" Think of it like dissecting a beautifully composed photograph or a master painting. You're looking for the layers of information that the AI model interpreted from its prompt.
Consider the subject itself. Is it a person, an animal, a fantastical creature, an object, or a scene? How specific is it? "Cat" is vague, but "Siamese cat with sapphire eyes" is much more defined. Then, look at the style: Is it photorealistic, painterly, cartoonish, 3D render, cyberpunk, abstract, or something else entirely? What famous artists or movements does it evoke? Is there a particular art style reference, like "in the style of Van Gogh" or "anime art"?
Next, observe the composition and framing. Is it a close-up, a wide shot, a bird's-eye view? What's the camera angle? Are there specific elements arranged in a particular way? The lighting is another massive factor – is it soft morning light, dramatic chiaroscuro, neon glow, or the harsh glare of midday? The colors, textures, and overall atmosphere all contribute significantly. Does it feel moody, vibrant, serene, or chaotic? Each of these elements, whether consciously added by the original prompt engineer or serendipitously generated, holds clues to the prompt that created it. Learning to identify these distinct features is the first step in unlocking the secrets of effective prompt engineering.
Deconstructing the Visuals: A Step-by-Step Approach
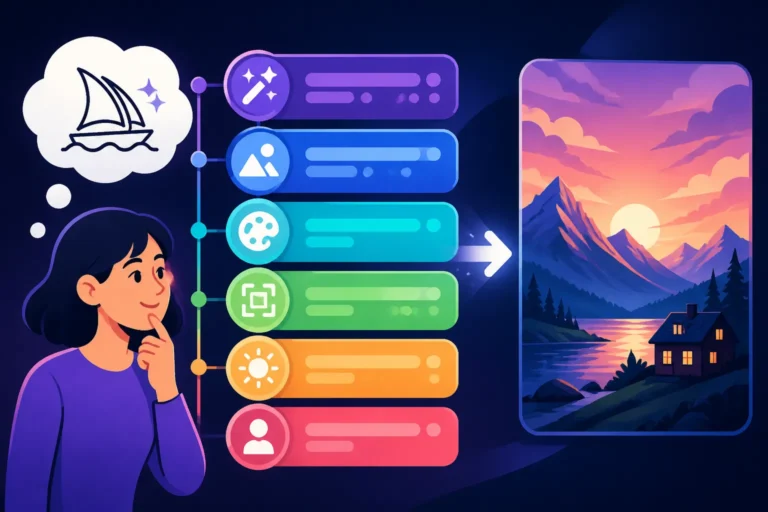
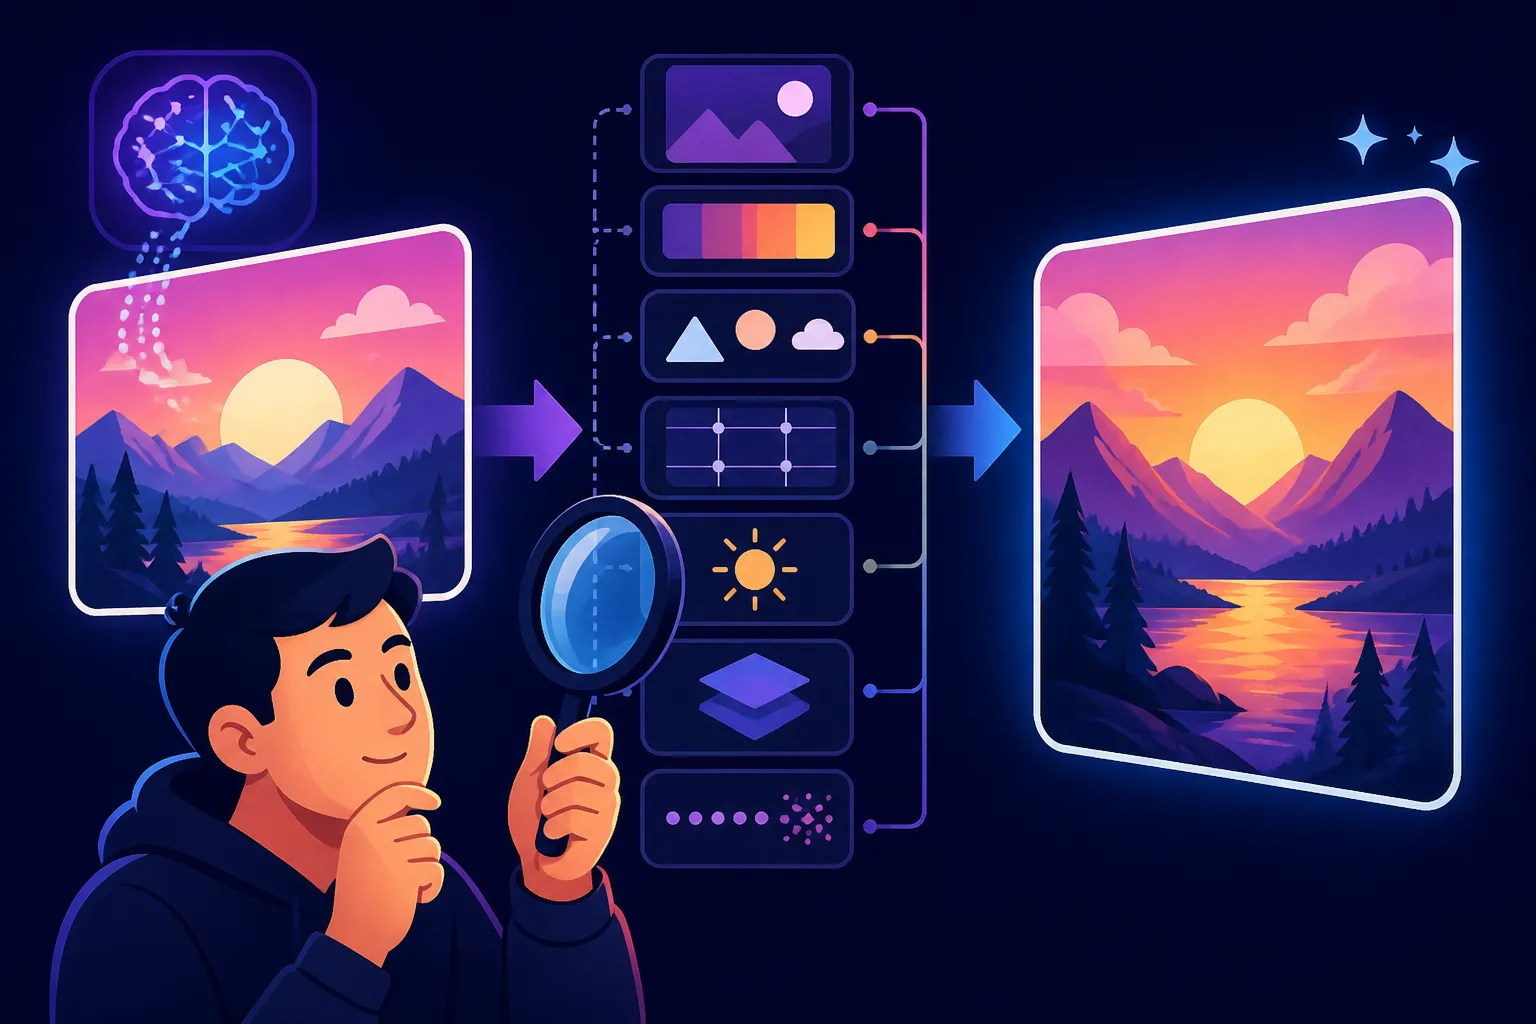
Reverse-engineering a prompt isn't guesswork; it's a systematic process of observation and deduction. You become a detective, piecing together clues from the image itself to reconstruct the prompt that birthed it. It takes practice, but once you get the hang of it, you'll find your own prompt writing improving dramatically.
Analyzing the Core Subject and Composition
Start with the most obvious elements: what is the main subject, and how is it presented? Let’s say you’re looking at an image of a majestic lion. Is it a full body shot, a headshot, or just a detailed close-up of its mane? Is it standing on a rocky outcrop, lying in tall grass, or perhaps depicted in a more surreal environment? These details directly translate to the primary keywords in your prompt. You might start with "lion" but then quickly add "full body shot," "standing on a cliff," or "close-up of golden mane."
Think about the environment and surrounding elements. If our lion is on a cliff overlooking a savanna, those are key descriptive terms. Are there specific objects in the foreground or background? What is the depth of field like? A blurry background suggests a shallow depth of field, which you might prompt with "bokeh effect" or "shallow depth of field." The arrangement of elements, the rule of thirds, leading lines – these compositional choices often come from explicit instructions in the prompt. For those just starting out, a good resource to build on these basics is our AI Image Prompt Guide for Beginners.
Let's use an example: Imagine a sleek, futuristic car zooming through a neon-lit cyberpunk city street at night.
- Subject: "futuristic car"
- Action/Pose: "zooming," implying motion blur.
- Environment: "cyberpunk city street," "night."
- Composition/Framing: Perhaps "low-angle shot" to emphasize speed, or "dynamic action shot."
By breaking down the image into these fundamental components, you begin to build a robust foundation for your reconstructed prompt. Don't be afraid to list every single object, action, and setting you see.
Identifying Artistic Styles and Influences
This is where many beginners struggle, but it's crucial. The style defines the aesthetic. Is the image realistic, illustrated, painterly, or something else? If it's a painting, what kind of painting? Oil, watercolor, acrylic, digital? Does it remind you of a specific art movement, like Impressionism or Surrealism? Are there elements of a famous artist's work, like "in the style of Zdzisław Beksiński" for dark, surreal landscapes, or "Andy Warhol pop art" for bold, colorful portraits?
Many AI images lean into specific artistic directions. A photorealistic image will require terms like "photorealistic," "ultra-realistic," "8k," "sharp focus," "detailed," and potentially camera lens descriptions like "cinematic," "anamorphic lens," or "macro photography." If it looks like a comic book, you'd think "comic book art," "graphic novel style," "cel-shaded." For a charming, illustrative look, terms like "children's book illustration," "storybook style," or "vector art" might be appropriate.
Even subtle influences matter. A slightly grainy look might suggest "vintage photograph" or "film grain." A glowing, digital aesthetic points to "neon punk" or "synthwave." Developing an eye for these stylistic cues comes with exposure to various art forms and practice in prompting different styles. Try experimenting with different style keywords as outlined in our Midjourney Prompt Guide or DALL-E Prompt Guide.
Pinpointing Lighting, Color, and Atmosphere
These elements are often the secret sauce that elevates an image from good to spectacular. Lighting can entirely change the mood and focus of an image.
- Type of Light: Is it natural light (sunlight, moonlight), artificial light (studio lights, neon, spotlights), or magical light (glowing orbs, ethereal beams)?
- Direction of Light: Is it front-lit, backlit (creating a silhouette or rim light), side-lit (emphasizing texture), or top-down?
- Quality of Light: Is it soft, diffused, harsh, bright, dim?
- Time of Day: "Golden hour," "blue hour," "midnight," "dusk," "dawn."
- Specific Lighting Effects: "Volumetric lighting," "ray tracing," "cinematic lighting," "dramatic lighting."
Color palette is another massive descriptor. Is it vibrant and saturated, or muted and monochromatic? Are there complementary colors or contrasting tones? Think about terms like "pastel colors," "monochromatic," "vibrant hues," "sepia tone," "cool tones," "warm tones."
Finally, the atmosphere—the overall feeling or mood. Is it serene, chaotic, melancholic, epic, mysterious, joyful? This often results from a combination of lighting, color, and subject matter, but can also be explicitly prompted. Terms like "dreamy atmosphere," "eerie fog," "peaceful ambiance," "tense mood" can significantly influence the output.
Let's refine our futuristic car example: "futuristic car zooming through a neon-lit cyberpunk city street at night, low-angle shot, rim lighting, rain-slicked pavement reflecting neon glow, volumetric fog, cinematic, vibrant purple and blue tones, hyperdetailed." Each addition contributes to a more specific, evocative, and ultimately reverse-engineered prompt.
Practical Techniques for Reverse-Engineering Prompts
Now that you know what to look for, let's talk about the practical steps you can take to unearth those hidden prompt elements. It's often a mix of using the tools themselves and a lot of trial and error.
Leveraging AI Image Tool Features for Inspection
Many advanced AI image generators offer features that can assist in prompt inspection, directly or indirectly.
- Image-to-Prompt Features: Some tools, like Midjourney's
/describecommand or certain features in Stable Diffusion interfaces, can analyze an uploaded image and suggest potential prompts. While these are often not perfect and might miss subtle stylistic nuances, they provide an excellent starting point and can highlight keywords you might not have considered. It’s like having a little AI assistant whisper ideas into your ear. - Metadata Inspection: For images downloaded from certain platforms, sometimes the prompt information is embedded in the image's metadata (EXIF data). Tools like online EXIF viewers can extract this if available. However, this is becoming less common as creators often strip metadata to protect their prompts.
- Remix or Style Transfer Features: Tools that allow you to remix an existing image or transfer its style can be valuable. By feeding the target image into a remix feature, you can then experiment with simple prompts to see how the AI interprets and blends the original image's characteristics. This isn't direct prompt retrieval, but it helps you understand the visual components the AI prioritizes.
- Variations and Iterations: If you have access to a tool where you can generate variations from an existing image (even one you didn't create), study those variations. See what elements stay consistent and what changes with minor tweaks. This helps you understand which parts of the visual are core to the generation versus flexible details.
- Community Showcases: Platforms often have public galleries where users share their creations and sometimes, their prompts. For example, the community feeds on platforms like Leonardo AI or Playground AI can be goldmines. Studying a diverse range of successful prompts alongside their generated images is one of the best ways to learn. Don't just copy; analyze why that prompt led to that image. This builds your mental library of effective prompt structures.
Remember to consider specific parameters too. If the image has a certain aspect ratio, like a wide panoramic landscape, the original prompt likely included --ar 16:9 (or similar) in Midjourney, or specific resolution settings in other tools. If the image is particularly stylized, there might be a --sref (style reference) or a specific model checkpoint used. These technical parameters are just as important as the descriptive words.
Iterative Prompt Building and Refinement
This is the core of reverse-engineering. You'll start with your best guess at a prompt, generate an image, compare it to your inspiration, identify discrepancies, and then refine your prompt. It's a loop: Observe -> Hypothesize -> Test -> Compare -> Refine.
Let's say you're trying to recreate a hyperrealistic image of a medieval knight.
- Initial Hypothesis: "medieval knight, full armor, standing in a castle courtyard." (Generate image)
- Compare: Your image looks okay, but it's a bit cartoony, lacks detail, and the lighting is flat. The inspiration has stunning photorealism and dramatic shadows.
- Refine (Adding style & lighting): "medieval knight, full intricate armor, standing in a castle courtyard, photorealistic, ultra detailed, cinematic lighting, dramatic shadows, 8k, sharp focus." (Generate image)
- Compare: Much better! But now the knight looks too clean, and the inspiration has a weathered, battle-worn feel.
- Refine (Adding texture & mood): "medieval knight, full intricate weathered armor, standing in a castle courtyard, photorealistic, ultra detailed, cinematic lighting, dramatic shadows, 8k, sharp focus, gritty atmosphere, dust motes in the air."
This iterative process continues until you're satisfied or have learned enough about how different keywords influence the output. It requires patience and a willingness to experiment. Don't be afraid to try synonyms, adjust word order, or add entirely new descriptive terms. Sometimes, a single word can drastically alter the outcome. If you find yourself repeatedly struggling with quality, our guide on How to Get Better AI Image Results might offer some useful pointers.
Learning from Community and Expert Prompts
The AI art community is a treasure trove of learning opportunities. Many artists, both hobbyists and professionals, share their prompts and insights on platforms like Discord, Reddit, and dedicated AI art websites.
- Prompt Databases: Websites like PromptBase, Lexica Art, or even Pinterest for AI art often feature images alongside their prompts. While some are paid, many offer free examples. These aren't just for copying; they're for studying.
- Discord Servers: Join the official Discord servers for tools like Midjourney or Stable Diffusion. There are often channels dedicated to prompt sharing, and you can see what others are creating and how they're prompting. Active participation and asking questions can accelerate your learning.
- YouTube Tutorials: Many content creators demonstrate their prompting process, showing how they build prompts incrementally and what effect different keywords have. Watching someone go through the iterative process is incredibly instructive.
- Analyze "Bad" Prompts Too: Don't just look at the good ones. Sometimes understanding why a "bad" prompt produced a poor image can be just as informative. This helps you identify common pitfalls, like those discussed in Common AI Image Prompt Mistakes.
When studying, pay attention to the structure of the prompt, not just the keywords. Do they list the subject first, then style, then lighting, then mood? Or do they use comma-separated lists of descriptive adjectives? Different tools and personal preferences lead to different effective structures. Over time, you'll start to recognize patterns and develop your own go-to structures.
Here’s a simple table summarizing prompt elements and associated keywords:
| Prompt Element | Description | Example Keywords/Phrases |
|---|---|---|
| Subject | Main focal point of the image | dog, space station, ancient warrior, cup of coffee |
| Action/Pose | What the subject is doing | running, meditating, exploring, steaming |
| Environment/Setting | Where the action takes place | forest, futuristic city, desert planet, cozy cafe |
| Art Style | Overall aesthetic or genre | photorealistic, oil painting, anime art, cyberpunk, 3D render |
| Artist/Influence | Specific artistic inspiration | by Greg Rutkowski, in the style of Hayao Miyazaki, Art Deco |
| Lighting | How light interacts with the scene | cinematic lighting, golden hour, neon glow, dramatic shadows, backlit |
| Color/Tone | Dominant color scheme or mood | vibrant colors, monochromatic, sepia tone, cool tones, pastel palette |
| Composition/Angle | Framing, perspective, camera view | wide shot, close-up, low angle, bokeh, rule of thirds, symmetrical |
| Quality/Detail | Level of realism and intricacy | 8k, hyperdetailed, sharp focus, fine art, rough texture |
| Mood/Atmosphere | Emotional feeling or ambiance | ethereal, gritty, serene, chaotic, mysterious |
| Technical Parameters | Tool-specific instructions (e.g., aspect ratio) | --ar 16:9 (Midjourney), --s 750 (Stable Diffusion) |
Common Pitfalls and Advanced Tips
As you dive deeper into reverse-engineering and prompt engineering, you'll encounter common challenges. Being aware of them can save you a lot of time and frustration.
Avoiding Over-Prompting and Prompt-Stuffing
One of the biggest mistakes beginners make is thinking "more words equals better results." This often leads to "prompt stuffing," where you cram every possible adjective and noun into a single prompt, hoping the AI will sort it out. The reality is that AI models, particularly newer ones, are quite good at understanding natural language. Over-prompting can actually confuse the model, leading to contradictory instructions and generic, unfocused outputs. Instead of a "detailed, intricate, beautiful, stunning, gorgeous, hyperrealistic, 8k, award-winning forest with lush, vibrant, green trees and sparkling, clear river and misty, magical atmosphere," try something more concise like "hyperrealistic serene forest, ancient trees, clear river, misty, soft morning light, 8k."
The key is precision and impact. Each word should add meaningful value. If it doesn't, remove it. Test different permutations to see which words carry the most weight. Sometimes, fewer, stronger keywords are far more effective than a deluge of weak ones. Think of it like writing poetry, not a technical manual. For example, if you're trying to achieve clear text in an image, knowing how to approach specific requirements like those in How to Write Prompts for Text in Images is more effective than just listing many text-related terms.
The Role of Negative Prompts and Parameters
Effective prompt engineering isn't just about what you want in an image; it's also about what you don't want. This is where negative prompts come in. A negative prompt tells the AI to avoid certain elements, styles, or qualities. For example, if you're generating photorealistic people and constantly getting strange, distorted hands, you might add a negative prompt like ugly, deformed, disfigured, extra fingers, bad hands. Or if your image looks too "AI-generated," you might use negative prompts such as blurry, low quality, watermarks, bad anatomy.
Different AI tools handle negative prompts in different ways. In Midjourney, this is typically done using --no followed by the undesirable elements. Stable Diffusion and others often have a dedicated negative prompt box. Learning to effectively wield negative prompts is a game-changer for cleaning up generations and achieving higher fidelity results. This is a topic explored in depth in our guide on How to Use Negative Prompts.
Beyond negative prompts, understanding tool-specific parameters is essential. Aspect ratios (--ar), style weights (--s), chaos (--c), stylize (--s), seed values (--seed), and model versions (--v) can all profoundly impact the output. These are the advanced controls that allow for fine-tuning and consistency, which is especially important if you're trying to achieve something like How to Prompt for Photorealism. A perfectly crafted descriptive prompt can still fall short if the technical parameters aren't set correctly for the desired outcome.
Incorporating Personal Style and Experimentation
Ultimately, the goal of reverse-engineering isn't just to copy, but to learn and then adapt. As you break down more images and experiment with different prompts, you'll start to develop your own intuitive understanding of how the AI "thinks." You'll discover which keywords resonate most with your preferred aesthetic, and how to combine them in unique ways to create images that reflect your personal vision.
Don't be afraid to deviate from the source. Use the reverse-engineered prompt as a foundation, but then twist it, add your own flair, or combine elements from multiple inspirations. Perhaps you loved the lighting from one image and the character design from another; try to bring them together. The beauty of AI image generation is the endless possibility for iteration and creation. What seems like an impossible image to recreate today will become a stepping stone for your own unique creations tomorrow. And if your creations need a little polish, remember that tools exist for further enhancement, as discussed in How to Upscale AI Images.
By diligently practicing observation, systematic deconstruction, and continuous experimentation, you’ll not only crack the code of stunning AI images but also unlock your full creative potential with these incredible tools. Keep an open mind, keep iterating, and most importantly, keep having fun!
Disclaimer
The information provided in this article is for general informational purposes only and does not constitute professional advice. AI image generation technology is rapidly evolving, and specific features, functionalities, and best practices may change over time. Always refer to the official documentation and community guidelines for the specific AI tools you are using.