How to Enhance AI Image Details
It's incredibly frustrating when you generate an AI image that's almost perfect, but it just lacks that final touch, that intricate layer of detail that makes it truly shine and escape the "AI look." You spend time crafting your prompt, get a decent result, but then you zoom in and notice the textures are a bit flat, the hair isn't quite right, or the background elements are just a little too generic. This guide is here to walk you through proven strategies and practical techniques to significantly enhance the minute details in your AI-generated images, taking them from good to truly exceptional.
The Art of Precision Prompt Engineering for Details
One of the most powerful levers you have in enhancing image details starts even before the image is generated: your prompt. Many users focus on the main subject, but neglect to tell the AI what kind of detail they expect. This oversight often leads to images that are visually passable but lack the richness and complexity of real-world objects or artistic masterpieces. Learning to communicate these subtleties to the AI is key.
Specifying Minute Visual Elements
Don't just ask for a "forest." Ask for a "dense, ancient forest with moss-covered boulders, dew drops clinging to spiderwebs, and shafts of golden light filtering through a canopy of emerald leaves, revealing individual dust motes dancing in the air." See the difference? Break down the visual world into its smallest components. If you want a portrait, don't just say "beautiful woman"; specify "individual strands of windswept hair, delicate freckles across her nose, a subtle sheen of sweat on her forehead, and the intricate lace pattern of her blouse." The AI is surprisingly adept at interpreting these granular descriptions if you provide them. Think about what a professional photographer or painter would notice and try to translate that into words.
When you're trying to achieve a particular textural quality, articulate it. Instead of "stone wall," try "rough-hewn ancient stone wall with visible mortar lines, patches of lichen, and crumbling edges showing centuries of weathering." This level of specific detail helps the AI move beyond its default, often smoother or more stylized, interpretations. Remember, the AI is a literal interpreter of your words; if you don't explicitly ask for intricate textures, it might not generate them. For a deeper dive, check out our guide on how to write effective How to Write AI Image Prompts that truly capture your vision.
Incorporating Artistic and Technical Terms
Beyond just describing objects, you can guide the AI's rendering style by using specific artistic and technical vocabulary. Terms like "hyperrealistic," "photorealistic," "ultra-detailed," "high fidelity," and "8K resolution" are powerful modifiers that signal to the AI that you demand a high level of intricate rendering. For instance, combining "photorealistic portrait" with "intricate lace detailing on dress, visible skin pores, subtle reflections in eyes" will yield far more detailed results than simply "portrait of a woman."
Furthermore, consider lighting and camera techniques. "Cinematic volumetric lighting," "shallow depth of field with creamy bokeh," "macro photography," or "extreme close-up" can force the AI to focus on minute details that would otherwise be lost in a broader shot. Think about how these terms are used in professional photography and art. A "studio portrait with catchlights in eyes and soft Rembrandt lighting" implies a certain attention to light's interaction with the subject, which directly translates to finer details in features and shadows. Exploring a more comprehensive AI Image Prompt Guide for Beginners can help you build this vocabulary.
Leveraging Negative Prompts to Refine
Sometimes, enhancing details isn't just about adding more positive instructions, but also about removing undesirable characteristics. Negative prompts are your secret weapon against generic, blurry, or low-detail outputs. If you're consistently getting images that feel flat, try adding negative prompts like: blurry, low resolution, ugly, deformed, text, watermark, bad anatomy, missing fingers, dull, generic, smooth, low detail, low quality, pixelated, jpeg artifacts.
These terms tell the AI what not to include, effectively pushing it towards higher-quality, more detailed options within its vast training data. For example, if you're trying to generate an image of a textured fabric, explicitly telling the AI "smooth, flat fabric" in your negative prompt will encourage it to focus on generating intricate weaves and realistic creases. It's about steering the AI away from its lazy tendencies and forcing it to work harder for the detail you desire. The right negative prompts can be a game-changer, complementing even the Best AI Image Prompt Formulas.
Upscaling and Post-Processing for Finer Details
Once you've generated an initial image, even with the best prompts, it might still benefit from further refinement. This is where upscaling and targeted post-processing come into play. These techniques don't just make your image bigger; they actively enhance and sometimes even invent details, pushing the resolution and intricacy to new levels.
Understanding the Role of Upscalers
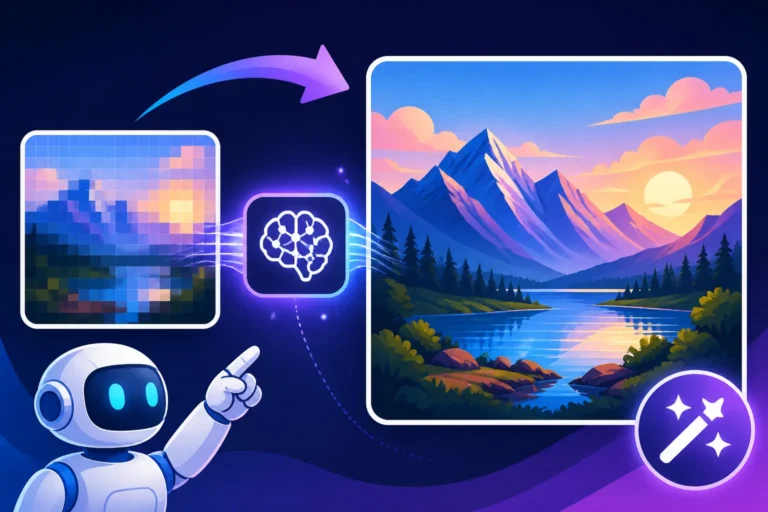
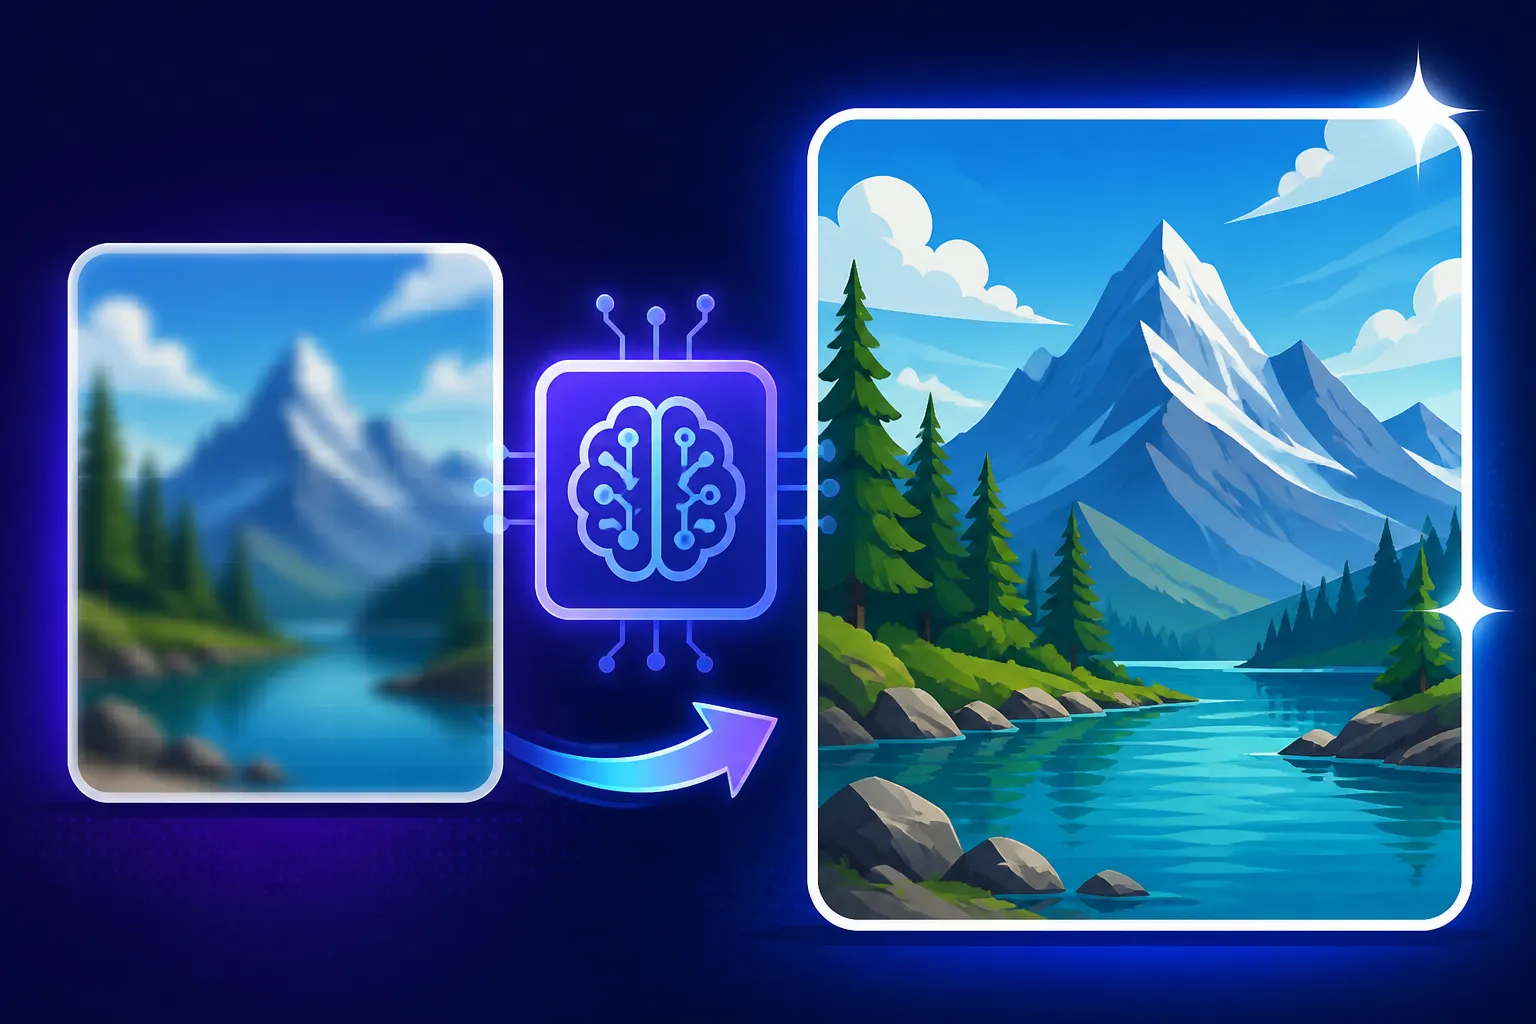
Many people misunderstand what an AI upscaler does. It's not simply stretching pixels; it's a sophisticated process that uses AI models trained on vast datasets to "guess" or "synthesize" missing details when increasing an image's resolution. This means an upscaler can transform a somewhat fuzzy, low-detail image into one that appears sharper, with more defined textures, clearer lines, and even subtle elements you didn't notice before. It analyzes patterns and predicts how fine details should look at a higher resolution, adding information rather than just interpolating existing pixels.
This is particularly crucial for AI-generated images, which, despite impressive initial quality, can often suffer from a certain "softness" or lack of photographic crispness, especially in areas like hair, fabric, or complex backgrounds. A good upscaler can add that final layer of polish, making the image feel more "real" and less artificial. Learn more about the general process of How to Upscale AI Images to get a broader perspective.
Choosing the Right Upscaling Method
There are generally two routes for upscaling: native in-tool upscalers and external dedicated upscaling services.
- Native Upscalers (e.g., Midjourney, DALL-E, Stable Diffusion): Many AI image generators now offer built-in upscaling options. Midjourney, for instance, has various upscalers that can be applied after generation, often yielding significant improvements in detail and sharpness. DALL-E and other tools also have similar features. These are convenient because they are integrated into your workflow. They usually leverage the same underlying model that generated the image, ensuring a consistent style while adding detail. Always check if your chosen generator has an enhanced upscaling mode or a "subtle" versus "creative" upscaling option, as these can affect the degree of detail added.
- External Upscaling Tools (e.g., Magnific AI, Gigapixel AI): For truly dramatic detail enhancement, dedicated external upscaling services are often superior. Tools like Magnific AI Upscaler Review are designed solely for this purpose, boasting highly advanced algorithms that can add incredibly realistic texture, sharpen edges, and even intelligently repair small imperfections. These are particularly useful when your source image is already quite good but you need that extra "oomph" for print or high-resolution display. They often offer more control over the intensity of detail, noise reduction, and artistic style. The downside is they usually involve an extra step and often a separate subscription.
When deciding, consider the original quality of your image and your desired output. For minor improvements, native upscalers are often sufficient. For professional-grade detail or significant resolution bumps, an external tool like Magnific AI might be worth the investment.
| Upscaling Method | Pros | Cons | Best Use Case |
|---|---|---|---|
| Native In-Tool | Convenient, integrated, consistent style | May not offer the highest detail, limited controls | Quick enhancements, maintaining existing aesthetic |
| External AI | Superior detail, advanced algorithms, more control | Extra step, often paid, potential style deviation | Professional output, extreme detail, large prints |
Iterative Upscaling and Refining
Sometimes, one pass of upscaling isn't enough. For truly exceptional results, you might consider an iterative process:
- Generate a base image with a strong, detail-oriented prompt.
- Apply an initial upscaler (native or external) to get a higher-resolution version.
- Inspect the upscaled image. Identify any remaining soft areas or artifacting.
- Use targeted editing techniques like inpainting (see next section) in a tool like Photoshop or a capable AI editor to refine specific areas. For example, if hair still looks blocky, you might mask that area and regenerate/refine just the hair.
- Apply a second, perhaps different, upscaler if necessary, especially if the first one was more conservative. Some artists even use multiple upscalers in sequence, each bringing out different aspects of detail. This approach is similar to how photographers layer different filters and adjustments to achieve a final look, ensuring every element is rendered with utmost precision.
Advanced Techniques for Injecting Realism and Intricacy
Beyond direct prompting and upscaling, several advanced techniques allow you to exert finer control over detail and introduce a level of realism and intricacy that might be hard to achieve with prompts alone. These methods often involve providing the AI with more specific visual guidance.
Using Reference Images and Image-to-Image
One of the most effective ways to guide an AI toward specific details, textures, or compositions is by feeding it a reference image. This is often referred to as "image-to-image" (img2img) generation. Instead of starting from scratch with just a text prompt, you give the AI a picture and tell it to transform or recreate it based on your text input, while retaining certain characteristics of the original.
For instance, if you have a photo of a specific intricate pattern or a highly detailed object, you can upload it as a reference. Then, you can prompt the AI to generate "a dress with the pattern from the reference image, high-quality fabric texture, 8K, highly detailed." The AI will use the reference to understand the visual qualities you're looking for, especially texture, lighting, and general composition, and apply those details to your new generation. This is particularly useful for maintaining consistency or ensuring a very specific aesthetic. It’s a bit like showing a chef a picture of the dish you want, rather than just giving them a list of ingredients. For more guidance on this, refer to our article on How to Use Reference Images in Prompts.
Applying ControlNet for Precise Composition and Detail Transfer
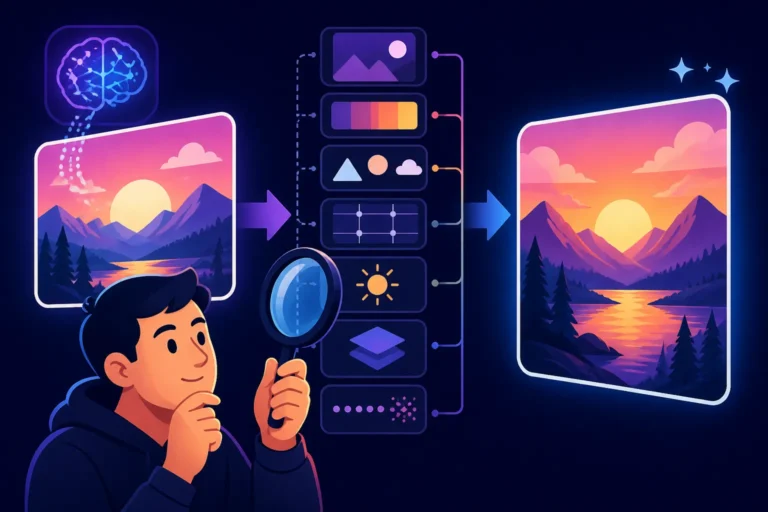
ControlNet, primarily associated with Stable Diffusion but conceptually applicable to other tools with similar features, is a game-changer for precise detail and composition control. It allows you to feed an AI not just a reference image, but a specific structural or compositional map derived from that image. This could be a depth map, a Canny edge map, a human pose (OpenPose), or a normal map.
Imagine you want a character in a specific pose, wearing a highly detailed outfit with particular folds and shadows. You can take a photo or even a sketch of someone in that pose, run it through ControlNet to extract the pose data, and then generate your AI image with that pose constraint. The AI will then generate an image that perfectly matches the pose and will be more capable of rendering details like fabric folds and lighting based on that underlying structure. Similarly, a Canny edge map can ensure intricate architectural details are maintained, or a normal map can help reproduce complex surface textures with incredible accuracy. This level of control allows for precise detail transfer that would be impossible with text prompts alone. To get started with this powerful tool, check out How to Use ControlNet in Stable Diffusion.
Inpainting and Outpainting for Targeted Detail Enhancement
Sometimes, only a specific area of your image needs detail enhancement, or perhaps a problematic detail needs to be corrected without altering the rest of the image. This is where inpainting and outpainting become invaluable.
- Inpainting: This technique involves "painting over" a specific area of an existing image and then using an AI to intelligently regenerate only that masked region based on a new prompt and the surrounding image context. For example, if the hands in your AI portrait are still a bit wonky or lack detail, you can mask just the hands, provide a prompt like "highly detailed realistic hands with subtle wrinkles and natural skin texture," and the AI will regenerate only that portion, blending it seamlessly with the rest of the image. This is a surgical approach to detail enhancement, allowing you to focus on trouble spots without re-rolling the entire image. Learn how to refine your images with precision in our guide on How to Edit AI Images with Inpainting.
- Outpainting: While less about enhancing existing details and more about extending them, outpainting allows you to expand your canvas beyond the original image borders. The AI then intelligently fills in the new areas, matching the style and extending existing details into the new space. If your detailed subject is a bit too close to the edge, outpainting can give you more room and even generate additional environmental details around it, contributing to a richer, more expansive composition. Both techniques are available in various AI editing suites and even some standalone image generators.
Platform-Specific Tips for Detail Enhancement
Different AI image generators have their own unique strengths and features that can be leveraged for enhancing image details. Understanding these nuances can help you pick the right tool or optimize your workflow for the best results.
Midjourney's Style and Raw Modes
Midjourney is renowned for its artistic prowess, and it offers specific modes and parameters to influence detail.
--style raw: This parameter, when appended to your prompt, tells Midjourney to generate images with less of its default artistic "styling" and more emphasis on realism and prompt adherence. When you combine--style rawwith highly descriptive prompts for details like "individual strands of hair," "fine fabric weave," or "cracked paint texture," you'll often see a significant increase in the photographic realism and micro-details. It encourages the model to generate a more objective interpretation of your words rather than layering its distinct aesthetic on top.- Stylize Parameter (
--s): The--sparameter controls how much artistic "style" Midjourney applies. While a high--svalue can create beautiful, stylized art, a lower value (e.g.,--s 50or--s 100) often results in images that are more faithful to your prompt's descriptive details, producing sharper, less abstract textures and features. Experimenting with both--style rawand lower--svalues can dramatically improve the intricate fidelity of your generations. For a complete overview of how to wield its capabilities, explore our in-depth Midjourney Prompt Guide. You can also fine-tune your generations further by understanding various Midjourney Parameters Explained.
DALL-E's Strengths in Detail
DALL-E, especially its iterations integrated into platforms like ChatGPT, is known for its strong understanding of complex concepts and its ability to generate varied styles. While it might not always have the raw photographic power of Midjourney for hyperrealism, it excels at interpreting nuanced textual descriptions for specific details.
When using DALL-E for detail enhancement, focus on extremely clear and unambiguous descriptions. For example, instead of "a dog," try "a Golden Retriever with shaggy fur, distinct curly textures around its ears, individual whiskers visible, and wet nose with tiny droplets." DALL-E is quite good at understanding these specific features and rendering them. It also tends to be very consistent with prompt elements, so if you ask for "a vase with intricate floral engravings," it will usually deliver on the "engravings" part more reliably than some other models. Its strength lies in its semantic understanding, so precise vocabulary is your friend. To maximize your results, consult a DALL-E Prompt Guide for tailored advice.
Stable Diffusion's Customizability for Micro-Details
Stable Diffusion stands out for its incredible flexibility and the vast ecosystem of custom models, LoRAs (Low-Rank Adaptation), and extensions available. This makes it a powerhouse for detail enhancement, especially if you're willing to delve a bit deeper into its technical capabilities.
- Custom Models: Users can train or download highly specialized Stable Diffusion models (e.g., specific photorealism models, models for architecture, or character models) that are fine-tuned to excel at rendering particular types of details. A model trained extensively on faces will produce far more detailed and realistic facial features than a general-purpose model.
- LoRAs: These are small, specialized model layers that can be applied on top of a base Stable Diffusion model to add specific styles, concepts, or even detailed textures without retraining the entire model. For example, you can find LoRAs that dramatically enhance skin texture, add hyperrealistic lighting, or even generate specific types of intricate jewelry or clothing details. Combining a good base model with a relevant LoRA can take your detail game to an entirely new level.
- ControlNet (as discussed above): Its integration with Stable Diffusion is arguably the most robust, allowing for unparalleled control over composition and detail transfer from reference images.
The sheer volume of community-contributed resources means that if you need a specific type of detail, there's likely a model or LoRA out there designed to achieve it. This open-source nature makes Stable Diffusion incredibly powerful for users who need a very high degree of control over the finer points of their images. Take a deeper dive into mastering this tool with our Stable Diffusion Prompt Guide.
Disclaimer
The information provided in this guide is for general informational purposes only. While AI image generation tools are constantly evolving, the quality and detail of generated images can vary widely based on the specific tool, model, prompt engineering, and individual settings used. Users should always review the terms of service and commercial use policies of any AI image generator they utilize.