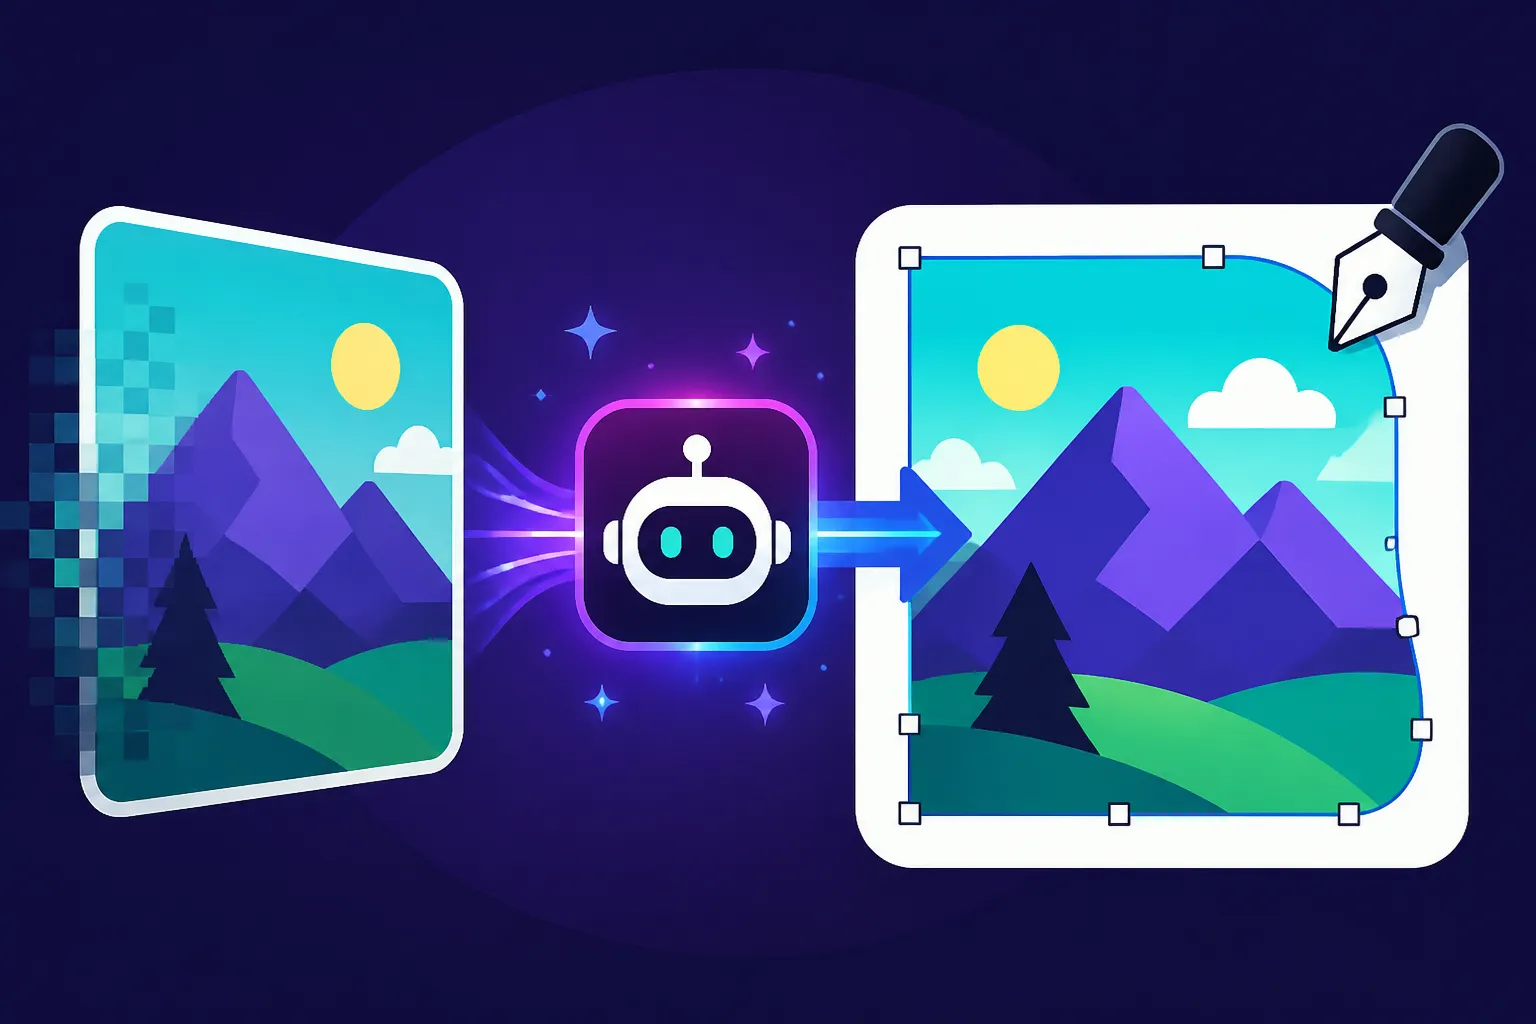
How to Generate AI Vectors and SVGs
It's incredibly frustrating when you generate a beautiful image with AI, only to find it pixelates into a blurry mess the moment you try to scale it up for a poster, a t-shirt, or even a simple logo on your website. The dream of perfectly crisp, editable graphics often clashes with the reality of raster images. This guide is here to demystify the process, showing you exactly how to leverage AI to create scalable vector graphics and SVGs that will look sharp at any size.
Understanding the Fundamental Difference: Raster vs. Vector
Before we dive into how to generate vector graphics with AI, it's crucial to grasp the fundamental difference between raster and vector images. This understanding is key to avoiding common pitfalls and knowing when to use which type of graphic.
Pixels vs. Paths
Imagine trying to paint a mural on a gigantic wall using only tiny square mosaic tiles. That's essentially how raster images work. They are made up of a grid of tiny colored squares called pixels. Every photo you take with your phone, every image you download from Instagram, and most images generated by popular AI tools like Midjourney or DALL-E are raster images. The problem arises when you try to make that mosaic bigger – the individual tiles (pixels) become visible, and the image looks "pixelated" or blurry. It's like zooming in too close on a photo; you start seeing the individual dots that make up the picture.
Vector images, on the other hand, are like a mathematical blueprint. Instead of pixels, they are composed of paths, points, and curves defined by mathematical equations. Think of a line drawn on a piece of paper. You can stretch that line infinitely, and it will always remain a perfectly smooth line, no matter how big it gets. Similarly, a vector graphic can be scaled up or down to any size without losing a single bit of its crispness or quality. The software simply recalculates the mathematical equations to display the paths at the new size. This makes them ideal for logos, illustrations, icons, and anything that needs to maintain sharp edges and lines across different display sizes and print mediums.
Common File Types and Their Best Use Cases
Knowing the common file extensions for each type can help you identify what you're working with:
Raster File Types (Pixel-based):
- JPEG/JPG: Best for photographs and complex images with many colors. They use compression that can degrade image quality, especially with repeated saves. Great for web use where file size matters.
- PNG: Excellent for web graphics that require transparency, like logos with transparent backgrounds. They use lossless compression, so image quality doesn't degrade.
- GIF: Primarily used for simple animations and images with limited color palettes.
- BMP, TIFF: Less common for general web use, often used for high-quality print or scans.
Vector File Types (Path-based):
- SVG (Scalable Vector Graphics): This is the star of the show for web design. SVGs are XML-based, meaning they can be manipulated with code and are highly scalable for responsive web design. They are lightweight and render beautifully on any screen resolution.
- AI (Adobe Illustrator Artwork): Adobe Illustrator's native file format, ideal for complex vector illustrations, logos, and print designs.
- EPS (Encapsulated PostScript): An older but still widely used vector format, especially in professional printing.
- PDF (Portable Document Format): While PDFs can contain raster images, they also support vector graphics, making them suitable for print-ready documents that maintain sharp text and graphics.
If you're creating a logo for your brand, designing an icon for an app, or making an illustration for a large-format print, you absolutely need vector graphics. Using a raster image for these purposes will lead to a grainy, unprofessional result that just doesn't scale.
AI Tools That Directly Generate Vectors and SVGs
The landscape of AI image generation is evolving rapidly, and some innovative tools are now stepping up to address the demand for native vector and SVG output. This is a game-changer for designers and content creators who need scalable assets.
Recraft: A Vector-First Approach
When it comes to AI tools explicitly designed with vector output in mind, Recraft Review for Vector Art stands out. Unlike many general-purpose AI image generators that produce raster images, Recraft was built from the ground up to create vector art. This means you can often get clean, editable SVG files directly from your text prompts.
Here's how Recraft approaches it:
- Prompt-to-Vector: You input your desired image description, much like with other AI tools. However, Recraft's models are trained to understand and interpret these prompts with a strong bias towards vector art principles. This means it aims for clean lines, distinct shapes, and solid color fills that translate well into paths.
- Style Options: Recraft offers various styles, many of which inherently lean into vector aesthetics, such as "flat illustration," "isometric," "line art," or "cartoon." These styles are perfect for generating assets that are already structured in a way that's easy to convert or directly output as vectors.
- Direct SVG Download: The true magic of Recraft is its ability to download images as SVG files. This saves a huge amount of time and effort compared to having to manually trace raster images. You can generate a graphic, download the SVG, and then open it directly in a vector editing software like Adobe Illustrator or Inkscape for further adjustments.
- Use Cases: Recraft is a fantastic option for creating logos, icons, website illustrations, infographics, and other design elements where scalability and editability are paramount. If you're looking for Best AI Image Generator for Logos, Recraft should definitely be on your radar. You can generate a basic logo concept with it, then refine the paths and colors in a traditional vector editor.
Krea AI and Other Emerging Options
While not as explicitly vector-focused as Recraft, other tools like Krea AI Realtime Generation Review are also exploring ways to incorporate vector-like qualities or features that assist in vectorization.
- Vector-Adjacent Styles: Some AI generators, while producing raster output, are capable of generating images with very clean lines, sharp contrasts, and simplified color palettes. These "vector-adjacent" styles make the subsequent process of raster-to-vector conversion much easier. Think of simple, minimalist illustrations or graphics with bold outlines.
- Future Developments: The AI image generation space is dynamic. We're seeing constant innovation, and it's highly likely that more tools will integrate direct SVG export or robust vectorization capabilities in the near future. Keep an eye on updates from major players like Adobe Firefly, as integrating vector creation directly into creative suites would be a huge boon for professionals. While Adobe Firefly Commercial Safety Review often focuses on raster outputs, its integration with Adobe Illustrator makes it a prime candidate for a seamless raster-to-vector workflow.
The primary benefit of using a tool like Recraft is skipping the conversion step entirely, which often introduces complexities and requires additional software. If you know your final output absolutely must be a vector, starting with a vector-focused AI tool is usually the most efficient path.
Converting Raster AI Images to Vectors: The Workflow
Even if your favorite AI image generator doesn't spit out SVG files directly, all hope is not lost! You can still transform your beautiful AI-generated raster images into crisp, scalable vector graphics. This usually involves a process called "image tracing" or "vectorization," and it often requires a dedicated vector editing software.
Preparing Your AI-Generated Raster Image
The success of your raster-to-vector conversion heavily depends on the quality and characteristics of your initial AI image. Think of it as preparing your canvas before you start painting.
- Choose the Right Image:
- Simplicity is Key: Complex images with subtle gradients, photographic realism, or intricate textures are incredibly difficult to convert cleanly into vectors. The more detailed and "photorealistic" an AI image is, the harder it will be to get a good vector result.
- Prioritize Clean Lines and Shapes: Look for images generated with clear, distinct lines, solid blocks of color, and well-defined shapes. Styles like "flat design," "line art," "cartoon," "iconography," or "minimalist illustration" are ideal candidates.
- High Contrast: Images with strong contrast between elements will yield much better tracing results. Blurry edges or soft shadows can create messy, fragmented paths in the vector output.
- Minimal Colors: The fewer colors in your original raster image, the cleaner your vector output will likely be. Each distinct color often translates to a separate path.
- Ensure High Resolution: While vectorization software can work with lower-resolution images, starting with the highest possible resolution from your AI generator will give you the most accurate starting point. A higher-resolution image has more pixel data, which provides the tracing algorithm with more information to define paths.
- Clean Up the Raster (Optional but Recommended):
- Remove Unwanted Elements: Use a raster image editor (like Photoshop, GIMP, or even basic online editors) to crop unnecessary areas, remove stray pixels, or simplify backgrounds.
- Enhance Contrast/Sharpness: Sometimes, a slight boost in contrast or sharpness can make edges more defined, which helps the tracing algorithm. Be careful not to overdo it, as this can introduce artifacts.
- Monochromatic Conversion: For simple logos or icons, converting the image to black and white or a limited color palette before tracing can yield much cleaner results.
Using Vectorization Software: Adobe Illustrator and Inkscape
Once your raster image is prepped, it's time to bring in the big guns: vector editing software. The two most popular tools for this are Adobe Illustrator (a professional paid tool) and Inkscape (a powerful, free, and open-source alternative).
Adobe Illustrator's Image Trace (The Industry Standard)
Adobe Illustrator is the gold standard for vector graphics, and its "Image Trace" feature is incredibly robust.
- Import Your Raster: Open Adobe Illustrator, go to File > Place, and select your prepared AI-generated raster image. Embed it if prompted.
- Access Image Trace: With the image selected, you'll see an "Image Trace" button in the Properties panel or the Control panel at the top. Click it, or go to Object > Image Trace > Make. This will apply a default trace, which is usually not optimal.
- Open the Image Trace Panel: Go to Window > Image Trace. This panel is where the magic happens.
- Choose a Preset/Mode: This is critical. Illustrator offers several presets that cater to different image types:
- "High Fidelity Photo" / "Low Fidelity Photo": Generally avoid these for AI art. They try to retain too much detail and result in thousands of complex, often messy, paths.
- "3 Colors," "6 Colors," "16 Colors": Excellent for images with limited color palettes. You can adjust the "Colors" slider to fine-tune the number of colors Illustrator should detect.
- "Sketched Art," "Line Art": Ideal for line drawings and images with clear outlines.
- "Silhouettes," "Black and White Logo": Perfect for simple, monochromatic images or logos.
- Adjust the Tracing Settings:
- Mode: (Color, Grayscale, Black & White) – Choose based on your original image. For color images, start with "Color" and adjust the "Colors" slider.
- Palette: (Automatic, Limited, Document Library) – "Automatic" is usually fine, but "Limited" might be useful if you have a specific color count in mind.
- Threshold (Black & White Mode): Controls the point at which pixels become black or white. Adjust for cleaner lines.
- Paths: Lower values result in fewer anchor points and smoother curves, but might simplify too much. Higher values create more detailed paths but can make the vector complex.
- Corners: Adjusts the fidelity of sharp corners. Higher values maintain sharper corners.
- Noise: Controls the minimum number of pixels to consider when tracing. Increase to ignore small, stray pixels (noise) and create cleaner shapes.
- Ignore White: Always check this box if you want a transparent background in your SVG, which is often the case for logos and icons.
- Preview and Refine: As you adjust the settings, keep the "Preview" box checked to see the changes in real-time. This iterative process is key to getting a good trace. You'll often need to play with the settings quite a bit.
- Expand the Image Trace: Once you're satisfied with the preview, click "Expand" in the Properties panel or Object > Image Trace > Expand. This converts the traced image into actual, editable vector paths.
- Ungroup and Clean Up: The traced object will likely be grouped. Right-click and choose "Ungroup" (you might need to do this multiple times). Now you can select individual paths, delete unwanted shapes, smooth out rough edges with the Smooth tool, or adjust anchor points with the Direct Selection tool (white arrow). This is where the artistry comes in, transforming a good trace into a perfect vector.
- Save as SVG: Go to File > Export > Export As… and choose SVG as the format. In the SVG Options dialog, you can usually stick with the defaults, ensuring "Presentation Attributes" is selected for CSS Properties for maximum compatibility.
Inkscape's Trace Bitmap (The Free Alternative)
Inkscape offers a powerful "Trace Bitmap" feature that functions similarly to Illustrator's Image Trace and is an excellent option for those on a budget or who prefer open-source software.
- Import Your Raster: Open Inkscape, go to File > Import, and select your prepared AI-generated raster image.
- Select the Image: Click on the imported image to select it.
- Open Trace Bitmap: Go to Path > Trace Bitmap. A dialog box will appear.
- Choose a Tracing Method: Inkscape offers different methods:
- "Single scan" (Brightness cutoff, Edge detection, Color quantization):
- Brightness cutoff: Similar to Illustrator's Black & White mode. Adjust "Threshold" for darker/lighter lines.
- Edge detection: Good for outlines.
- Color quantization: Useful for simplifying colors.
- "Multiple scans" (Colors, Grays, Opaque Grays): This is often your best bet for color images.
- Select "Colors" and set the "Number of scans" to the number of distinct colors you want in your vector. Inkscape will create layers for each color.
- Check "Smooth," "Stack scans," and "Remove background" for cleaner results.
- "Single scan" (Brightness cutoff, Edge detection, Color quantization):
- Update and Refine: Click "Update" to see a preview of the trace. Experiment with the different settings and methods. Pay attention to the "Threshold" for single scans and "Number of scans" for multiple scans.
- Apply and Close: Once you're happy, click "Apply," then close the dialog. Your vector version will appear on top of your original raster.
- Ungroup and Clean Up: The traced object will likely be a group. Go to Object > Ungroup. Now you can select and edit individual paths. Use the Node tool (F2) to adjust paths, smooth out nodes, or delete unwanted parts.
- Save as SVG: Go to File > Save As… and choose "Plain SVG" or "Inkscape SVG" from the dropdown menu.
Remember, both processes require patience and experimentation. The goal isn't just to convert, but to convert cleanly so the vector is truly editable and scalable.
Beyond Direct Tools and Tracing: A Summary
To summarize the pathways for generating AI vectors and SVGs:
| Method | AI Tool Examples | Pros | Cons | Ideal Use Cases |
|---|---|---|---|---|
| Direct AI Vector Generation | Recraft, some specific features in Krea AI (emerging) | Instant SVG output, less manual cleanup, designed for vectors | Limited tool choice, still evolving, may lack fine control | Simple logos, icons, flat illustrations, web graphics |
| Raster-to-Vector Conversion | AI generators (Midjourney, DALL-E) + Illustrator/Inkscape | Use any AI tool, powerful cleanup/editing in vector software | Time-consuming, requires manual tracing/cleanup, results vary | Complex illustrations, refining AI-generated concepts, precise editing |
Ultimately, the choice depends on your needs. For quick, simple vector assets, a direct generation tool like Recraft is fantastic. For more complex, unique AI art that needs to be vectorized and meticulously refined, the raster-to-vector workflow with Illustrator or Inkscape is indispensable.
Optimizing and Using Your AI-Generated Vectors
Generating an SVG is just the first step. To truly make it shine and be functional across various platforms, you need to optimize it. This is where you transform a mere conversion into a polished, usable asset.
Refining Vector Paths and Colors
Even the best automated tracing isn't perfect. You'll almost always need to do some manual cleanup in your vector editing software (Illustrator, Inkscape, Affinity Designer, etc.).
- Simplify Paths: Traced images can generate an excessive number of anchor points, making the file size unnecessarily large and the paths harder to edit. Use path simplification tools (e.g., Illustrator's "Simplify" function under Object > Path, or Inkscape's "Simplify" option in the Node tool) to reduce redundant points while maintaining the shape's integrity. Fewer points mean a cleaner, smoother, and lighter SVG file.
- Smooth Curves: Raster-to-vector conversion can sometimes result in slightly jagged or bumpy curves. Use smoothing tools (Illustrator's Smooth tool, or Inkscape's "Make selected nodes smooth" option) to refine these curves for a more polished look. This is especially important for elements like logos or typography.
- Consolidate Colors: Automated tracing might pick up slight color variations and create multiple similar color swatches. Review your color palette and consolidate similar hues. For instance, if the trace created three slightly different shades of blue, unify them into a single, consistent blue. This reduces file size and ensures brand consistency.
- Check for Overlapping Shapes: Tracing can sometimes create hidden, overlapping shapes or tiny fragments. Use outline view (Ctrl/Cmd + Y in Illustrator) to spot and remove these extraneous elements. They might not be visible in normal view but can bloat file size and cause rendering issues.
- Ensure Consistent Strokes: If your design includes outlines or strokes, ensure their weight and style are consistent. AI often struggles with uniform strokes, so this might need manual adjustment.
Best Practices for Saving and Exporting SVGs
Saving your vector file correctly ensures it performs optimally wherever it's used, especially on the web.
- Save in Native Format First: Always save your work in the native format of your vector editor (e.g., .ai for Illustrator, .svg for Inkscape) before exporting to other formats. This preserves all your layers, editable text, and specific settings for future edits.
- Export as Plain SVG for Web: When exporting for web use, always choose "Plain SVG" (in Inkscape) or optimize the SVG export settings (in Illustrator).
- Illustrator SVG Export Options:
- CSS Properties: Choose "Presentation Attributes" or "Style Elements" for better compatibility. Avoid "Style Attributes" unless you have a specific reason.
- Decimal Places: Reduce this to 1 or 2 for web use to cut down file size without noticeable loss of quality.
- Minify: Check this option to remove unnecessary metadata and further reduce file size.
- Responsive: Keep this checked if you want the SVG to scale responsively within its container on a webpage.
- Embed Images: If your SVG contains any raster elements (which you should generally avoid for pure vectors), embed them. Otherwise, uncheck this.
- Illustrator SVG Export Options:
- Test Your SVG: Before deploying your SVG, test it across different browsers and devices. Open it in a web browser, scale it, and ensure it renders correctly.
Practical Applications for AI-Generated Vectors
The ability to generate and refine AI vectors opens up a world of possibilities, especially for content creators and small businesses.
- Logos and Brand Elements: Create unique, scalable logos for your business. Imagine prompting an AI for "minimalist hummingbird logo, geometric, teal and gold" and then refining the resulting vector. This can be a huge time-saver for entrepreneurs and freelancers, offering a starting point for branding materials. For more details, check out How to Make AI Logos for a Business.
- Icons for Websites and Apps: Icons need to be crisp and readable at various sizes. AI-generated vectors can provide a rich library of custom icons that maintain quality on Retina displays and large monitors alike. This is also useful for How to Make AI Icons for Apps.
- Illustrations for Web and Print: Whether it's a hero image for a landing page, a graphic for a blog post, or a full-page illustration for a magazine, vectors ensure your art is always sharp. Need an illustration for your next article? Consider "Best AI Image Generator for Blog Images."
- Merchandise and Print-on-Demand: For t-shirts, mugs, posters, and other physical products, vector graphics are non-negotiable. They ensure that your design prints cleanly without pixelation, regardless of the print size.
- Infographics and Diagrams: Complex information becomes digestible with clear, scalable visuals. AI can help create the underlying graphic elements that you then arrange and customize as vectors.
- Animations: SVGs can be easily animated using CSS or JavaScript, adding dynamic elements to your website without relying on heavy raster image sequences.
By mastering the process of generating and optimizing AI vectors, you unlock a powerful new dimension for your creative projects, ensuring your visuals are always professional, sharp, and adaptable. Remember, while AI provides the spark, your human touch in refinement is what truly elevates the final vector graphic.
Disclaimer
Please note that the field of AI image generation is constantly evolving. The capabilities and features of specific AI tools, as well as their pricing and terms of service, can change rapidly. Always check the most up-to-date information directly from the tool providers. Additionally, while efforts are made to provide accurate information, users are encouraged to verify commercial use rights and licensing for any AI-generated content they intend to use professionally.