How to Create AI Character Concepts
Trying to bring your character ideas to life, whether for a novel, a game, or just a personal art project, can be incredibly frustrating when your drawing skills don't quite match your vision. It's a common hurdle, watching your fantastic concepts get lost in translation from your mind to the canvas. This guide is here to walk you through the process of using AI image tools to generate stunning, detailed character concepts, helping you bridge that gap and finally see your creations in vivid detail.
Understanding the Landscape of AI Character Generation
Stepping into the world of AI-generated characters can feel like walking into a massive art supply store without a shopping list. There are so many tools, so many possibilities, and it’s easy to get overwhelmed. But at its heart, generating character concepts with AI is about communicating your vision clearly to a very sophisticated digital artist. It's not magic, but it certainly feels like it when you get it right!
The Power of Generative AI for Artists and Writers
For years, artists and writers have spent countless hours sketching, sculpting, or meticulously describing characters to collaborators, only to find the final product doesn't quite match what they imagined. AI image generators are changing this game entirely. Imagine being able to conjure up a visual of your grizzled space marine, your ethereal elf sorceress, or your quirky cyberpunk hacker in minutes, not days. This isn't about replacing human creativity; it's about amplifying it.
Many creators find AI tools invaluable for rapid prototyping. Instead of committing to a single design direction early on, you can generate dozens of variations, test out different hairstyles, outfits, or even facial expressions. This iterative process allows for a much more fluid and experimental approach to character development. Think about it: you can explore a hundred different takes on "stoic warrior" before even picking up a pencil, gaining clarity on what feels right for your story or project. For instance, a writer working on a fantasy epic might struggle to visualize the exact look of their kingdom's royal guard. With AI, they can explore various armor types, weapon designs, and even physical builds, quickly settling on an aesthetic that aligns perfectly with their lore. This speed and flexibility are what make these tools so transformative.
Choosing the Right AI Tool for Your Character Needs
The AI image generator space is booming, and each tool has its own strengths and quirks. There’s no single "best" one; it really depends on what you're trying to achieve and how much control you want. Some tools excel at photorealism, others at specific artistic styles, and some offer more granular control over composition and details.
For highly stylized or artistic character concepts, tools like Midjourney often shine. Users report incredible results for fantasy, sci-fi, and abstract art styles, making it a favorite for concept artists. If you're looking for photorealistic human characters, models found within tools like DALL-E Review: Is It Worth It in 2026 or even certain versions of Stable Diffusion can produce impressive, lifelike results. For those who need to integrate custom elements or have a local setup, Stable Diffusion offers unparalleled flexibility through its vast array of models and extensions, allowing you to fine-tune aspects like clothing, poses, and even specific facial features.
On the other hand, if you're a designer looking for cleaner, more graphic characters or need excellent text integration within your images (think character names on uniforms), Ideogram might be a better fit. Its ability to handle text generation is often superior to many competitors. Then there are platforms like Leonardo AI, which offer a great balance, often providing user-friendly interfaces with powerful underlying models, suitable for both beginners and more experienced users looking to generate a wide range of character styles. It’s worth checking out reviews like the Leonardo AI Review to see if its features align with your specific workflow. The key is to experiment or at least read up on what each platform does best before diving deep.
Crafting Effective Prompts for Character Concepts
This is where the rubber meets the road! The quality of your AI-generated character concepts lives and dies by the quality of your prompts. It’s like being a director telling an actor what scene to play; the more specific and evocative your instructions, the better the performance. Many people get frustrated when their initial prompts yield generic or bizarre results, but with a little practice and understanding, you can guide the AI to bring your unique visions to life.
Deconstructing the Perfect Character Prompt
Think of your prompt as a recipe. You need ingredients (the character's physical traits, clothing, accessories), a cooking method (the art style, lighting, composition), and sometimes a sprinkle of seasoning (mood, backstory elements). A common mistake is being too vague, like simply asking for "a warrior." This will give you a warrior, alright, but probably a very generic one.
To get truly unique character concepts, you need to break down your vision into its core components. Start with the main subject, then add modifiers that describe their appearance, clothing, actions, environment, and the overall aesthetic. For example, instead of "a wizard," try "an elderly male wizard with a long white beard, wearing flowing indigo robes embroidered with silver constellations, holding a gnarled staff topped with a glowing crystal, standing in a dimly lit ancient library, in the style of classical fantasy art, cinematic lighting." See the difference? That level of detail gives the AI so much more to work with. Remember, the AI can't read your mind, so paint the clearest picture possible with your words. For a deeper dive, check out resources like How to Write AI Image Prompts and the AI Image Prompt Guide for Beginners.
Here’s a breakdown of essential elements to consider including in your prompts:
| Prompt Element | Description | Examples |
|---|---|---|
| Subject | The core character, species, age, gender. | "Female elven rogue," "Androgynous cyberpunk hacker," "Elderly dwarven blacksmith," "Teenage superhero in flight" |
| Physicals | Hair color/style, eye color, skin tone, build, scars. | "Long braided red hair, piercing green eyes, fair skin, athletic build, scar over left eyebrow," "Bald, pale skin, muscular, glowing blue eyes" |
| Clothing | Outfit details, armor, accessories. | "Worn leather armor, flowing crimson cloak, silver gauntlets," "Modern minimalist techwear, glowing LED accents," "Victorian-era ball gown, intricate lace, pearl necklace" |
| Props/Gear | Items the character holds or wears. | "Holds a finely crafted bow and quiver," "Wielding a shimmering magic staff," "Carrying a vintage satchel and an ancient map," "Hoverboard underfoot" |
| Pose/Action | What the character is doing. | "Standing heroically, arms crossed," "Leaping mid-air, casting a spell," "Sitting contemplatively by a campfire," "Running through a bustling market" |
| Expression | Character's facial emotion. | "Stoic expression," "Wicked grin," "Gentle smile," "Frowning in concentration," "Intense, determined gaze" |
| Environment | Where the character is located. | "On a snow-capped mountain peak," "Inside a futuristic neon-lit city alley," "A mystical forest clearing at dusk," "In a dilapidated steampunk workshop" |
| Lighting | How the scene is lit. | "Dramatic chiaroscuro lighting," "Soft volumetric light from above," "Backlit by a setting sun," "Neon glow," "Eerie moonlight" |
| Art Style | The visual aesthetic you want. | "Oil painting, hyperrealistic, watercolor, anime, Pixar style, comic book art, concept art, cinematic, matte painting, digital art, retrofuturism, gothic art, impressionistic" |
| Mood/Tone | The overall feeling of the image. | "Mysterious, heroic, whimsical, dark fantasy, epic, tranquil, unsettling" |
| Quality | Desired fidelity (e.g., "8K," "highly detailed"). | "Ultra detailed, 4k, cinematic, sharp focus, professional photography" |
| Negative | Things you don't want to see. | "ugly, distorted, blurry, extra limbs, bad anatomy, grayscale, watermark" (Many tools have dedicated negative prompt fields or parameters for this, which can be immensely helpful for refining results, especially for tricky elements like hands.) |
Using Parameters and Styles for Finer Control
Beyond just descriptive words, many AI tools offer specific parameters and commands that give you an even finer degree of control over your output. These can dictate everything from the aspect ratio of the image to the level of stylization, or even allow you to blend multiple concepts.
For example, in Midjourney, you might use --ar 16:9 for a widescreen aspect ratio or --style raw to reduce the tool's default artistic flourishes, aiming for a more photographic look. Understanding these nuances can dramatically improve your results. You can learn more about these in a dedicated Midjourney Prompt Guide. Other tools like Stable Diffusion use different mechanisms, often involving specific models (checkpoints), LoRAs (Low-Rank Adaptation models for specific styles or subjects), and ControlNet for precise pose or composition control. This level of customization is what truly empowers creators to go beyond generic AI art and create something truly unique.
Think about a common frustration: inconsistent characters. You generate one great image, but then the next one of the same character looks completely different. This is where learning about "seed" values and reference images comes in. Many tools allow you to use a seed number to reproduce a similar initial noise pattern, giving you a better chance at consistency. Even better, some platforms now offer "style reference" or "character reference" features where you can feed an existing image of your character, telling the AI, "Hey, make the new character look like this one." This is particularly helpful when you're trying to generate multiple poses or scenes for the same character.
Iterating and Refining Your AI Character Designs
Generating a character concept isn't usually a one-and-done deal. It's a journey of iteration, much like traditional art or writing. Your first output might be good, but rarely perfect. The real magic happens in the refinement process, where you take what the AI gives you and guide it closer to your initial vision.
Making Small Tweaks for Big Improvements
Once you get an initial set of images, resist the urge to immediately generate something completely new if you're close. Instead, focus on making small, targeted adjustments. This could involve:
- Adjusting Prompt Elements: Maybe the hair color isn't quite right, or the armor is too bulky. Go back to your prompt and change "red hair" to "auburn hair" or "bulky plate armor" to "sleek, form-fitting plate armor."
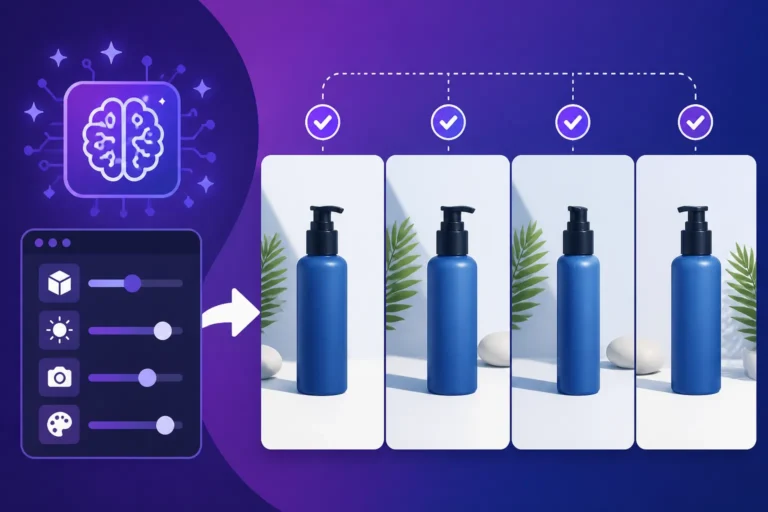
- Using Variations: Most AI tools offer a "Vary" or "Generate Similar" button. This takes an image you like and creates new versions based on its visual characteristics, giving you slight permutations without starting from scratch. This is an excellent way to explore subtle changes in expression, pose, or clothing details without losing the core of what you liked. Learning How to Create Image Variations is a game-changer for this process.
- Applying Negative Prompts: Often, you'll encounter elements you don't want. Perhaps the character keeps getting an unnecessary accessory, or the background is too busy. Adding terms like "no helmet," "simple background," or "minimalist" to a negative prompt field can effectively steer the AI away from those unwanted details.
- Inpainting and Outpainting: Some advanced tools allow you to select a specific area of an image and regenerate only that part with a new prompt (inpainting). Need to change the character's hand? Select it, describe the hand you want, and let the AI fill it in. Similarly, outpainting lets you extend the canvas beyond the original image, which is great for expanding a scene around your character.
Remember that patience is key. Sometimes, a seemingly minor word change in your prompt can drastically alter the outcome. It's about learning the AI's "language" and how it interprets your instructions.
Troubleshooting Common Character Generation Issues
Even with the best prompts, you'll inevitably run into some quirky issues. AI models are incredibly powerful, but they're not perfect, especially when it comes to complex human anatomy or specific arrangements. It's a rite of passage for any AI artist to encounter a character with extra fingers, distorted limbs, or a bizarre fusion of objects.
Here are some common problems and how to approach them:
- Distorted or Extra Limbs/Fingers: This is probably the most notorious AI art flaw.
- Prompt Adjustment: Try adding "realistic anatomy," "correct number of fingers," or "anatomically correct hands" to your positive prompt. Conversely, use negative prompts like "extra limbs," "deformed hands," "mutated," or "disfigured."
- Inpainting/Outpainting: Many tools offer inpainting features. Select the problematic hand or limb, write a very specific prompt for a "realistic hand," and regenerate that section.
- Post-processing: Sometimes, a quick touch-up in a photo editor like Photoshop or GIMP is the easiest solution if the rest of the image is perfect. Check out tips like How to Fix AI Hands and Faces for more detailed strategies.
- Inconsistent Character Appearance: As mentioned earlier, maintaining a consistent look for the same character across multiple images is a challenge.
- Character Reference: If your tool supports it, upload an existing image of your character as a reference.
- Seed Numbers: Note the seed number of a successful generation and use it for subsequent prompts to create similar images.
- Detailed Description Consistency: Keep your core character description identical across all prompts. Only change pose, expression, or environment.
- Image-to-Image (Img2Img): If your tool allows, take a strong initial character image and use it as an input for a new generation, prompting for a new pose or scene.
- Unwanted Background Elements: The AI sometimes adds distracting details to the background.
- Specificity in Prompt: Explicitly ask for "simple background," "plain background," "minimalist setting," or describe the exact background you want.
- Negative Prompts: Use "cluttered background," "distracting elements," or specific unwanted objects (e.g., "no trees," "no cars").
- Outpainting/Inpainting: Use these features to remove or modify unwanted background elements after generation.
The key is to treat the AI as a diligent but sometimes literal assistant. If you don't like what it gives you, don't blame the tool; refine your instructions!
Advanced Techniques for Unique Character Creations
Once you've mastered the basics of prompting and iterating, you can dive into more advanced techniques that push the boundaries of what AI can do for character concepting. This is where you really start to develop a unique workflow and get those "wow" results.
Blending Styles and Concepts
One of the most exciting aspects of AI image generation is its ability to blend disparate ideas and artistic styles in ways that would be incredibly difficult or time-consuming for a human artist. Want a cyberpunk character rendered as an oil painting? Or a medieval knight with bioluminescent elements? AI makes it possible.
To achieve this, carefully combine keywords for different styles and concepts in your prompt. For example: "A stoic samurai warrior in traditional armor, but with intricate neon glow lines running across the plates, standing in a rain-slicked Tokyo alley, cyberpunk aesthetic, digital painting, atmospheric lighting." You're merging historical elements with futuristic tech and a specific art style.
Experiment with weighting different parts of your prompt (if your tool supports it). Some platforms allow you to put parentheses around certain keywords or add numerical weights to emphasize or de-emphasize them. This lets you say, "I want more of the 'gothic' feel and less of the 'steampunk' elements." This is a fantastic way to create hybrid characters that feel fresh and original.
Using ControlNet and Image-to-Image for Precision
For those using more open-source or advanced setups like Stable Diffusion, tools like ControlNet are absolute game-changers for character concepting. ControlNet allows you to feed an input image (like a simple line drawing, a pose reference, or even a depth map) to guide the AI's generation.
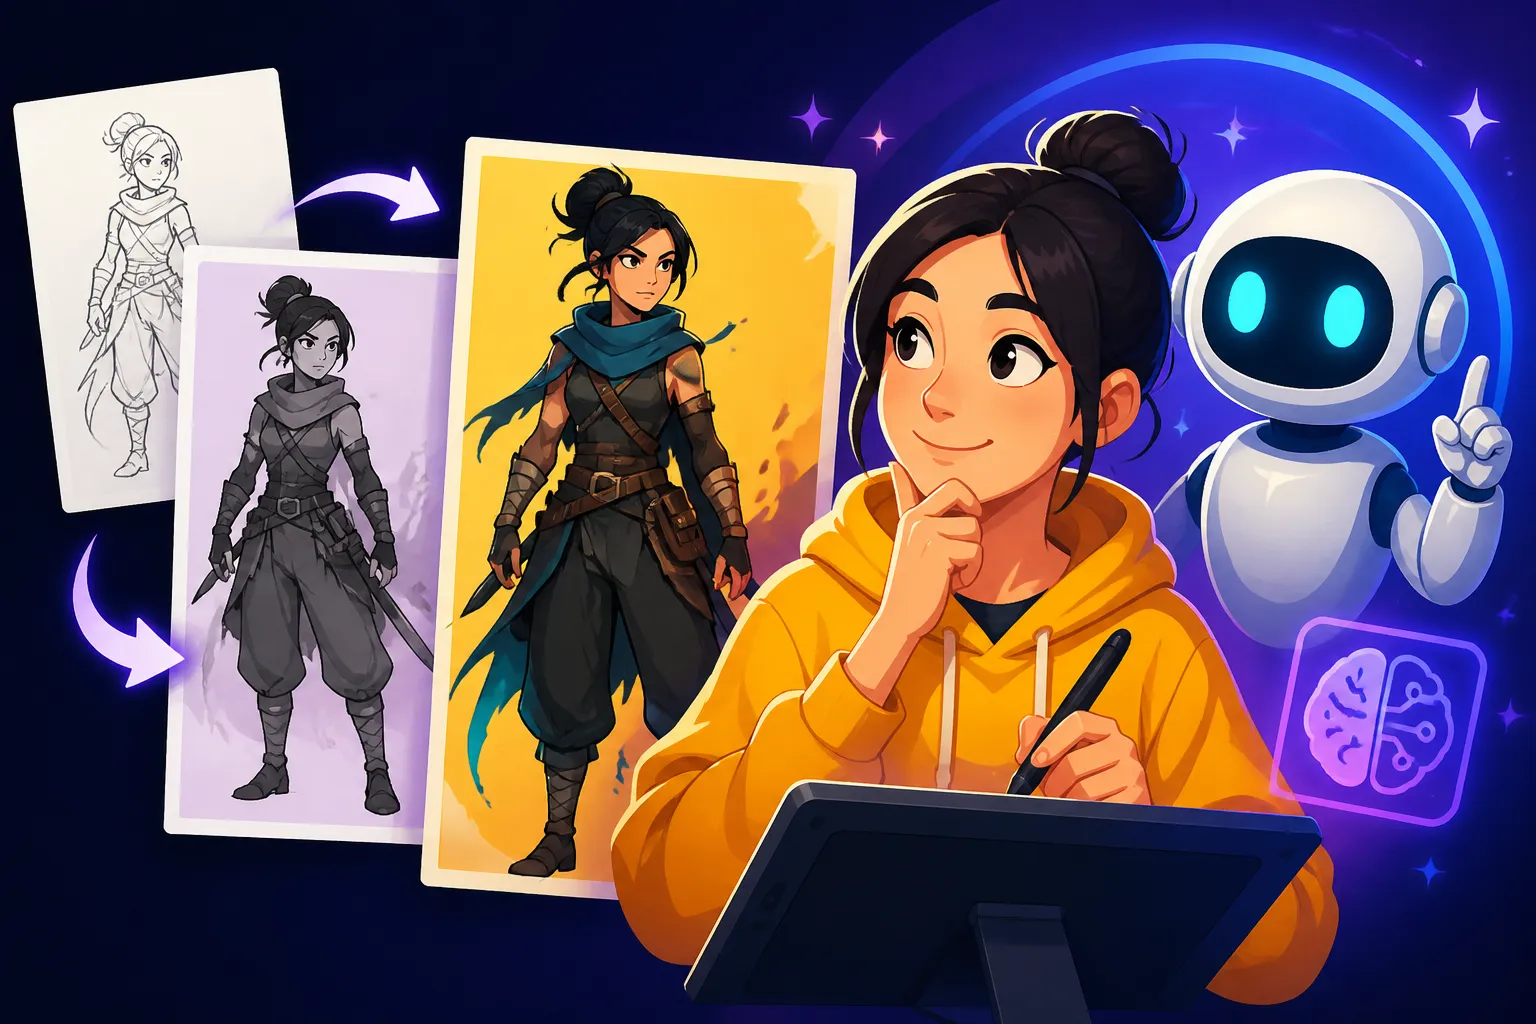
Imagine you have a specific character pose in mind, or a rough sketch of a character's silhouette. You can feed that image into ControlNet, then use a text prompt to describe the character and style. The AI will then generate an image that adheres to the pose or structure from your input image while applying your detailed text prompt. This level of control is invaluable for maintaining consistent character poses, creating variations of a character from a single sketch, or ensuring your character interacts with its environment in a specific way. It bridges the gap between purely text-based generation and traditional drawing methods.
Similarly, Image-to-Image (Img2Img) functionality, available in many tools, lets you take an existing image and transform it based on a new prompt. This is perfect for evolving character concepts. You might start with a simple, abstract shape, turn it into a creature, and then use Img2Img with a new prompt to evolve that creature into a specific character, perhaps adding clothing, armor, or unique features. This allows for a very organic and exploratory design process.
Building a Reusable Prompt Library and Character Ark
As you generate more characters, you'll start to discover prompt structures, keywords, and parameters that consistently yield great results for your specific style and needs. Don't let these gems get lost! Start building a personal "prompt library."
This could be as simple as a document where you copy and paste successful prompts, categorize them by character type (e.g., "fantasy elf," "sci-fi pilot," "horror monster"), and note down any effective parameters or negative prompts you used. Over time, this library becomes a powerful resource, allowing you to quickly recall and adapt prompts for new projects. Tools like How to Build a Reusable Prompt Library offer great strategies for organizing your creative assets.
Furthermore, if you're developing characters for a story or game, creating a "character ark" of prompts can be incredibly beneficial. This means having a set of prompts for your character at different stages of their journey – young, experienced, scarred, triumphant. You can ensure continuity by keeping core descriptive elements consistent while evolving others. For instance, a character might start with "naive young wizard, simple robes" and later become "wise elder wizard, arcane symbols woven into robes, weathered staff," always retaining key traits like eye color or a unique facial feature to ensure they're recognizable. This forethought in prompt design makes your creative process much more efficient and your character concepts much more cohesive.
Disclaimer
The information provided in this article is for general guidance and informational purposes only. While AI image generation tools are powerful, the landscape is constantly evolving. Always check the terms of service and commercial use rights for any specific AI tool you choose, as these can change. Always exercise your own judgment and consider consulting with a professional for specific advice regarding commercial use or intellectual property concerns.