How to Chain Edits in DALL-E
It’s incredibly frustrating when you have a crystal-clear vision for an AI-generated image, type out what feels like the perfect prompt, and DALL-E spits out something almost right, but just not quite there. You tweak the prompt, regenerate, and still, that one element is off, or the overall mood isn't quite what you imagined. This guide is here to walk you through the powerful technique of chaining edits in DALL-E, transforming that initial "almost" into a definitive "exactly what I wanted" through a series of thoughtful, iterative refinements.
Understanding Chained Edits in DALL-E
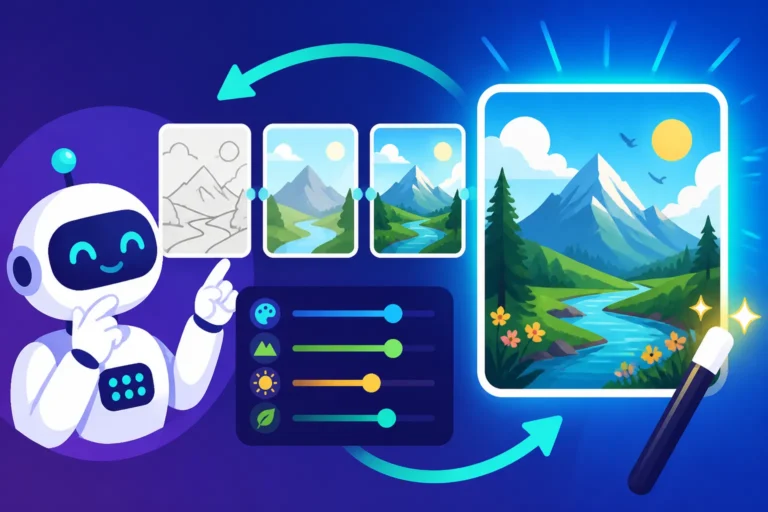
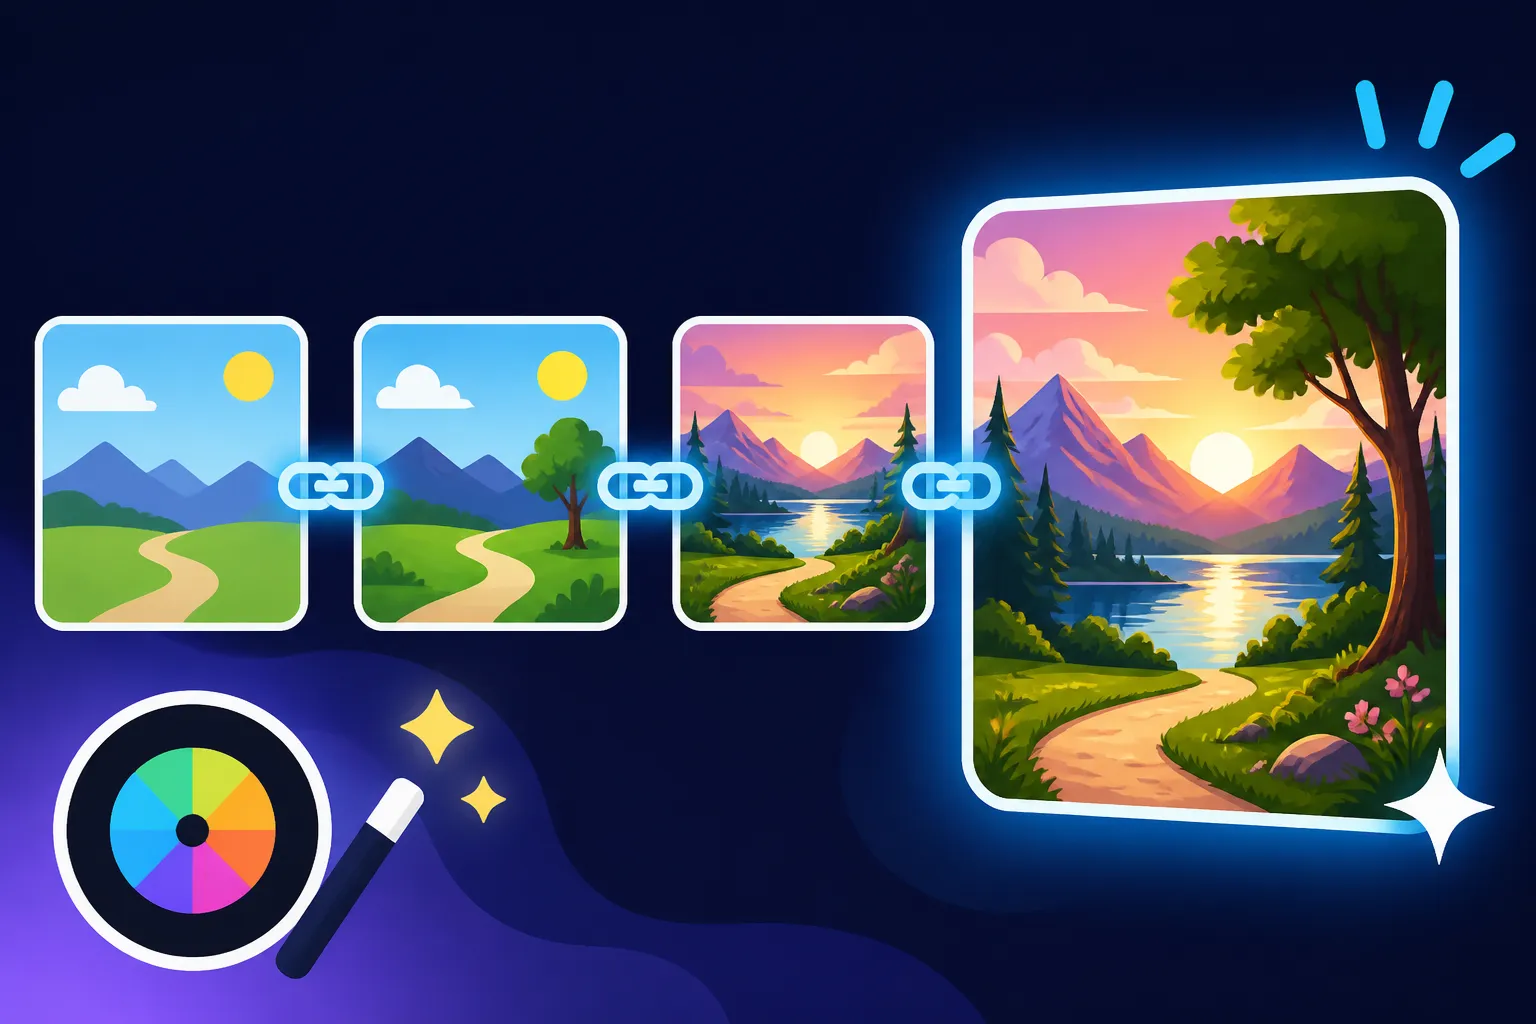
Think of chained editing not as a single magic trick, but as building a masterpiece one brushstroke at a time. In the world of AI image generation, particularly with tools like DALL-E, you rarely get your perfect image on the very first try, especially when dealing with complex scenes or intricate details. That’s where the concept of chaining edits comes in – it’s a systematic approach to refining, expanding, and transforming your AI-generated images through multiple, sequential steps, rather than trying to cram every instruction into one initial prompt.
Why Chained Edits Are Essential for Complex Visions
Imagine trying to describe an entire movie plot, including character arcs, specific camera angles, lighting, and costume details, in a single sentence. It’s impossible, right? The same principle applies to AI image generation. A single, lengthy prompt often leads to the AI getting overwhelmed, misinterpreting elements, or prioritizing one aspect over another in ways you didn't intend. For instance, you might want "a cyberpunk cityscape at dusk, with neon signs, a lone figure in a trench coat, and a futuristic hovercar," but DALL-E might perfectly capture the cityscape, miss the figure, or render the hovercar in a style that doesn't quite match the cyberpunk aesthetic you envisioned.
This is where chaining becomes indispensable. Instead of expecting DALL-E to do everything perfectly at once, you break down your complex vision into manageable chunks. You might start by generating the general cityscape, then use editing tools to add the figure, then refine the hovercar, and finally adjust the lighting. Each step builds on the last, allowing you to guide the AI more precisely and achieve a level of detail and control that's simply not possible with a one-shot prompt. This iterative process prevents prompt overload and ensures that you can course-correct effectively.
The Iterative Process of AI Image Refinement
The philosophy behind chained editing is all about iteration – generating, reviewing, editing, and regenerating. It's less about a linear path and more about a creative dialogue with the AI. You propose an idea, DALL-E responds, and then you offer feedback through your edits and revised prompts. This back-and-forth is where the magic truly happens. For creators who've struggled with getting exactly what they want, learning to refine rather than restart can be a game-changer. It acknowledges that AI is a powerful assistant, but still needs human direction, much like a skilled artisan working from a patron's evolving vision.
This iterative dance is particularly valuable when you're exploring creative directions. You might not know exactly what you want until you see a few options. Starting broadly and then narrowing down, adjusting composition, or even completely changing a minor element becomes a fluid process. If you’re interested in exploring how other tools handle this, you might find our guide on How to Get Better AI Image Results helpful, as many of the principles of prompt refinement apply across platforms.
The Step-by-Step Process of Chaining Edits in DALL-E
Now, let's get into the nitty-gritty of how to actually implement chained editing within DALL-E. It’s more straightforward than it sounds, and once you get the hang of it, you’ll wonder how you ever managed without it. DALL-E's interface is designed to facilitate these kinds of layered modifications, especially with its inpainting and outpainting features.
Starting with Your Base Image
Every chained edit begins with a foundation. This can be an image you generate yourself or one you upload.
- Generate Your Initial Image: Start with a broad, foundational prompt. Focus on the main subject, setting, and overall mood. Don't worry about every tiny detail just yet. For example, instead of "a majestic knight in shining armor riding a dragon through a stormy sky with lightning and ancient ruins below," start with "a majestic knight on a dragon flying through a stormy sky." Generate several options and pick the one that has the best core composition and elements you want to build upon. This first step is crucial; a strong base makes subsequent edits much easier.
- Upload an Existing Image: Alternatively, if you have an existing image – perhaps one you partially generated elsewhere, or even a photo – you can upload it directly to DALL-E. Once uploaded, you'll be able to use the same editing tools as you would with a freshly generated image. This is a fantastic feature for blending your own photography with AI creativity or for continuing a project started in another application.
After you have your base image, DALL-E presents you with options like "Edit image" or "Variations." Selecting "Edit image" is your gateway to the inpainting and outpainting tools that form the core of chained editing.
Applying Your First Layer of Edits
Once you're in the editing interface, you'll see tools that allow you to modify your image. The most common tools you'll interact with are for inpainting and outpainting, alongside the ability to adjust your prompt.
- Inpainting for Detail Refinement: Inpainting allows you to select a specific area of your image and regenerate only that part based on a new prompt, while keeping the rest of the image consistent.
- How to Use It: Use the selection brush to highlight the area you want to change. Then, type a new prompt describing what you want in that specific area. For example, if your knight's armor isn't "shining," you'd select the armor and prompt: "shining silver armor with intricate engravings." DALL-E will generate options within that masked area. This is incredibly powerful for fixing small imperfections or adding specific objects or textures. This approach is much more effective than trying to regenerate the entire image.
- Outpainting for Scene Expansion: Outpainting is the inverse of inpainting; it allows you to extend your image beyond its original borders, effectively expanding the canvas and filling the new space based on your prompt.
- How to Use It: Drag the crop handles outwards to expand the canvas. The newly added empty space will be filled by DALL-E based on your current prompt, which should now describe what you want to appear in the expanded areas. If you started with a knight and dragon, you might expand the canvas and prompt: "ancient ruins partially submerged in water below, stormy clouds with lightning in the distance." This can completely transform the scope and context of your image.
- Prompt Refinement (Global): Sometimes, your initial prompt might be too generic. While in the edit mode, you can also adjust the underlying prompt for new generations, or even add negative prompts to guide DALL-E away from unwanted elements. For example, if the dragon's wings look a bit too feathery for your taste, you might adjust the prompt to include "leathery dragon wings, no feathers." You can learn more about crafting effective prompts in our detailed guide on How to Write AI Image Prompts.
Iterating and Building on Previous Revisions
The key to chaining is that each successful edit becomes the new base for the next edit. You don't just do one edit and call it a day; you layer them.
- Accepting and Continuing: Once you've generated options for an inpainting or outpainting step, DALL-E will show you several variations. Choose the one that best suits your vision. Once you select it, that revised image becomes your current working canvas.
- Repeat the Process: Now, look at your new image. What's the next element that needs attention? Perhaps the lightning in the stormy sky isn't dramatic enough, or you want to add a specific weapon to the knight.
- Go back into the editing tools, mask the lightning area, and prompt: "bright, jagged lightning striking a mountain peak."
- Or, select the knight's hand and prompt: "knight holding a glowing runic sword."
- This is the "chain" – each accepted edit is a link, progressively bringing your image closer to perfection. You might also want to explore DALL-E Pros and Cons for Creators to understand how its features stack up against the demands of iterative design.
This iterative process is where most of the creative control lies. Don't be afraid to experiment! If you're encountering persistent issues, our article on How to Fix Bad AI Image Results offers general strategies that can be applied within DALL-E's editing workflow.
Advanced Techniques for Seamless Chained Editing
Moving beyond the basics, there are some more nuanced approaches that can significantly enhance your chained editing workflow in DALL-E, allowing for even greater control and polished results.
Leveraging DALL-E's History and Variations
One of the often-underutilized features in DALL-E is its robust history and variation generation capability. This isn't just for starting fresh; it's a powerful tool for chaining.
- Exploring Variations Mid-Edit: After generating an image (either initially or after an inpainting/outpainting step), DALL-E usually provides you with several variations. Don't just pick the first good one. Take a moment to scroll through them. Sometimes, a variation might solve a minor issue you hadn't even thought to prompt for, or offer a better foundation for your next edit. If you're struggling with getting the prompt right for these variations, our piece on DALL-E Prompt Tips for Beginners might give you a fresh perspective.
- Revisiting Previous Stages: If you find yourself going down a creative rabbit hole and realize a few steps back, an earlier iteration had a better foundation, DALL-E’s history allows you to revert. This isn't a "redo" button, but rather the ability to select a previous image from your generation history and fork a new editing path from there. This flexibility is crucial for complex projects where you might experiment with different directions for the same base image. It saves you from having to restart entirely, preserving your progress while allowing for alternative creative explorations.
Mastering Prompt Evolution and Negative Prompting
The prompts you use for each editing step are just as important as your initial prompt. Think of them as micro-prompts, specifically tailored for a small, targeted change.
- Evolving Your Prompts for Specificity: As you chain edits, your prompts should become increasingly specific. For example, if your initial prompt was "fantasy forest," and you then outpainted for a "magical waterfall," your next inpainting prompt might be "glowing moss on ancient stones around the base of the magical waterfall." Each prompt builds on the established context.
- Strategic Use of Negative Prompts: DALL-E allows you to specify things you don't want in your image. This is particularly useful when chaining edits. If you're consistently getting fuzzy edges on your inpainting edits, you might add ", blurry, distorted, low resolution" as negative prompts for that specific segment generation. This helps the AI avoid common pitfalls and guides it towards cleaner results. Learning How to Use Negative Prompts can dramatically improve your output quality.
Combining Inpainting and Outpainting for Expansive Scenes
The true power of chained editing often shines when you blend inpainting and outpainting strategically to build vast, intricate scenes.
- Example Scenario: Imagine you want to create an epic sci-fi landscape.
- Step 1 (Base Image): Start with a central element, like "a futuristic city skyline against a twin-sun sunset."
- Step 2 (Outpainting): Expand the canvas to the left and right. Prompt: "vast alien desert with strange rock formations on the left, a bustling spaceport with docking ships on the right, all under the glow of twin suns."
- Step 3 (Inpainting – Refinement): Now, zoom in on the city skyline. Select a section and prompt: "sleek skyscrapers with integrated vertical farms and monorail lines."
- Step 4 (Inpainting – Adding Elements): Select an empty area in the desert. Prompt: "a lone explorer in a bulky suit traversing the dunes."
- Step 5 (Outpainting – Vertical Expansion): Extend the canvas upwards to add more sky. Prompt: "cosmic dust clouds and nebulae in the vast sky, distant planets."
- Step 6 (Global Adjustment/Refinement): Review the entire image. If the lighting feels off in one area, you can mask it and prompt for "golden hour light hitting the spaceport," for example.
This layered approach, using both expansion and detailed refinement, allows you to construct truly immersive and complex images that would be impossible with a single prompt. If your generated images aren't quite high-resolution enough, you might also want to consider using external tools, as outlined in our article on How to Upscale AI Images.
| Editing Action | Primary Use Case | When to Apply | Benefits |
|---|---|---|---|
| Initial Prompt | Establishing core subject, style, mood | Always first | Sets overall direction; provides base variations |
| Inpainting | Refining details, fixing imperfections, adding specific elements to existing areas | After base image, for targeted modifications | Precision, control over small areas, consistency |
| Outpainting | Expanding the canvas, broadening the scene, adding context | After base image or to extend refined scenes | Creates larger compositions, dynamic scenes |
| Prompt Refinement (Global) | Adjusting overall generative guidance for new variations or fills | When subsequent generations need a slight shift in style/content | Guides AI to new interpretations of the whole |
| Negative Prompting | Avoiding undesired elements or attributes | Anytime you notice recurring unwanted features | Prevents artifacts, improves quality by exclusion |
| Reverting/Variations | Exploring alternative paths, correcting major mistakes | When a current edit isn't working or an older one was better | Flexibility, reduces need to restart, encourages experimentation |
Common Challenges and Troubleshooting
Even with chained editing, you'll inevitably hit a few snags. The process isn't always smooth, and understanding how to navigate common issues can save you a lot of time and frustration.
Maintaining Consistency Across Edits
One of the biggest headaches when chaining edits is ensuring that all the new elements you introduce seamlessly blend with the existing parts of the image. You might add a new character whose lighting doesn't match the background, or an expanded landscape that clashes stylistically.
- Prompt Consistency: Try to maintain stylistic elements in your prompts. If your initial image was "stylized, vibrant colors, painterly," then subsequent inpainting or outpainting prompts should also include similar stylistic descriptors.
- Lighting and Shadow: Pay close attention to light sources. When adding new elements via inpainting, consider where the main light source in your base image is and describe the new element's lighting accordingly. For example, if your base image has "harsh midday sun," don't prompt for a "soft evening glow" on your added character, unless that's the desired effect.
- Reference Existing Elements: Sometimes, explicitly referencing existing elements in your prompt can help DALL-E understand the context. For instance, if you're inpainting a new plant, you might prompt: "a tall, leafy fern, similar in style to the other plants in the foreground." This gives the AI cues for blending. Our guide on How to Prompt for Consistent Characters addresses this challenge specifically for character design, and many of its principles are broadly applicable.
Dealing with Unwanted Artifacts or Distortions
AI models, including DALL-E, aren't perfect. Sometimes, after an inpainting or outpainting step, you might notice strange smudges, distorted limbs, or other odd artifacts. This is a common part of the process.
- Targeted Re-inpainting: Don't try to fix the entire image. If only a small section has an artifact (e.g., a weird hand, a blurry patch), select just that problematic area with the inpainting brush and try to regenerate it with a specific, corrective prompt (e.g., "a perfectly rendered human hand holding a book"). This often works better than a general fix.
- Minor Prompt Adjustments: If a specific prompt consistently yields strange results for an area, try slightly altering the wording. Sometimes, a synonym or a rephrasing can make all the difference. For example, instead of "majestic forest," try "dense woodland."
- Zooming In/Out: Sometimes, a problem is less noticeable when zoomed out, or becomes clearer when zoomed in, allowing for more precise masking. Take breaks and come back to the image with fresh eyes.
When to Start Over vs. Keep Editing
This is a tough call that every AI artist faces. There comes a point where continuing to edit a flawed base image might be more time-consuming than starting fresh.
- Major Structural Flaws: If the core composition, perspective, or main subject of your base image is fundamentally wrong and would require extensive, patchwork-like inpainting to fix, it's probably better to go back to your initial prompt and generate new options. Trying to fix a fundamentally distorted building or an illogical perspective through endless inpainting is usually a losing battle.
- Loss of Cohesion: If after several chained edits, your image starts to look like a Frankenstein's monster of disparate elements that don't quite fit together, it might be time for a restart. Sometimes, chasing perfection through too many edits can lead to a less cohesive final product.
- Time vs. Effort: Keep an eye on the clock. If you've spent an hour trying to fix a minor issue that could be avoided by generating a new base image in five minutes, choose the latter. Your time and creative energy are valuable. Consider exploring other tools like Adobe Firefly Review for Commercial Use or Midjourney vs DALL-E: Which Is Better to see if another platform's initial generations might give you a better starting point for specific aesthetics. Ultimately, DALL-E in ChatGPT: How Good Is It in its iterative capabilities, but knowing when to cut your losses is a crucial skill.
Chained editing in DALL-E is a powerful technique that transforms you from a mere prompt-writer into a true director of AI artistry. By breaking down complex visions into manageable, iterative steps, you unlock a level of control that allows for astonishingly detailed and consistent results. Don't be afraid to experiment, refine, and embrace the back-and-forth dialogue with the AI; that's where your unique creative vision truly comes to life.
Disclaimer
The information provided in this article is for general informational purposes only. While we strive to offer accurate and up-to-date guidance, the field of AI image generation is rapidly evolving. Features, pricing, and capabilities of AI tools like DALL-E can change without prior notice. Always refer to the official documentation and terms of service for the most current information. We are not responsible for any outcomes or interpretations based on the advice given herein.