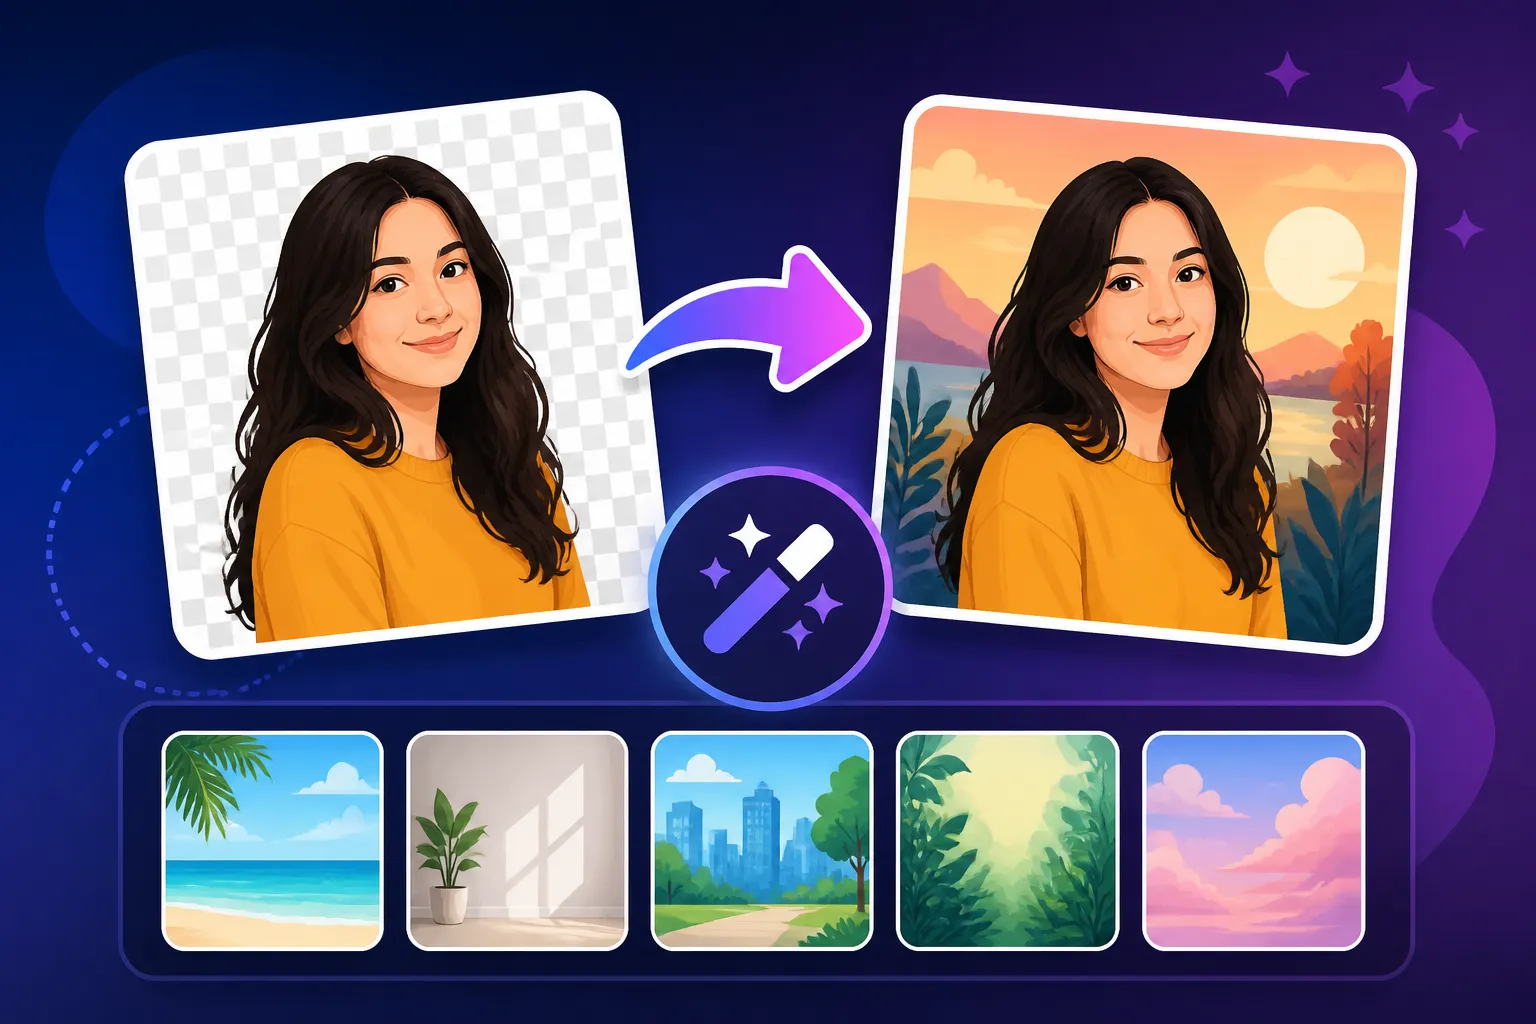
How to Change Backgrounds in AI Images
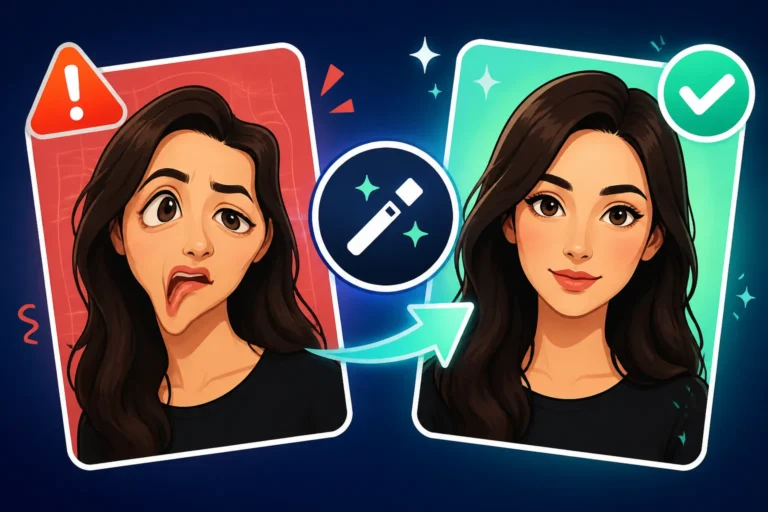
It’s incredibly frustrating, isn't it? You spend time crafting the perfect AI prompt, you finally get that amazing subject you envisioned – a stunning character, a gorgeous product shot, or a breathtaking landscape – only for the background to be completely off. Maybe it’s a jarring color, an inexplicable blur, or just a messy, irrelevant backdrop that ruins the whole vibe. This guide is dedicated to helping you overcome that common hurdle, teaching you various techniques to confidently change and perfect the backgrounds in your AI-generated images.
Why AI Image Backgrounds Often Miss the Mark
Let's be honest, getting an AI to understand your vision perfectly on the first try, especially with complex details like backgrounds, can feel like trying to herd cats. The core subject might be spot on, but the environment it inhabits can often be a source of constant tweaking and outright annoyance.
The "Black Box" Problem of Initial Generation
When you throw a prompt into an AI image generator, it’s often like speaking into a black box. You tell it "a warrior princess with a dragon," and it focuses on those key elements, sometimes filling in the blanks for the background with whatever it thinks is "generic fantasy environment." You might get an okay castle, or a vaguely mountainous terrain, but it’s rarely your envisioned "ruined ancient Elven fortress at sunset, surrounded by bioluminescent flora."
The AI's priorities are usually the main subjects you describe. Unless you explicitly guide it, the background can become an afterthought, leading to bland, repetitive, or even nonsensical backdrops. It's not malicious, just a prioritization of the most prominent elements in your prompt. This lack of initial specificity means we often have to go in and refine things ourselves, which can feel like extra work, but it's part of the creative process in this new age of digital art.
When a Quick Reroll Isn't Enough
We've all been there. You get a fantastic subject, but the background is just… wrong. So, you hit the "regenerate" button, hoping for a better outcome. And what happens? Often, the background might change slightly, but then your perfect subject is altered too! The warrior princess now has a different sword, or the dragon's scales aren’t quite as magnificent. It's a trade-off that often leaves you feeling stuck, having to choose between a good subject with a bad background, or an okay subject with a slightly less bad background.
This cycle of regenerating and losing desired elements can be incredibly inefficient and disheartening. It highlights the need for more targeted editing approaches that allow you to isolate and modify specific parts of your image without disturbing the masterpiece you've already created in the foreground. Relying solely on prompt adjustments and rerolls for background changes often leads to diminishing returns and a lot of wasted generation time.
Essential Techniques for Changing AI Image Backgrounds
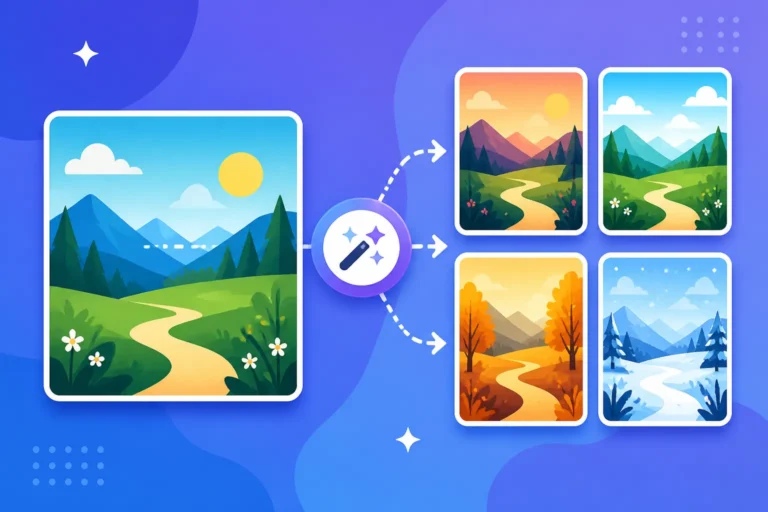
When your initial AI generation doesn't quite nail the background, don't despair! There are several powerful techniques you can employ to get exactly the backdrop you want, ranging from AI-powered direct edits to traditional graphic design methods.
Inpainting and Outpainting: The Direct Editing Approach
These are two of the most revolutionary features in modern AI image editing, allowing you to directly "paint" over or expand parts of your image with new AI-generated content. Think of it like magic digital patching.
-
Inpainting: This technique lets you select a specific area within your image – like that distracting lamppost behind your subject or the entire existing background – and then prompt the AI to fill that selected area with something new. For example, if your warrior princess is standing in front of a modern city street, you could draw a mask around the street, then use a prompt like "ancient forest, glowing mushrooms, misty" to have the AI intelligently replace just that area. Tools like Adobe Firefly are excellent for this, often offering intuitive masking brushes. Similarly, you can find inpainting features in many other popular tools. To dive deeper into this, check out our guide on how to edit AI images with inpainting.
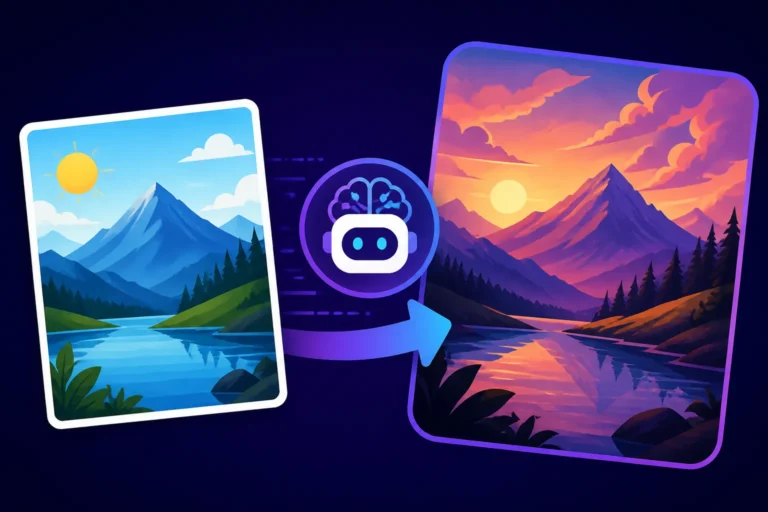
- How it Works: You load your image into an AI editor that supports inpainting. You then use a brush or selection tool to highlight the area you want to change (the background, in this case). After selecting the area, you provide a new text prompt describing what you want to see there. The AI then processes this, carefully generating new pixels that blend seamlessly with the unmasked parts of your original image, creating a cohesive new background. It’s like telling a painter, "Keep the figure, but repaint everything behind them to be a starry night."
- Step-by-Step Example (using a hypothetical AI tool):
- Upload your AI-generated image with the desired subject but unwanted background.
- Navigate to the "Edit" or "Inpaint" section of the tool.
- Select the brush tool and carefully paint over the entire background you wish to replace. Don't worry if you get a little bit of the foreground subject – you can usually refine your mask.
- Once the background is masked, enter a new prompt into the text box, for instance: "a lush, vibrant tropical jungle, with exotic birds and waterfall, bokeh foreground."
- Hit "Generate" or "Apply." The AI will then work its magic, replacing only the masked area with your new tropical jungle, while keeping your foreground subject intact.
- Review the results. If it’s not perfect, you can often re-prompt or refine your mask and try again.
-
Outpainting: This is the inverse, or rather, the expansion of inpainting. Outpainting allows you to extend the canvas beyond your original image boundaries and fill that new space with AI-generated content that matches the existing style and content. While not strictly "changing" the background, it’s invaluable for broadening a cramped background or adding more environmental context. Imagine your warrior princess is too close to the edge of the frame; outpainting could extend the sky, or the fortress walls, giving more breathing room and epic scale to the scene. Some advanced platforms like Krea AI and others offer sophisticated outpainting capabilities.
Layering and Compositing with External Editors
Sometimes, the most reliable way to get a specific background is to generate it separately and then combine it with your subject using traditional image editing software. This method gives you maximum control and is often preferred by graphic designers and artists who need pixel-perfect results.
- The Process:
- Generate your subject: Use your preferred AI tool to create your main subject (e.g., the warrior princess) against a simple, contrasting background. A plain white, black, or green screen-like background makes the next step much easier.
- Generate your new background: Separately, create the ideal background you want. You could use an AI image generator for this, or find a stock photo that fits your vision. For ideas on creating diverse backgrounds, our guide on how to write AI image prompts can be very helpful.
- Isolate the subject: Open your subject image in an external editor like Adobe Photoshop, GIMP, or even Canva. Use selection tools (like Magic Wand, Quick Selection, or Pen Tool) to carefully cut out your subject from its plain background. Many tools now have AI-powered background removal features that make this step surprisingly easy. For those looking for easy-to-use platforms, a tool like the Canva AI image generator review could be beneficial for this step.
- Combine the layers: Place your cut-out subject onto your new background image. Adjust size, position, and lighting to make it look natural.
- Refine and blend: This is where the artistry comes in. You might need to add shadows, adjust color grading, or blur parts of the background to create depth of field, ensuring your subject truly belongs in its new environment. Pay attention to light sources and perspective to avoid a "pasted on" look.
This method, while potentially more time-consuming, offers unparalleled precision and control over the final composition. It's often the go-to for professionals needing to integrate AI elements into existing designs or complex scenes.
Using Masking and Selection Tools within AI Generators
As AI image generation tools evolve, many are beginning to integrate more advanced editing capabilities directly into their platforms. This means less jumping between different software and a more streamlined workflow.
- Direct Background Removal/Replacement: Some AI generators, particularly those with a focus on user-friendliness, now include features specifically designed for background changes. These might offer a simple "remove background" button that automatically detects and isolates your subject, allowing you to then either add a solid color, a pre-defined pattern, or upload your own background image.
- Example: Playground AI Editing Review – Platforms like Playground AI often provide robust editing suites, including sophisticated selection and masking tools that can make background changes straightforward. They might allow you to automatically select the foreground subject with one click, then either delete the background entirely or replace it with a new prompt.
- Layer-based Editing (Emerging Feature): While not yet universal, some cutting-edge AI tools are experimenting with truly layer-based editing, similar to traditional photo editors. This would allow you to generate elements (subject, background, props) on separate layers and then manipulate them independently, offering an incredible degree of flexibility right within the AI environment. Keep an eye on new developments in the Best AI Image Generator Comparison as these features become more widespread.
These in-platform tools are fantastic because they leverage the AI's understanding of content to make complex selections and blends easier, often producing more natural results than manual cut-outs in basic editors.
Advanced Strategies for Perfecting AI Image Backgrounds
While direct editing after generation is powerful, an even more efficient approach involves guiding the AI towards better backgrounds from the very start. This is where prompt engineering truly shines, allowing you to be a director rather than just an editor.
Prompt Engineering for Better Initial Backgrounds
The key to getting better backgrounds right out of the gate is to be explicit and descriptive in your initial prompt. Don't assume the AI knows what you want; tell it!
- Specificity is Your Friend: Instead of "A majestic dragon," try "A majestic dragon perched on a craggy peak, with dark storm clouds swirling overhead and distant lightning illuminating a gothic castle." See the difference? You've moved from a generic backdrop to a vivid, detailed scene. The more details you provide about the environment, the more likely the AI is to render something close to your vision. Think about the setting, time of day, weather, specific objects, and overall mood. Our comprehensive How to write AI image prompts guide can offer a wealth of techniques to refine your descriptions.
- The Power of Negative Prompts: Many AI generators allow you to specify what you don't want to see in your image. This is incredibly useful for backgrounds. If you keep getting blurry, abstract, or plain backgrounds, add negative prompt terms like:
--no blurry background, --no plain, --no abstract, --no cluttered, --no busy details. This tells the AI to actively avoid those unwanted characteristics. Experiment with phrases like "–no poorly rendered background" or "–no distracting elements" to steer the AI away from common pitfalls. You can explore the full potential of this technique in our article on how to use negative prompts. - Structure Your Prompts: For more advanced users, understanding prompt structure can drastically improve results. Consider breaking down your prompt into components:
[Subject] in a [Setting], with [Background Details], and [Lighting/Atmosphere]. For instance:A fierce Viking warrior (subject) standing on a windswept cliff edge (setting), with stormy ocean waves crashing below and a dramatic, cloudy sunset (background details), volumetric lighting (lighting/atmosphere).This structured approach helps the AI understand the hierarchy of your desired elements. For more structured prompting, check out a Stable Diffusion prompt guide.
Leveraging ControlNet or Reference Images for Background Consistency
For those seeking even greater control, especially with open-source tools or those with advanced features, methods like ControlNet or image-to-image prompting offer powerful ways to dictate background elements without manually compositing.
- ControlNet for Stable Diffusion: If you're working with Stable Diffusion or tools that integrate ControlNet, you can provide a "skeleton" or "layout" image to guide the AI's generation. For backgrounds, this could mean feeding ControlNet a simple line drawing or depth map of your desired scene (e.g., a sketch of mountains and a castle). The AI then uses this structural input as a foundation, generating a new image that adheres to that layout while applying your text prompt for style and detail. This is fantastic for ensuring precise architectural elements or specific landscape formations in your background.
- Image-to-Image Prompting (Reference Images): Many AI tools now support using an existing image as a visual reference, alongside your text prompt. You could use an image of a beautiful forest or a bustling cityscape as a reference image, and then prompt for your main subject to be placed within a similar environment. The AI will try to match the style, composition, and even color palette of your reference image for the background, while still focusing on your text-prompted subject. This is a powerful way to achieve a consistent aesthetic or replicate a specific vibe for your backgrounds. Some tools might offer a dedicated "style reference" or "image blend" feature for this.
These advanced techniques require a bit more learning curve but offer unparalleled control over the final output, dramatically reducing post-processing time if mastered.
Tools That Excel at Background Manipulation
Choosing the right AI image tool can make all the difference when it comes to effectively changing backgrounds. Some are built for speed and simplicity, while others offer granular control for professional-grade results.
User-Friendly Platforms for Quick Swaps
If you're a content creator, blogger, or small business owner who needs efficient background solutions without delving into complex editing, several tools are designed with you in mind.
- Canva AI: Canva is a fantastic option for those who prioritize ease of use. While primarily a graphic design platform, its integrated AI image generator and robust editing features make background changes a breeze. You can generate an image, then use Canva's one-click background remover to isolate your subject. From there, you can drop in any of Canva's vast library of stock backgrounds, or upload your own. This workflow is incredibly intuitive for anyone who isn't a professional image editor. It's a great choice for quick social media graphics or blog images where a fast turnaround is crucial. Our Canva AI image generator review delves into its capabilities for non-designers.
- Playground AI: This platform often provides a generous free tier and boasts user-friendly inpainting and outpainting tools. Its interface is generally more approachable than some of the more technical AI art generators. You can quickly mask out an unwanted background and prompt a new one, seeing immediate results without having to navigate complex settings. This makes it a great choice for iterative design and experimentation. The Playground AI editing review can provide more insights into its editing suite.
- Bing Image Creator (Microsoft Designer): Powered by DALL-E, Bing Image Creator, often found within Microsoft Designer, offers surprisingly good results for basic background changes. While it may not have dedicated inpainting tools, its ability to understand detailed prompts means you can often get closer to your desired background on the initial generation. For simple background removals, Microsoft Designer's features are quite capable, allowing for quick swaps and integration into broader design projects.
These tools are perfect for anyone who needs to quickly iterate on visuals for their content, marketing materials, or personal projects without a steep learning curve.
Advanced Editors for Precision Control
For artists, designers, and marketers who demand pixel-perfect accuracy and commercial readiness, more powerful tools offer the depth needed for intricate background manipulation.
- Adobe Firefly: As part of the Adobe ecosystem, Firefly is becoming a go-to for professionals. It features highly intuitive generative fill (inpainting/outpainting) directly integrated into Photoshop and as a standalone web tool. Firefly excels at seamlessly blending new AI-generated content with existing imagery, making it ideal for detailed background replacements, expanding scenes, or even altering specific background elements like trees or buildings. Its commercial safety features also make it a strong contender for paid projects. Learn more in our Adobe Firefly review for commercial use.
- Midjourney / DALL-E (and other high-quality generators): While these tools don't always have native inpainting or background removal in the same way visual editors do, they are foundational for generating the assets you need. If you're going for a compositing approach, using a top-tier generator like Midjourney or DALL-E to create your main subject against a clean background, and separately generating your ideal new background, provides the highest quality starting materials. The debate between Midjourney vs DALL-E: Which is better often centers on overall image quality, which is crucial when creating components for compositing.
- Stable Diffusion (and custom models): For advanced users, particularly those with a technical bent, Stable Diffusion offers the ultimate in customization and control. When running locally or through a platform like Automatic1111, you have access to an incredible array of extensions and models specifically designed for inpainting, outpainting, and precise masking. While it requires a steeper learning curve, the ability to fine-tune models or use ControlNet for exact background layouts is unmatched. This is often the choice for artists and developers creating very specific or high-volume assets.
The choice between these advanced tools often comes down to your existing workflow, comfort with technical interfaces, and the specific demands of your project.
Comparison of AI Image Tools for Background Manipulation
To give you a clearer picture, here's a quick comparison of how some popular AI image generators stack up when it comes to background capabilities:
| Feature / Tool | Initial Prompt Control | Inpainting/Outpainting (Generative Fill) | Direct Background Removal | External Compositing Friendly (Clean Subject Output) | Overall Ease of Use |
|---|---|---|---|---|---|
| Midjourney | Excellent | Limited (via variation/remix) | No | Excellent | Moderate |
| DALL-E (ChatGPT) | Very Good | Yes (with selection tools) | No | Good | Good |
| Adobe Firefly | Good | Excellent (core feature) | Yes | N/A (all-in-one) | Excellent |
| Stable Diffusion | Excellent (with ControlNet) | Excellent (with plugins) | Yes (with plugins) | Excellent | High (requires learning) |
| Playground AI | Good | Very Good | Yes | Good | Excellent |
| Canva AI | Fair | Basic (via magic edit) | Excellent (core feature) | Good (via background removal) | Excellent |
| Ideogram | Good (text focus) | Limited | No | Fair | Good |
| Leonardo AI | Very Good | Good | Yes | Excellent | Good |
As you can see, there's no one-size-fits-all solution. Your ideal tool might depend on whether you want to prevent bad backgrounds with better prompts, fix them after the fact with AI editing, or combine AI generation with traditional design techniques. Ultimately, the best AI image generator for ease of use will often be one that has intuitive background manipulation features.
Wrapping Up Your AI Image Background Adventures
Phew! We've covered a lot of ground today, from understanding why AI backgrounds can be so finicky to deploying a whole arsenal of techniques to fix and perfect them. The days of accepting a less-than-stellar background are over, my friend! Whether you're carefully crafting hyper-specific prompts, wielding the magic wand of inpainting, or combining the best of AI with your favorite external editor, you now have the knowledge to take control.
Don't be afraid to experiment. Try generating your subject on a plain background in Midjourney, then bringing it into Adobe Firefly for a generative fill makeover, or even using Canva's one-click background remover for a quick swap. The landscape of AI tools is constantly evolving, with new features rolling out regularly, so stay curious and keep practicing. Your perfect AI image, with the ideal background, is well within reach!
Disclaimer
The information provided in this article is for general guidance and informational purposes only. While we strive to keep the information up-to-date and correct, we make no representations or warranties of any kind, express or implied, about the completeness, accuracy, reliability, suitability, or availability with respect to the website or the information, products, services, or related graphics contained in the article for any purpose. Any reliance you place on such information is therefore strictly at your own risk.