How to Make AI Images for Merch
Feeling the itch to create unique, eye-catching merchandise but hitting a wall when it comes to design? You're not alone. Many aspiring entrepreneurs and artists dream of seeing their creations on t-shirts, mugs, and posters, but the traditional hurdles of graphic design software, artistic skill, or outsourcing costs can feel overwhelming. This comprehensive guide is here to demystify the process, showing you exactly how to leverage powerful AI image generators to create stunning, original designs for your merch line, turning your creative vision into tangible products.
Understanding the World of AI-Generated Merch
It’s an exciting time to be a creator, and honestly, if you're not at least considering AI for your merchandise, you might be missing out on a huge opportunity. The landscape of design has shifted dramatically, and what once required years of artistic training or hefty budgets can now be explored with a few carefully chosen words.
Why AI is a Game-Changer for Merchandise Creators
Let's be real: traditional graphic design can be a bottleneck. Maybe you have a fantastic idea for a witty t-shirt slogan, but translating that into a visually appealing graphic feels impossible without a design degree. Or perhaps you're a small business owner on a tight budget, and hiring a freelance designer for every new product concept just isn't feasible. This is where AI swoops in like a superhero.
AI democratizes design, putting powerful tools into the hands of anyone with an idea. It significantly cuts down on the time and cost typically associated with graphic creation. Imagine needing a new series of designs for a summer collection: instead of days or weeks of sketching, digitizing, and refining, you can generate dozens of concepts in a fraction of the time. This means faster iteration, quicker trend response, and ultimately, more products out in the market. Whether you're thinking about custom mugs, vibrant phone cases, inspirational posters, or quirky stickers, AI offers an endless well of creative possibilities, helping you achieve designs you might never have thought possible on your own. It truly makes the impossible feel incredibly accessible.
Essential Considerations Before You Start
Before you dive headfirst into the exciting world of AI art for merch, a little planning goes a long way. Trust me, a moment of foresight here can save you hours of frustration later.
First and foremost, who are you trying to sell to? Your target audience is paramount. Are you designing for teens who love edgy, abstract art, or for parents looking for cute, whimsical designs for baby clothes? Knowing your demographic will heavily influence the style, themes, and overall aesthetic you aim for. A hyper-realistic portrait might be perfect for an art print, but perhaps less so for a minimalist t-shirt graphic.
Next, consider the type of merchandise itself. A design destined for a large poster might have intricate details that would get lost on a small lapel pin. T-shirts often benefit from simpler, bold graphics that stand out from a distance, while a journal cover could accommodate more complex patterns or scenic illustrations. Think about the physical constraints and visual impact on the chosen item.
Finally, do a little digging into current trends and popular niches within your chosen market. AI can help you tap into these trends incredibly quickly, but you need to know what to look for. What kind of imagery is selling well right now? Are there specific themes or aesthetics gaining traction? Tools like Pinterest, Etsy, and even local craft markets can offer invaluable insights. And while we won't get deep into legalities just yet, it's always good to be vaguely aware that commercial use terms can vary between AI tools, so keep that in the back of your mind.
Crafting Your AI Merch Masterpiece: The Prompting Process
This is where the magic happens! Your ability to communicate effectively with the AI is key to getting the designs you envision. Think of prompting as having a conversation with a highly skilled but extremely literal artist. The more precise you are, the better the results.
Deconstructing the Perfect Prompt for Merch
Crafting an effective prompt is less about being a technical wizard and more about being a descriptive storyteller. You're painting a picture with words for the AI. A good prompt for merchandise design usually includes several key components, much like setting the scene for a photograph or a painting.
Start with the subject – what's the main focus? "A cat wearing a wizard hat." Then, move to the style – how should it look? "Retro cartoon style, vibrant colors, bold lines." The medium can also be important, especially for certain aesthetics: "vector art, transparent background." Think about composition – "full body shot, centered, minimalist." Lighting can add a lot of mood, though for simpler merch designs, it might be less critical. Finally, quality modifiers like "high resolution," "detailed," or "award-winning" can push the AI towards better output.
The real trick is to be clear and detailed, but not overly verbose to the point of confusion. Avoid vague terms like "nice" or "cool." Instead of "cool dog," try "a happy golden retriever surfing a wave at sunset, photorealistic, cinematic lighting, 8K, vivid colors." When generating designs for merchandise, especially for apparel, you often want something that can be easily isolated or has a clear outline. Consider adding "transparent background," "vector art," or "isolated on white" to your prompts. For instance, if you're designing for a t-shirt, a prompt like "a whimsical illustration of a coffee cup with steam forming a heart, simple graphic design, clean lines, flat colors, transparent background for t-shirt print" can be very effective. It's an iterative process, so don't be afraid to experiment! If you're eager to learn more about how to structure your commands, our guide on How to Write AI Image Prompts is an excellent resource to get started, and you'll find even more helpful advice in the AI Image Prompt Guide for Beginners.
Utilizing AI Image Generation Tools Effectively
The world of AI image generation is bustling with various tools, each with its own strengths and quirks. While I can't name specific brands directly here, it's worth noting that some tools excel at photorealism, others at graphic design, and a few are particularly good at handling text within images (a common challenge, as we'll discuss).
When you're working with an AI tool, pay close attention to the parameters it offers. Most will allow you to specify an aspect ratio (e.g., 1:1 for a square, 16:9 for a wider image), which is crucial for fitting your design to specific merch items. A square design might work for a sticker or a mug, but a portrait-style ratio would be better for a phone case or a tall poster. Many tools also allow negative prompts, which tell the AI what not to include (e.g., "no blur," "no ugly text," "no distorted features"). This can be a lifesaver when you're trying to refine your output.
For creating a consistent series of designs, perhaps for a collection of matching t-shirts, understanding seed numbers can be incredibly powerful. Many AI tools generate a unique seed number for each image; if you use that same seed number with similar prompts, you can often achieve a more cohesive style or even variations of the same character. Imagine you're a small business owner launching a line of animal-themed prints. Generating a fox, then a bear, and then a rabbit, all with a similar style prompt and potentially the same seed, can give you a unified aesthetic that consumers appreciate. To get a broader view of what's out there, consider checking out our comparison of the Best AI Image Generators Ranked.
Overcoming Common Prompting Challenges
Even with the best intentions and the most detailed prompts, you'll inevitably run into some frustrating moments. This is perfectly normal! AI models, as advanced as they are, can sometimes produce unexpected or outright bizarre results – what we lovingly call "AI hallucinations."
One of the most common frustrations is when the AI generates extra limbs on characters, strange eyes, or garbled, unreadable text. This is particularly problematic for merchandise where clear, professional imagery is paramount. The solution often involves a combination of negative prompts (e.g., adding "ugly text, extra limbs, deformed hands, watermark" to your negative prompt section) and iterative prompting. If a prompt isn't working, break it down. Simplify it, then add details back in incrementally. Experiment with different synonyms or phrases. For instance, if "vector art" isn't giving you the crispness you want, try "flat illustration" or "minimalist graphic."
Learning to refine your prompts is a skill in itself, almost like learning a new language. Don't be discouraged by initial failures; each "bad" result teaches you something about how the AI interprets your words. Some tools even allow you to use a style reference by uploading an existing image to influence the aesthetic of your new generations. If you're constantly running into bizarre issues or just generally struggling to get the AI to cooperate, our detailed guide on How to Fix Bad AI Image Results offers practical, actionable advice that can turn your frustration into fantastic results.
Refining and Preparing Your AI Art for Production
Generating a fantastic image with AI is only half the battle. To ensure your designs look professional and vibrant on actual merchandise, you need to put them through a crucial refining process. This post-generation workflow is where you transform a promising AI output into a print-ready masterpiece.
Essential Post-Generation Editing Steps
You've generated an incredible design, perhaps a fierce dragon rendered in an intricate stained-glass style, perfect for a hoodie. But here's the thing: raw AI images, straight out of the generator, aren't always ready for prime time on a physical product. They often need a little polish to truly shine.
The most critical step is upscaling. Most AI tools generate images at a relatively low resolution for speed. While these might look fine on a screen, printing them large, like on a poster or a full-size t-shirt, will result in pixelation and blurriness. You'll need an upscaler, which is a tool (often AI-powered itself!) that intelligently increases the image resolution without losing detail. There are standalone AI upscalers and features built into many image editing suites. This step is non-negotiable for high-quality merchandise. Check out our guide on How to Upscale AI Images for a deep dive into this crucial process.
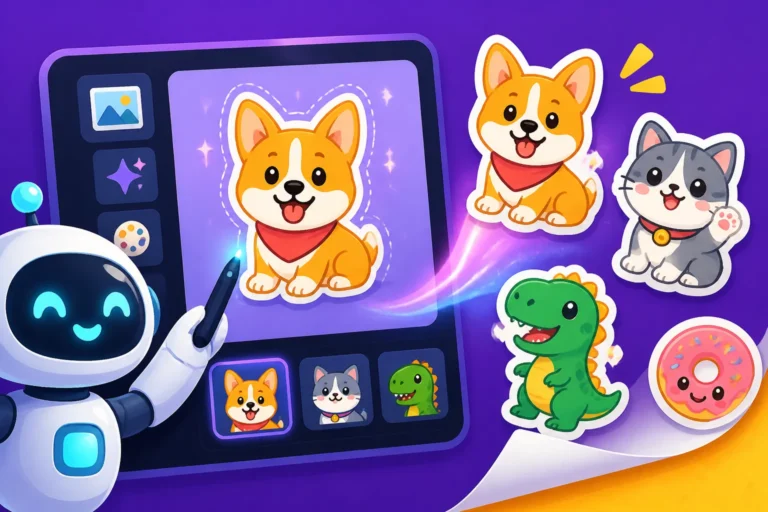
Next up, background removal. If your design is for apparel, stickers, or anything where you want the design to float on a colored background or be a distinct shape, you'll need to remove the generated background. Many online tools and graphic design software offer excellent background removal features. Carefully selecting the subject and ensuring clean edges is vital for a professional look. Finally, don't shy away from minor touch-ups. Sometimes, the AI leaves small artifacts, awkward lines, or slight color inconsistencies. A quick pass in a photo editor to correct colors, sharpen details, or smooth out imperfections can elevate your design from good to truly exceptional.
Ensuring Print-Ready Quality and File Formats
This is where the technical details really matter. Forgetting these steps can lead to disappointing print quality, even if your design looks amazing on screen.
First, let's talk resolution. For web use, 72 Dots Per Inch (DPI) is usually sufficient. But for print, you generally need 300 DPI. This higher density of dots per inch ensures that your image looks crisp and clear, without visible pixelation, especially when viewed up close. Always confirm the required DPI with your print-on-demand provider or local printer.
Next, color modes. Screens display colors using RGB (Red, Green, Blue) – an additive color model. Printers, however, typically use CMYK (Cyan, Magenta, Yellow, Key/Black) – a subtractive color model. The range of colors achievable in CMYK is narrower than RGB, so converting your image to CMYK before sending it to print is crucial. This helps prevent "surprise" color shifts where a vibrant blue on your screen turns into a duller, unexpected shade on the printed product.
Finally, file formats. For designs with transparency (like t-shirt graphics that need a clear background), PNG is your best friend. It supports transparency and retains good quality. For photographs or complex, full-color designs where transparency isn't needed, JPEG offers good compression for smaller file sizes. If your AI tool supports SVG (Scalable Vector Graphics) output (some specialize in vector art), this is often ideal for designs that need to be scaled infinitely without losing resolution, such as logos or illustrations. Always check your printer's preferred file format. Before you commit to a large order, printing a sample or a proof is always a wise investment.
Integrating Text and Branding Elements
One of the persistent challenges with current AI image generators is their struggle with generating coherent, readable text. While they've gotten better, asking an AI to reliably spell out "World's Best Dad" on a t-shirt is still a gamble, often resulting in garbled, nonsensical characters.
Because of this, it's almost always best practice to add any necessary text or typography after the image generation, using traditional graphic design software like Adobe Photoshop, Illustrator, or even user-friendly tools like Canva. This gives you complete control over fonts, sizing, spacing, and placement, ensuring your message is clear and professional. You can create fantastic visual elements with AI and then flawlessly integrate your brand name, witty slogans, or important dates. Our article on How to Add Text to AI Thumbnails offers principles that can easily be adapted for integrating text into your merch designs, ensuring readability and impact.
Beyond text, this post-processing stage is also where you integrate your distinct branding. This includes adding your business logo (if desired), ensuring consistent font choices that align with your brand's visual identity, and positioning elements in a way that creates a cohesive layout for each specific merchandise item. Thinking about the overall composition and leaving strategic "empty space" in your AI prompts can make this step much easier, providing a natural canvas for your text and branding without overcrowding the design.
Navigating Commercial Use and Best Practices
Creating beautiful AI art is one thing; turning it into a successful commercial venture is another. There are important considerations around legality, ethics, and practical business strategies that every merch creator should understand.
Understanding Licensing and Commercial Rights
This is often where new AI art users get a bit confused, and understandably so. The legal landscape around AI-generated content is still evolving, but for now, the most crucial thing to remember is that commercial rights and licensing depend heavily on the specific AI tool you are using.
Many popular paid AI image generators, such as Midjourney, DALL-E, and Adobe Firefly, generally grant commercial rights to images generated by their paying subscribers. This means you can use those images for profit, including selling them on merchandise. However, free tiers or open-source models might have different stipulations. Some free tools may allow commercial use but require attribution, while others might restrict it entirely unless you upgrade to a paid plan. Always, always read the Terms of Service or End-User License Agreement (EULA) for the specific AI tool you're using. It's your responsibility to understand these rules to avoid any potential legal headaches down the line. Our guide on Free AI Image Generators with Commercial Use can provide some general insights, but again, tool-specific terms are king. For example, Adobe Firefly specifically states that content created with it can be used commercially, and they even offer indemnification for certain paid tiers, giving users more peace of mind.
Ethical Considerations and Attribution
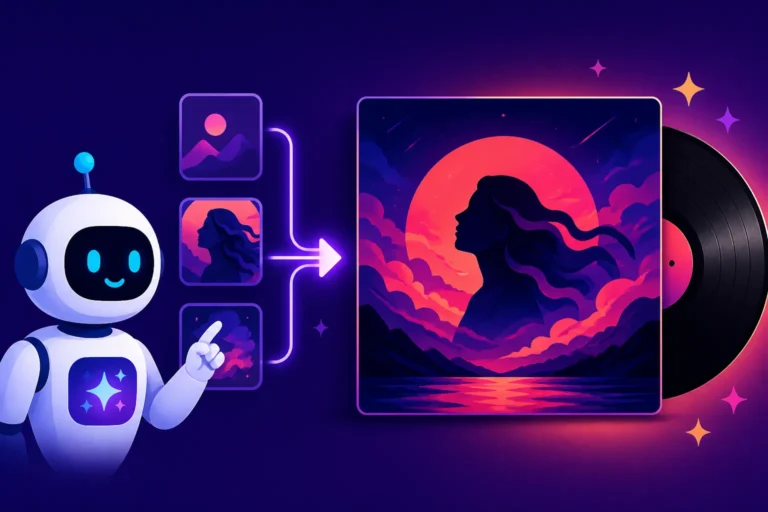
Beyond the legalities, there's a growing conversation about the ethics of AI art. Questions around originality, the datasets used to train these models, and fair compensation for human artists are valid and complex. As a creator utilizing AI, it's worth being aware of these discussions.
For merchandise, specifically, you'll need to decide on your stance regarding transparency. While most commercial licenses for AI tools don't legally require you to disclose that a design was AI-generated, some artists and consumers appreciate the transparency. It's a personal and brand decision. What's paramount is that you are adding your own creative input and unique vision, rather than just taking a raw AI output and slapping it onto a product. The AI is a powerful assistant, not a replacement for your creativity. Your discerning eye, prompt engineering skill, and post-processing refinements are what make the design truly yours.
Practical Tips for a Successful Merch Business
Once you have your fantastic, print-ready AI designs, it's time to think about the business side of things. How do you make sure your creations actually sell?
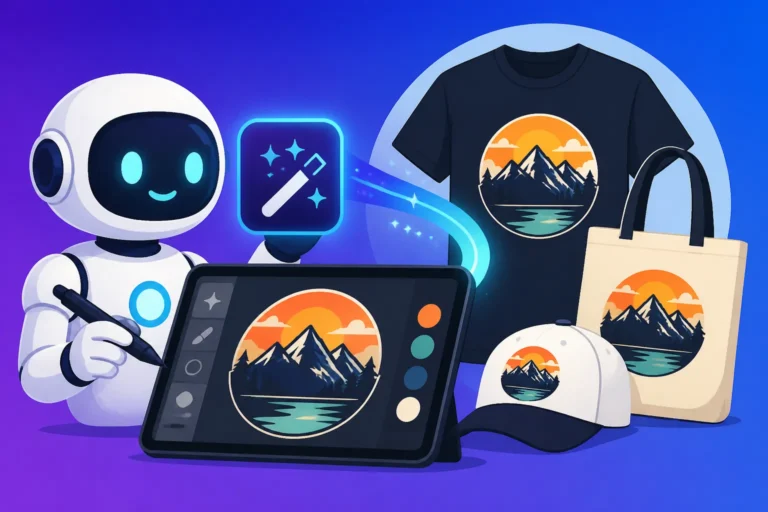
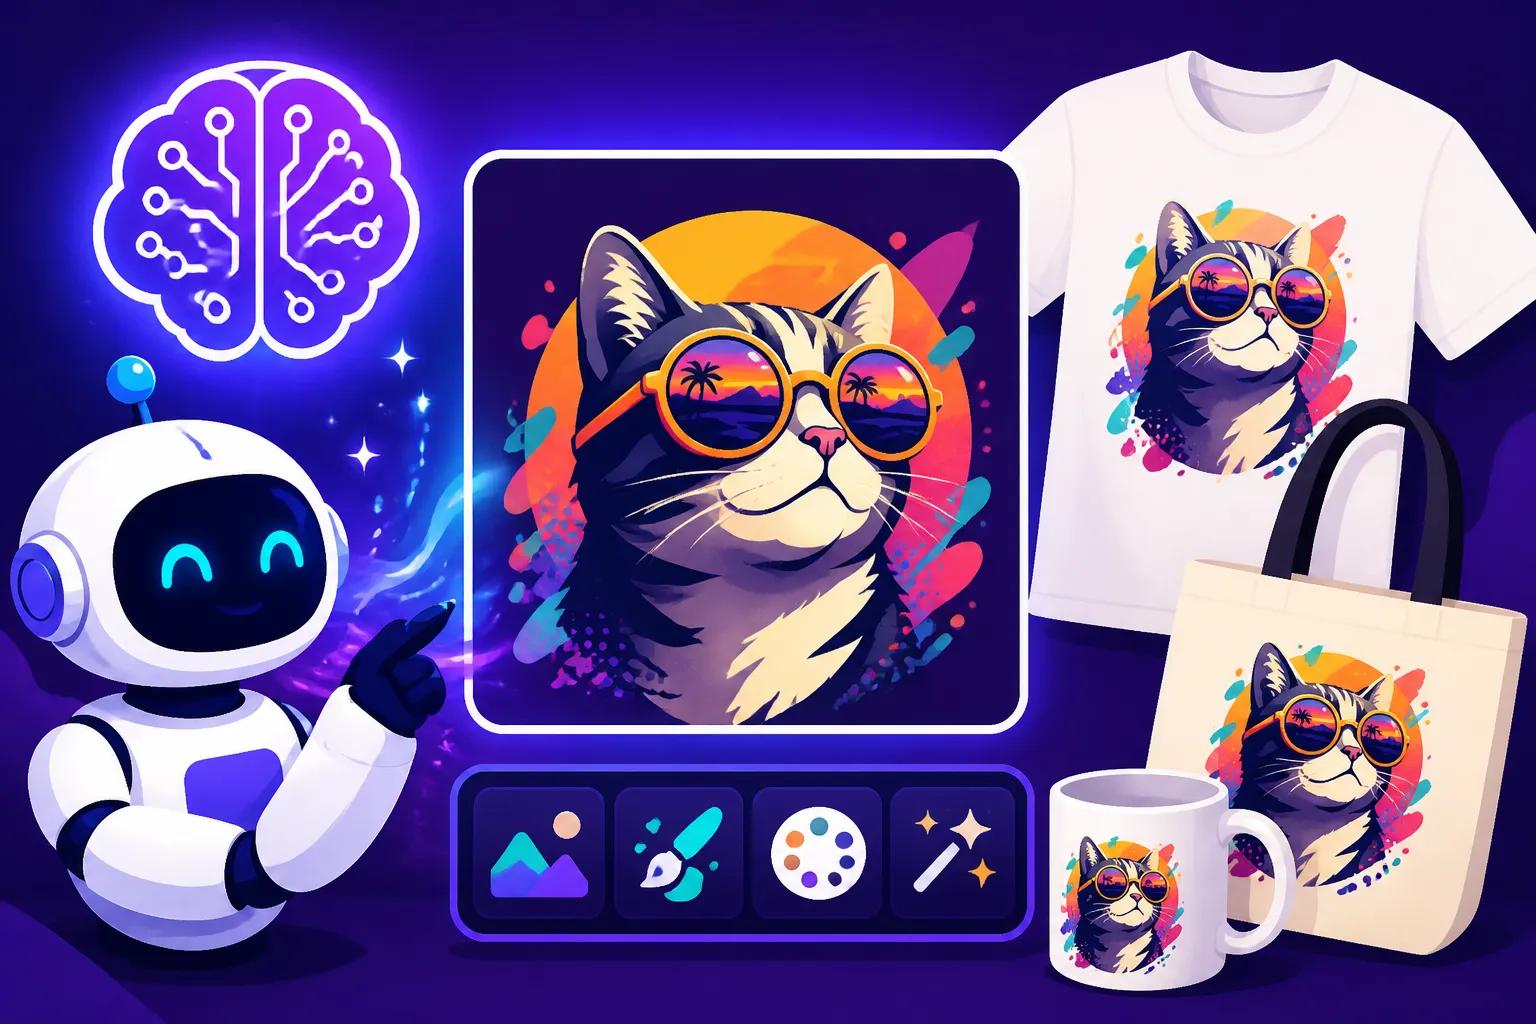
Mockups are your secret weapon. Don't just show a flat image of your design. Use tools (many of which are AI-powered or have AI features) to create realistic mockups of your designs on actual t-shirts, mugs, or phone cases. Seeing the design on a product makes it much more appealing and helps customers visualize themselves using it.
Continuous product research and refinement is key. Launch a few designs, see what resonates with your audience, and then use that feedback to iterate and create more successful designs. AI allows for rapid iteration, so take advantage of it! You can quickly generate variations of popular designs or entirely new concepts based on market response.
Consistency builds brands. Even if you're using AI for diverse designs, strive for a cohesive brand aesthetic across your product line. This might mean using a consistent color palette, a recurring illustrative style, or a specific tone of voice in your designs. This consistency helps customers recognize and trust your brand.
Finally, don't forget marketing! Showcase the unique story behind your AI-driven designs. Highlight how you bring together human creativity with cutting-edge technology to create something truly special. For a deeper dive into setting up your business, explore our guide on How to Start a Print-on-Demand Store with AI, which offers actionable steps to launch your merchandise line with confidence.
| Merchandise Item | Recommended DPI | Preferred Color Mode | Ideal File Format | Best Practice |
|---|---|---|---|---|
| T-shirts, Hoodies | 300 DPI | CMYK | PNG (transparent) | Use bold, clear graphics; often no complex backgrounds needed. |
| Mugs, Tumblers | 300 DPI | CMYK | PNG, JPEG | Consider wrap-around designs; ensure readability from all angles. |
| Posters, Prints | 300 DPI | CMYK | JPEG, TIFF, PNG | Maximize detail and resolution; high-quality upscaling is critical. |
| Stickers | 300 DPI | CMYK | PNG (transparent) | Clean cut lines are essential; simple, high-impact designs work best. |
| Phone Cases | 300 DPI | CMYK | PNG, JPEG | Account for camera cutouts; vibrant colors often stand out. |
| Tote Bags | 300 DPI | CMYK | PNG (transparent) | Large, visible designs; consider fabric texture impact. |
Disclaimer
Please remember that the information provided in this guide is for general informational purposes only. The field of AI technology, including its legal and ethical implications, is rapidly evolving. Always consult the most current terms of service for any AI image generation tool you use, and seek legal advice if you have specific concerns regarding commercial use, copyright, or intellectual property rights.