How to Prompt for a Cinematic Look
It's incredibly frustrating when you're trying to generate an AI image that has that elusive, professional film-like quality, but you keep getting something that looks… well, just okay. You want drama, mood, and visual storytelling, but your prompts seem to result in flat, uninspired visuals. This comprehensive guide is here to unravel the secrets of prompting for a truly cinematic look, helping you transform your AI-generated images from mere pictures into compelling visual narratives.
Understanding the Cinematic Aesthetic
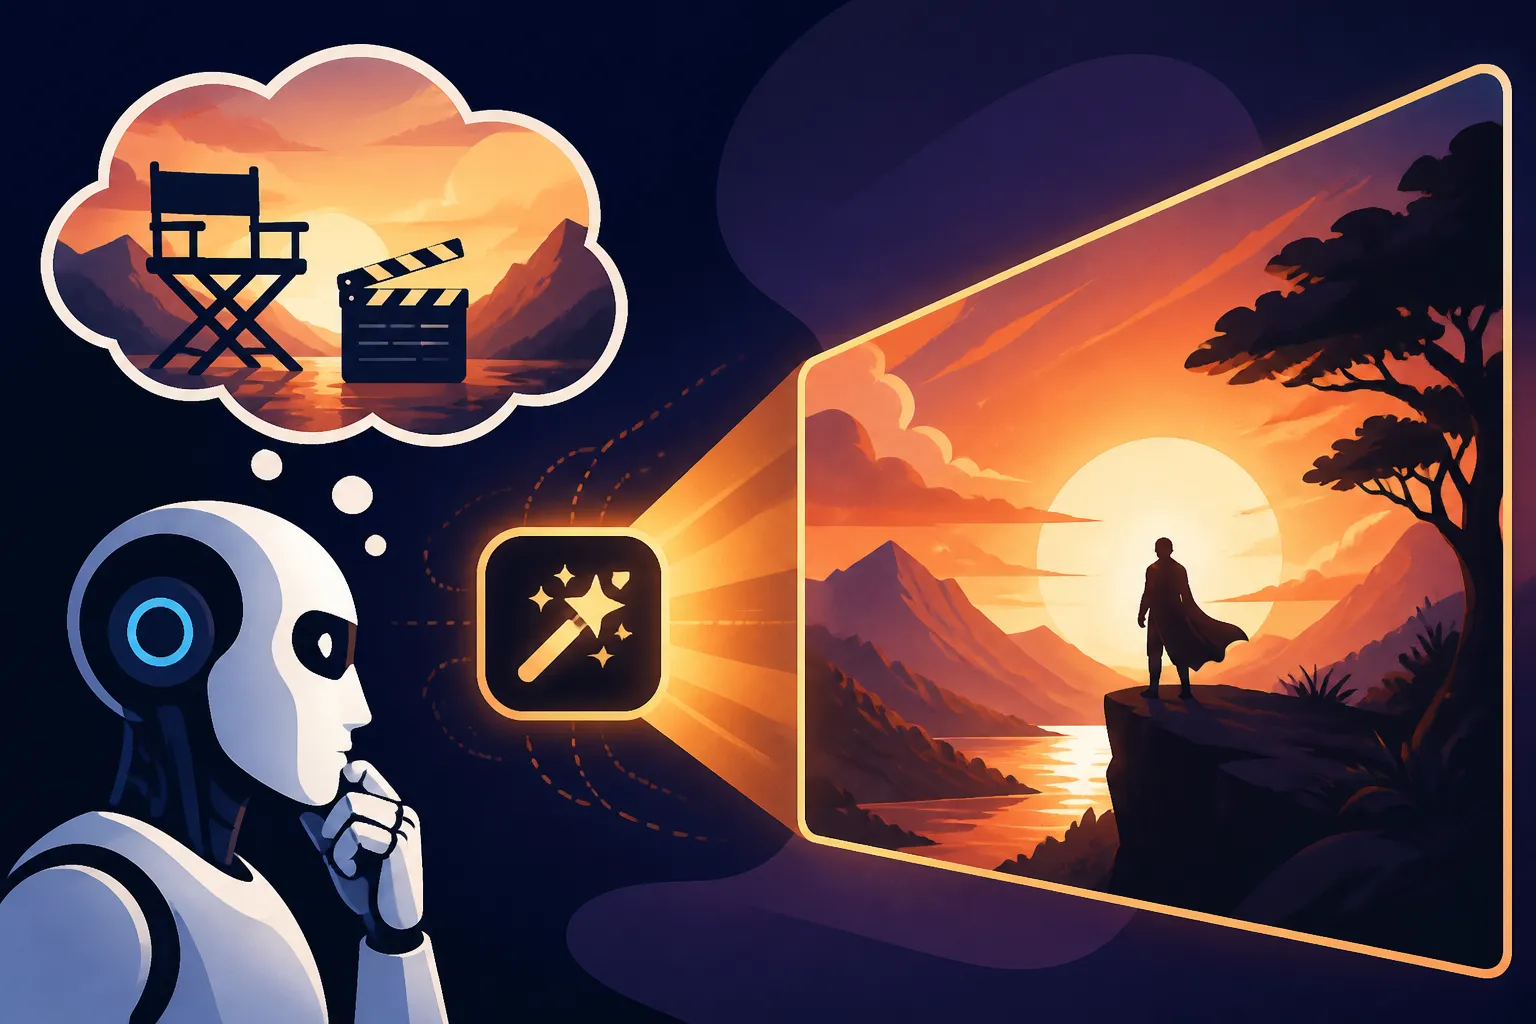
Before we dive into the nitty-gritty of prompts, let's talk about what "cinematic" truly means in a visual context. It's not just about high resolution or a cool filter; it's a deliberate artistic choice encompassing lighting, color, composition, and atmosphere that evokes emotion and tells a story, much like a frame from a carefully directed movie. When you understand these foundational elements, you can better translate them into effective AI commands.
Key Elements of Cinematic Visuals
Think about your favorite movies. What makes them so visually captivating? Often, it comes down to a few core principles. Firstly, there's the masterful use of lighting to shape mood and emphasize subjects. Filmmakers don't just "turn on the lights"; they sculpt light and shadow to create drama, mystery, or warmth. Secondly, color grading plays a huge role. The overall color palette of a scene can instantly communicate a genre or an emotional tone—think the cool blues of a sci-fi thriller or the warm yellows of a nostalgic drama.
Beyond that, composition is critical. Every element within the frame is intentionally placed to guide the viewer's eye, create balance, or build tension. This includes framing subjects, using depth of field to draw focus, and employing dynamic angles. Lastly, atmosphere and detail are vital. Subtle elements like lens flares, volumetric fog, rain, or even just the texture of a surface contribute immensely to the immersive, believable quality of a cinematic image. Without these deliberate choices, an image can feel sterile and unengaging, no matter how technically perfect it might be.
Translating Cinematic Concepts to AI Prompts
The real trick is figuring out how to articulate these complex visual ideas to an AI model that only understands text. It’s not enough to simply say "cinematic"; you need to break it down into its constituent parts. Instead of asking for a "cool picture," you need to specify what makes it cool. For instance, if you want dramatic lighting, you might specify "low key lighting, chiaroscuro, strong rim light." If you're after a particular mood, you could prompt for "desaturated colors, gritty aesthetic, melancholic atmosphere."
Consider your AI image generator as a highly skilled but literal cinematographer. You wouldn't just tell a human cinematographer, "make it look like a movie." You'd discuss lighting setups, camera angles, color palettes, and specific moods. The same detailed approach is necessary when writing your AI image prompts. This meticulous breakdown of visual elements is crucial for guiding the AI towards generating truly stunning, film-like results. For a broader perspective on shaping your requests, you might find our guide on how to write AI image prompts helpful.
Core Prompting Techniques for Cinematic Flair
Now, let's get into the actionable stuff. To consistently achieve a cinematic look, you need to focus on three major pillars in your prompts: lighting, color, and composition. Mastering these will elevate your AI art significantly.
Lighting and Shadow Play
Lighting is arguably the most powerful tool in a cinematographer's arsenal for establishing mood and directing attention. When prompting AI, don't just mention "good lighting." Be specific. Do you want the dramatic contrast of "chiaroscuro lighting," reminiscent of a classic film noir? Or perhaps the soft, ethereal glow of "golden hour lighting" casting long shadows? Maybe "backlit" subjects for a powerful silhouette, or a "rim light" to make your subject pop from a dark background. Adding terms like "volumetric lighting," "god rays," or "studio lighting" can also dramatically change the mood and realism.
Think about the time of day, the light source, and how it interacts with your subject. For example, "a lone figure standing in a cyberpunk alley, illuminated by neon signs, dramatic shadows, rain-slicked pavement" paints a much clearer picture than just "cyberpunk alley." Experiment with terms like "hard lighting," "soft lighting," "diffused light," or "high contrast lighting" to guide the AI towards the specific quality of light you envision. This level of detail in describing the light source and its effects is a game-changer. Our in-depth guide on how to add lighting to AI prompts can provide even more specialized techniques.
Color Grading and Mood
The overall color palette, often referred to as color grading in film, is another vital component of a cinematic image. It sets the emotional tone and visual style. You can ask for specific color schemes like "teal and orange color grading," a popular choice in Hollywood blockbusters for its striking contrast. Or, you might opt for "monochromatic," "sepia tone," "desaturated colors" for a grittier, more melancholic feel, or "vibrant, saturated colors" for a fantastical or energetic scene.
Don't forget to specify the mood you're aiming for. Words like "moody," "somber," "ethereal," "gritty," "dramatic," "serene," or "intense" can subtly yet powerfully influence the AI's interpretation of color and atmosphere. For instance, "a vast, desolate landscape, desaturated cool tones, melancholic mood" immediately conveys a sense of quiet despair, while "a bustling city street at night, vibrant neon colors, energetic atmosphere" creates a lively, dynamic feel. The more you connect your color choices to the emotional impact, the better your results will be. If you're just starting out, our AI image prompt guide for beginners offers a solid foundation for crafting effective prompts.
Composition and Framing
Composition dictates how elements are arranged within your image, guiding the viewer's eye and adding to the visual storytelling. Just like a director frames a shot, you can instruct the AI on how to compose your image. Common cinematic compositions include the "rule of thirds," which places subjects off-center for visual interest, or using "leading lines" to draw the eye towards a focal point.
Consider the camera's perspective: "low angle shot" for a powerful, imposing subject, "high angle shot" to make a subject seem vulnerable, or an "establishing shot" to set the scene. You can also specify "wide shot," "medium shot," or "close-up" to control the proximity to your subject. Terms like "Dutch angle" (a tilted horizon) can add a sense of unease or dynamism. Don't shy away from being specific about foreground, midground, and background elements, for example, "a character in the foreground, blurred city lights in the background, bokeh effect." Being explicit about how you want the scene arranged makes a massive difference in achieving that professional filmic frame. To further refine your compositional control, explore our guide on how to control composition in prompts.
Here's a quick reference table for some cinematic prompting keywords:
| Cinematic Element | Description | Prompt Keywords |
|---|---|---|
| Lighting | Quality, direction, and intensity of light | cinematic lighting, chiaroscuro, low key lighting, high key lighting, golden hour, blue hour, backlit, rim light, side light, studio lighting, volumetric light, god rays, dramatic shadows, soft light, hard light, diffused light |
| Color/Mood | Overall color palette and emotional tone | teal and orange grade, desaturated, monochromatic, sepia tone, vibrant colors, cool tones, warm tones, gritty aesthetic, dreamlike, melancholic, intense, epic, serene, dramatic, nostalgic, futuristic |
| Composition | Arrangement of elements within the frame | rule of thirds, leading lines, depth of field, bokeh, shallow depth of field, wide shot, medium shot, close-up, extreme close-up, establishing shot, low angle, high angle, Dutch angle, overhead shot, tracking shot, point of view |
| Atmosphere/Detail | Environmental conditions and subtle textures | fog, mist, smoke, rain, snow, dust particles, lens flare, anamorphic lens flare, film grain, vignette, cinematic film stock, gritty texture, wet pavement, subtle imperfections |
| Camera Tech | Specific camera or lens effects | anamorphic lens, wide-angle lens, telephoto lens, prime lens, vintage camera, film camera, drone shot, gimbal shot |
| Post-Processing | Editing styles often applied in film | post-production, film simulation, color grading, final cut, motion picture still |
Advanced Prompting Strategies and Refinements
Once you've got the basics down, you can start layering in more sophisticated details to truly fine-tune your cinematic vision. This is where you move from "good" to "exceptionally evocative."
Camera Lenses and Angles
Filmmakers don't just point and shoot; they meticulously choose lenses and angles to convey specific feelings and perspectives. You can emulate this by prompting for specific lens types. An "anamorphic lens" creates distinct oval bokeh and horizontal lens flares, instantly recognizable as cinematic. A "wide-angle lens" can create a sense of grandeur or distortion, while a "telephoto lens" compresses perspective, making backgrounds feel closer and creating a more intimate, focused shot.
Beyond lens types, specifying intricate camera movements or perspectives adds another layer of realism. Try "tracking shot" to imply movement, "drone shot" for an expansive, aerial view, or even "point of view (POV) shot" to immerse the viewer directly into the scene. For example, "a detective walks down a dark street, anamorphic lens flare, slight camera shake, low angle tracking shot" evokes a tangible sense of suspense and gritty realism. Don't forget our comprehensive guide on how to use camera angles in prompts for even more specific techniques.
Adding Textural Detail and Atmosphere
A truly cinematic image isn't just about the main subject; it's about the entire environment. Adding atmospheric elements and textural details can dramatically enhance the perceived realism and immersion. Terms like "volumetric fog," "mist," "rain," or "snow" can introduce depth and mood. Imagine "a lone figure silhouetted against a misty morning sunrise, subtle film grain, ethereal atmosphere."
Consider details like "dust particles dancing in a beam of light," "wet pavement reflecting city lights," or "gritty texture on old brick walls." These small, nuanced additions make the scene feel lived-in and authentic, rather than a pristine, computer-generated render. Even specifying "cinematic film grain" or a "vintage film stock" can add that extra layer of organic imperfection that separates a high-quality photo from a film still. This attention to minute details is what often elevates an image from good to breathtaking. For tips on generating realistic imagery, check out how to write prompts for photorealistic images.
Specific Film References and Directors
Sometimes, the quickest way to convey a complex visual style to an AI is by referencing established artists or genres. While AI models aren't perfect at mimicking specific styles (and you should use this sparingly to avoid copyright issues or unintentional biases), including phrases like "in the style of [Director's Name]" or "[Genre] film still" can offer a strong directional hint. For example, "a dimly lit cafe interior, reminiscent of Edward Hopper's 'Nighthawks,' with the moody atmosphere of a film noir" can yield powerful results by combining art and film references.
You might also specify a particular film era or aesthetic, such as "1970s sci-fi film still" or "neo-noir aesthetic." However, be cautious and always review the generated images critically, as the AI's interpretation might not always align perfectly with your intent. Use these as a creative springboard rather than a direct instruction, and be prepared to iterate. For more advanced methods, consider exploring our post on how to prompt for different moods.
Troubleshooting Common Cinematic Prompt Issues
Even with the best prompts, AI generation can sometimes throw curveballs. It's an iterative process, and knowing how to troubleshoot common problems is key to mastering the cinematic look.
Over-Stylization and AI Artifacts
One of the most common frustrations is when your AI images come out looking too artificial or over-stylized, despite your best efforts to make them cinematic. Sometimes, the AI leans too heavily into "cinematic" as a caricature, resulting in overly dramatic effects, unnatural color saturation, or bizarre lens flares. You might also encounter strange visual glitches or "AI artifacts" that break the illusion of realism.
To combat over-stylization, try using negative prompts. These tell the AI what not to include. For instance, _--no cartoon, --no comic, --no low quality, --no amateur, --no blurry_ can help guide the AI towards a more refined and realistic output. You can also try toning down overly descriptive words or breaking your prompt into smaller, more manageable chunks. If you're consistently getting jarring artifacts or strange deformations, especially with human subjects, you might be interested in our guide on how to fix bad AI image results. The goal is a controlled, artful aesthetic, not a chaotic explosion of "cinematic" clichés. For general tips on making your AI images less artificial, check out how to make AI images look less AI.
Achieving Consistency Across Images
When creating a series of images for a project, maintaining a consistent cinematic style can be a huge challenge. The AI, by default, likes to experiment, and two similar prompts can yield wildly different results. This is particularly frustrating when you're trying to tell a sequential story or build a cohesive visual brand.
To improve consistency, one powerful technique is to use "seed numbers" if your AI tool supports them. A seed number allows you to reproduce an image or generate variations based on a specific initial generation. If you get a good image, note its seed and use it for subsequent prompts, making small adjustments to describe changes in pose, expression, or scene elements while retaining the underlying style. Additionally, keep your prompt structure and core keywords consistent across your generations. Create a "style prompt" that you prepend to all your images: for example, _cinematic film still, 35mm, Fujifilm Eterna, dramatic lighting, teal and orange grade_ followed by your scene description. Regularly reviewing and refining this foundational style prompt will help immensely. Combining this with techniques from our post on how to add realism to AI images can help you build truly cohesive and high-quality sets of images.
Conclusion
Achieving a truly cinematic look with AI image generators isn't about finding a magic word; it's about understanding the fundamental principles of visual storytelling and meticulously translating them into precise, detailed prompts. By focusing on specific lighting techniques, intentional color grading, thoughtful composition, and advanced camera details, you can move beyond generic AI art to create stunning, evocative images that feel like they're pulled straight from the silver screen. It takes practice and a willingness to iterate, but the results are incredibly rewarding, transforming your creative ideas into compelling visual narratives.
Disclaimer
Please note that this article provides general information and guidance on using AI image generators. The capabilities and features of AI tools are constantly evolving. Always refer to the latest documentation and terms of service for the specific AI image generator you are using. The use of AI-generated content should always comply with applicable copyright laws and ethical guidelines.