How to Prompt for Studio Lighting
It can be incredibly frustrating when you're trying to generate an AI image that looks polished and professional, but instead, you end up with flat, uninspired visuals that lack depth and realism. The difference often comes down to lighting, and if you don't specifically tell your AI what kind of light you want, it'll usually default to something generic. This guide is here to walk you through exactly how to prompt for studio lighting, transforming your AI art from mediocre to magnificent.
Understanding the Essence of Studio Lighting in AI Art
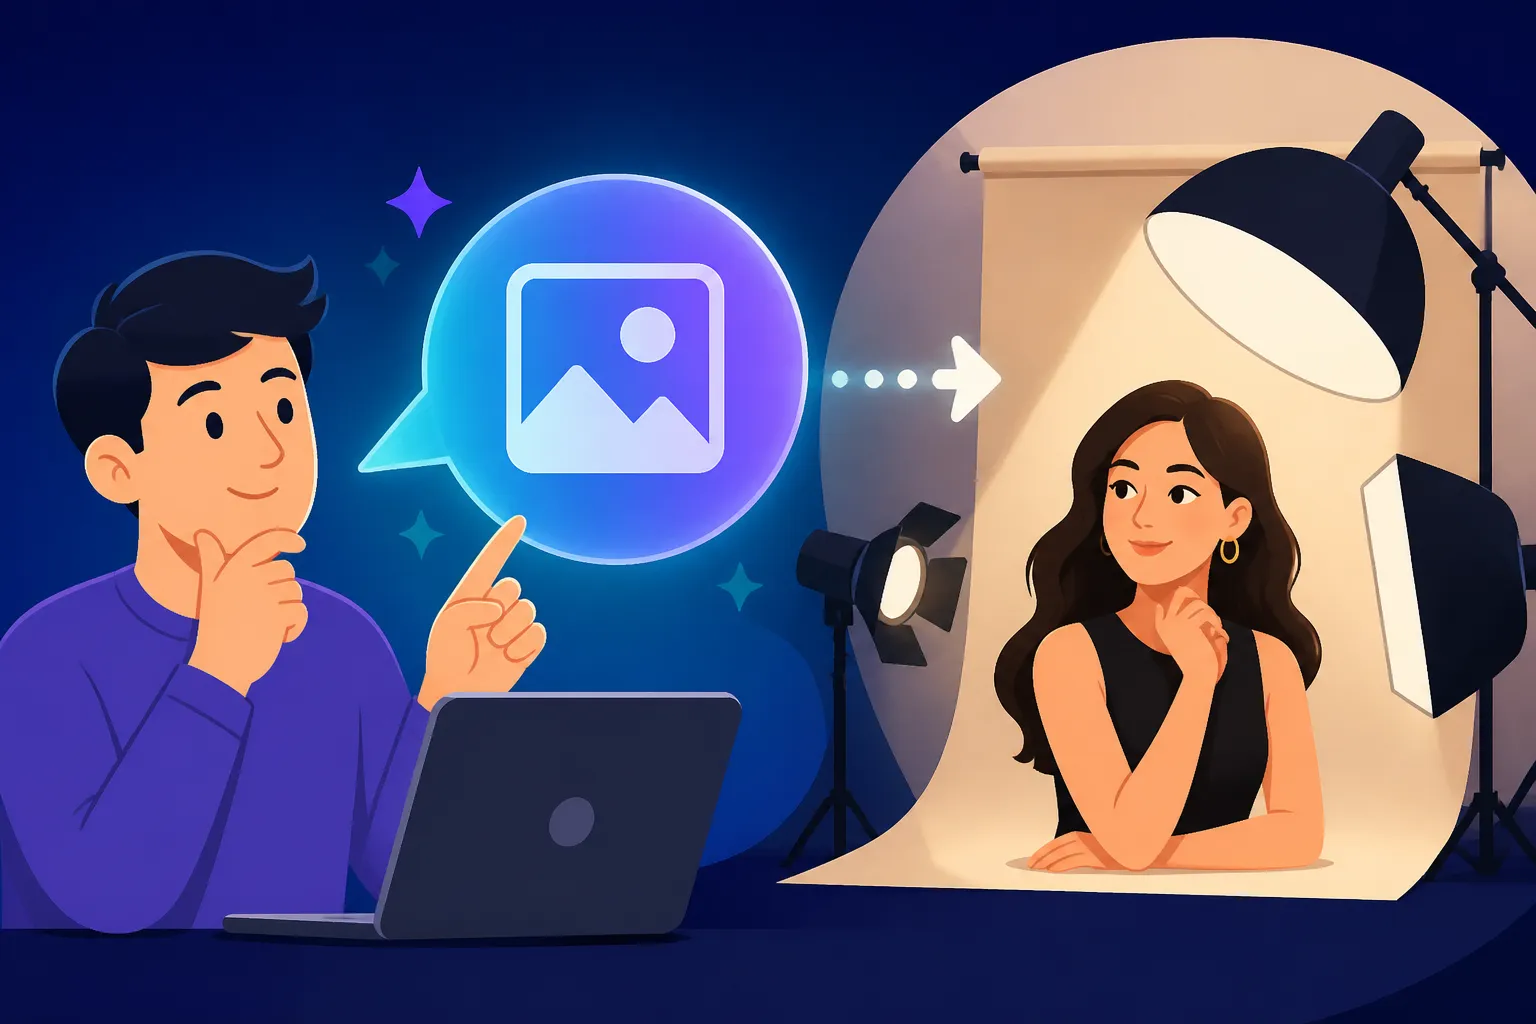
When we talk about "studio lighting" in the context of AI image generation, we're really aiming for that controlled, intentional look you see in high-quality photography and videography. It's about more than just making sure the subject is visible; it's about shaping mood, emphasizing features, and creating a sense of three-dimensionality that a simple flash or ambient light can't achieve. Many creators struggle with their AI outputs looking flat, and a significant reason for this is often a lack of specific lighting directives in their prompts.
Think about a product shot you admire, or a compelling portrait. Chances are, the lighting wasn't accidental. It was carefully planned to highlight textures, create flattering shadows, and guide the viewer's eye. Replicating this intentionality with an AI generator requires a foundational understanding of what studio lighting is and how to articulate those concepts in a way the AI can understand. It’s not just about typing "good lighting"; it's about breaking down the components that make it "good" and feeding those specifics into your prompt.
The Core Principles of Studio Lighting
At its heart, studio lighting is all about control. Unlike natural light, which is dictated by the sun, clouds, and time of day, studio lighting involves artificial light sources that can be positioned, modified, and colored precisely. Key principles include light direction, intensity, quality (hard vs. soft), and color. For instance, a "hard" light source creates sharp, well-defined shadows, often used for dramatic effect or to emphasize texture. Conversely, "soft" light, usually achieved through diffusers or large light sources, creates gentler transitions between light and shadow, resulting in a more flattering and smooth appearance.
Consider a commercial photoshoot for a new watch. A photographer wouldn't just use a single bright light; they'd use multiple lights, perhaps a harsh spotlight to catch the gleam of the metal, and a softbox to illuminate the strap without creating distracting reflections. They might even add a backlight to separate the watch from its background, giving it a subtle glow. These deliberate choices are what define studio lighting, and learning to identify these elements is the first step in effectively prompting your AI. If you're looking to improve your overall prompt writing, a great resource is this guide on How to Write AI Image Prompts.
Translating Studio Concepts into AI Prompts
The trick here is to use precise, descriptive language that an AI model has likely been trained on in relation to photography or cinematography. Instead of vague terms, you want to use the vocabulary of a lighting professional. Words like "softbox," "umbrella lighting," "rim light," "key light," and "fill light" are incredibly powerful because they correspond to distinct lighting setups and effects. The AI doesn't understand light in the human sense, but it has learned patterns from millions of images tagged with these terms.
For example, if you want a warm, inviting portrait, simply saying "warm light" might give you a reddish tint. But if you specify "soft, warm studio lighting with a large key light and gentle fill," you're much more likely to get the intended effect. You're giving the AI a blueprint based on established photographic techniques. This precision is especially crucial when trying to achieve a consistent aesthetic across multiple images, such as for a brand or a series of blog posts. For a general overview of getting better results, check out How to Get Better AI Image Results.
Key Elements to Include in Your Studio Lighting Prompts
To truly master studio lighting with AI, you need to break down the specific components that contribute to that look. It's not just about mentioning "studio lighting" once; it's about describing the individual lights, their qualities, and their placement. This level of detail guides the AI far more effectively than broad statements.
Directional Lighting: Highlighting and Shadow Play
Directional lighting is fundamental to shaping your subject. Where the light comes from determines where the highlights fall and, equally important, where the shadows are cast. Shadows provide depth and dimension, preventing your image from looking flat. For instance, a "side light" can dramatically emphasize texture and contours, creating a striking, high-contrast effect often used in artistic portraits or to highlight the chiseled features of a statue. If you want something more dramatic, consider a "low-key lighting" setup, which intentionally uses strong contrasts and dominant shadows to evoke mood.
To use this in a prompt, you might specify: "portrait of a grizzled explorer, dramatic side lighting, deep shadows, cinematic" or "sleek product shot of a silver laptop, harsh directional light from above, reflecting on the keyboard." The key is to name the direction and imply the intensity. You can even combine directions, like "strong rim light from behind" to create a glowing outline around your subject, separating it from the background and adding a touch of magic. Understanding these elements can drastically improve your AI Image Generation Tips and Tricks.
Softbox and Diffused Lighting for a Polished Look
For that classic, polished, and flattering studio look, you'll almost always want to incorporate "softbox lighting" or "diffused lighting." A softbox is a light modifier that diffuses and spreads light evenly, reducing harsh shadows and creating a smooth gradient. This is the go-to for professional portraits, beauty shots, and many types of commercial photography because it minimizes imperfections and creates a very pleasing aesthetic.
When prompting, you might say: "glamorous portrait of a woman, softbox lighting, perfectly smooth skin, professional studio setup" or "minimalist product photography of a ceramic vase, even diffused lighting, no harsh shadows." You can also describe the source, such as "large octabox light overhead" or "two large softboxes illuminating the subject." This tells the AI to generate light that behaves as if it's coming from a large, soft source, which usually translates to beautiful, gentle illumination. Many models, like those explored in Midjourney Prompt Guide or DALL-E Prompt Guide, respond well to these specific terms.
Three-Point Lighting for Depth and Realism
Three-point lighting is a cornerstone technique in photography and filmmaking for achieving well-lit, three-dimensional subjects. It involves using three distinct lights:
- Key Light: The main, strongest light source, positioned to one side of the camera and slightly above the subject.
- Fill Light: A softer, less intense light positioned on the opposite side to soften shadows created by the key light.
- Backlight (or Rim Light): Placed behind the subject, often slightly to one side, to create a subtle glow around the edges, separating the subject from the background.
This setup creates a sense of depth and realism that's hard to beat. If you want your AI image to look truly professional and dimensional, especially for character shots or intricate objects, specifying a three-point lighting setup is highly effective. You could prompt: "dramatic hero shot of an astronaut, classic three-point lighting, strong key light, subtle fill, prominent rim light, dark studio background."
Here's a quick reference table for common studio lighting terms and their effects in AI prompts:
| Lighting Term | Description for AI Prompts | Effect in Image | Common Use Cases |
|---|---|---|---|
| Key Light | main light source, dominant illumination, primary light, strong light from [direction] |
Primary illumination, shapes subject, casts main shadows. | Portraits, product shots, general subject lighting. |
| Fill Light | soft fill light, subtle fill, secondary light, reduces shadows, fills in shadows |
Softens harsh shadows created by the key light, reduces contrast. | Portraits, interviews, less dramatic commercial photography. |
| Backlight/Rim Light | backlit, rim lighting, halo effect, light from behind, separating light |
Creates a glowing outline around the subject, separates it from the background. | Dramatic portraits, artistic shots, emphasizing hair/edges. |
| Softbox Lighting | large softbox, diffused lighting, soft, even illumination, gentle shadows, flattering light |
Smooth, even light with soft, gradual shadows. Minimizes imperfections. | Beauty photography, portraits, product photography. |
| Hard Light | harsh light, direct light, strong shadows, sharp shadows, high contrast |
Defined, sharp shadows with high contrast. Emphasizes texture. | Dramatic portraits, film noir style, emphasizing texture on objects. |
| Butterfly Lighting | butterfly lighting, paramount lighting, shadow under nose, flattering facial lighting |
Creates a butterfly-shaped shadow directly under the nose, highlights cheekbones. | Glamour shots, portraits, classic Hollywood look. |
| Rembrandt Lighting | Rembrandt lighting, triangular highlight on cheek, dramatic, chiaroscuro |
Creates a small triangle of light on the shadowed cheek. Dramatic and artistic. | Fine art portraits, dramatic character studies. |
| Ambient Studio Light | even ambient studio light, flat studio lighting, soft general light |
Uniform, diffused light that minimizes shadows and contrast. Often less dramatic. | Catalog photography, simple product shots, even base lighting. |
Advanced Studio Lighting Techniques and Troubleshooting
Once you've got the basics down, you can start experimenting with more specialized techniques and learn how to refine your prompts to fix common issues. This is where you really start to dial in that professional look. Crafting complex prompts is an art, and understanding advanced lighting can push your AI images to the next level. For more detailed prompt crafting, consider reading up on Prompt Structure: Subject, Style, Lighting.
Specialized Studio Setups: Rembrandt, Butterfly, and Loop Lighting
Beyond the basic three-point setup, there are famous lighting patterns named after their distinct shadow shapes:
- Rembrandt Lighting: This technique creates a small, inverted triangle of light on the cheek opposite the main light source. It's often associated with dramatic and artistic portraits, giving a sense of moodiness and depth. To prompt for this, you'd specify: "portrait of an old painter, Rembrandt lighting, dramatic shadows, warm tones." The AI will understand the visual characteristics of this named lighting style.
- Butterfly Lighting (or Paramount Lighting): This creates a butterfly-shaped shadow directly under the nose, caused by a main light source placed high and directly in front of the subject. It's incredibly flattering for many facial shapes, emphasizing cheekbones and creating a glamorous look. Your prompt might be: "glamour shot of a model, flawless skin, butterfly lighting, studio backdrop."
- Loop Lighting: Similar to butterfly lighting, but the key light is moved slightly to the side, creating a small "loop" shadow from the nose pointing towards the corner of the mouth, rather than directly underneath. It's a slightly less dramatic but still very flattering lighting pattern. You could ask for: "headshot of a CEO, confident expression, subtle loop lighting, professional studio environment."
These named techniques are powerful shorthand for the AI, allowing you to evoke specific moods and aesthetics without needing to describe every single light position. For more specific art styles, exploring guides like How to Prompt for Specific Art Styles can be very beneficial.
Common Pitfalls and How to Fix Them
Even with detailed prompts, AI image generators can sometimes produce unexpected or less-than-ideal lighting. Here are some common problems and how to troubleshoot them:
- Flat Lighting: Your image looks washed out, with no real depth or shadows.
- Fix: You're likely not specifying enough directional information. Add terms like "dramatic shadows," "strong key light," "backlit," or mention a specific three-point setup. Emphasize contrast: "high contrast studio lighting."
- Unnatural Shadows: Shadows appear in strange places, or don't match the implied light source.
- Fix: Be more explicit about the light's direction and type. For example, "single light source from above" is clearer than just "overhead light." If you mention "softbox," ensure you also mention "soft shadows" to reinforce the expected outcome. Sometimes, a "negative prompt" can also help by excluding terms like "harsh shadows" if you're aiming for softness.
- Overexposed or Underexposed Areas: Parts of your image are blown out white or completely black.
- Fix: Adjust intensity terms. If overexposed, try "soft light," "low intensity key light," or specify "even illumination." If underexposed, use "bright key light," "well-lit," or ensure you're using a "fill light." You can also guide the AI with phrases like "perfectly exposed" or "balanced lighting."
- Generic Studio Look: The image has "studio lighting" but still feels uninspired.
- Fix: Add more descriptive adjectives. Instead of just "studio lighting," try "cinematic studio lighting," "glamorous studio lighting," "high-fashion studio lighting," or "moody studio lighting." Combine lighting with a specific style or mood to give the AI more context. If your results are consistently off, perhaps reading How to Fix Bad AI Image Results could offer broader solutions.
Integrating Studio Lighting with Different AI Models
While the core principles of prompting for studio lighting remain consistent, different AI image generators might interpret your instructions with varying degrees of nuance. Understanding these subtle differences can help you get the best results from your chosen tool. The underlying models are constantly evolving, so a term that worked perfectly last month might have slightly different results today.
Prompting for Studio Lighting in Midjourney and DALL-E
Midjourney is renowned for its artistic prowess and its ability to generate highly aesthetic images. When it comes to studio lighting, Midjourney often excels at translating descriptive language into visually stunning results, especially for dramatic or artistic lighting scenarios. You can be quite poetic and detailed, and Midjourney will typically deliver.
For example, a prompt like: "a cyberpunk detective, trench coat, walking through a dimly lit alley, dramatic noir studio lighting, rain reflection on pavement, cinematic, photorealistic –ar 16:9 –v 7" would likely give you a fantastic result in Midjourney. It understands terms like "cinematic," "noir," and often interprets "studio lighting" as controlled and intentional. The --ar parameter (aspect ratio) and --v (version) also help fine-tune the output. For more specific guidance on this tool, consider diving into Midjourney V7 Features and Updates.
DALL-E, especially when integrated with platforms like ChatGPT (often referred to as GPT Image 2), is also very capable with lighting. DALL-E tends to be more literal in its interpretations, which can be great for precise technical details. If you're looking for clean product shots or clear headshots with specific lighting, DALL-E often hits the mark reliably.
A prompt for DALL-E might be: "professional studio headshot of a smiling female executive, bright three-point lighting, clean white background, soft shadows, sharp focus on eyes, 8k." DALL-E's strength lies in its ability to adhere closely to the instructions, making it excellent for commercial applications where exactness is paramount. This can be particularly useful when you're learning How to Control Composition in Prompts.
Achieving Studio Quality with Stable Diffusion and Ideogram
Stable Diffusion offers unparalleled flexibility, especially if you're running it locally or through a service that allows custom models (LoRAs, ControlNet). For studio lighting, Stable Diffusion can be incredibly powerful, but it often requires more granular control through additional parameters or extensions to truly dial in the perfect studio look.
To achieve studio quality, you might use a prompt like: "elegant fashion model posing, sophisticated studio lighting, beauty dish lighting, subtle highlights, vogue style, cinematic, detailed skin texture, (photorealistic:1.2), RAW photo, 8k." With Stable Diffusion, you can often add weights (term:1.2) to emphasize certain elements like "photorealistic." The real magic comes when you combine this with ControlNet to guide light placement from a reference image or a custom checkpoint model trained on studio photography. This level of customization makes Stable Diffusion Review: Free and Customizable an excellent resource for power users.
Ideogram shines when it comes to text integration within images, but it's also surprisingly capable with lighting. While it might not have the same level of granular control as Stable Diffusion or the artistic flourish of Midjourney, Ideogram can still produce convincing studio lighting with clear, concise prompts. It's often a good choice for graphics and marketing materials where strong text and decent lighting are both critical.
For Ideogram, try a prompt like: "vintage microphone on a stand, illuminated by a single softbox, spotlight effect, smoky jazz club aesthetic, retro studio lighting, 'Jazz Night' in neon text." Ideogram will likely handle the text beautifully while also generating the requested lighting. If you're considering Ideogram for your projects, its Ideogram Review: Best for Text in Images could be a helpful read.
Ultimately, the best approach is often to try your lighting prompts across a few different platforms. You might find that one AI generator is particularly adept at the specific studio style you're trying to achieve, making your workflow smoother and your results more consistent.
Disclaimer
Please remember that AI image generation tools are constantly evolving. The techniques and suggestions provided in this guide are based on current capabilities and common practices, but results may vary and improve over time. Always check the terms of service for any AI tool you use regarding commercial rights and usage.