Midjourney Prompt Formula That Works
It’s incredibly frustrating, isn't it? You have this fantastic image in your head, you type a few words into Midjourney, hit enter, and what comes back is… well, not quite what you envisioned. The magic of AI image generation can often feel like a guessing game, especially when your prompts yield generic or completely off-the-mark results. This guide is here to demystify the process, providing you with a reliable Midjourney prompt formula that actually works, giving you the creative control you've been craving.
Understanding the Core Components of an Effective Prompt
Before we dive into the formula itself, let's break down what makes a Midjourney prompt truly effective. It's not just about throwing keywords together; it's about structuring your ideas in a way the AI can understand and interpret accurately. Think of it like giving directions to a highly talented, but very literal, artist. You need to be clear, specific, and provide context.
The Problem with Simple Prompts
Many beginners start with very simple prompts, like "a dog in a park" or "a futuristic city." While these will certainly generate images, they often lack the depth, style, and specificity that make an image truly stand out or align with a particular creative vision. The AI fills in the blanks based on its training data, which might not match your unique artistic preference. You might get a random breed of dog, a sunny park, or a futuristic city that looks like a dozen others. The frustration stems from this lack of predictable control.
Why Structure Matters
A well-structured prompt guides the AI through various layers of detail, from the main subject to the subtle nuances of lighting and artistic style. It allows you to progressively add information, refining the output rather than leaving it up to chance. Without structure, your prompt is like a vague suggestion, but with it, it becomes a precise instruction manual for your digital artist. This is where understanding how to craft robust How to Write AI Image Prompts really comes into play.
The Midjourney Prompt Formula That Works
After countless hours experimenting and helping fellow creators, a clear, repeatable formula has emerged that provides excellent results. It's designed to give you maximum control over your images, allowing you to generate everything from photorealistic scenes to highly stylized artwork.
The formula looks like this:
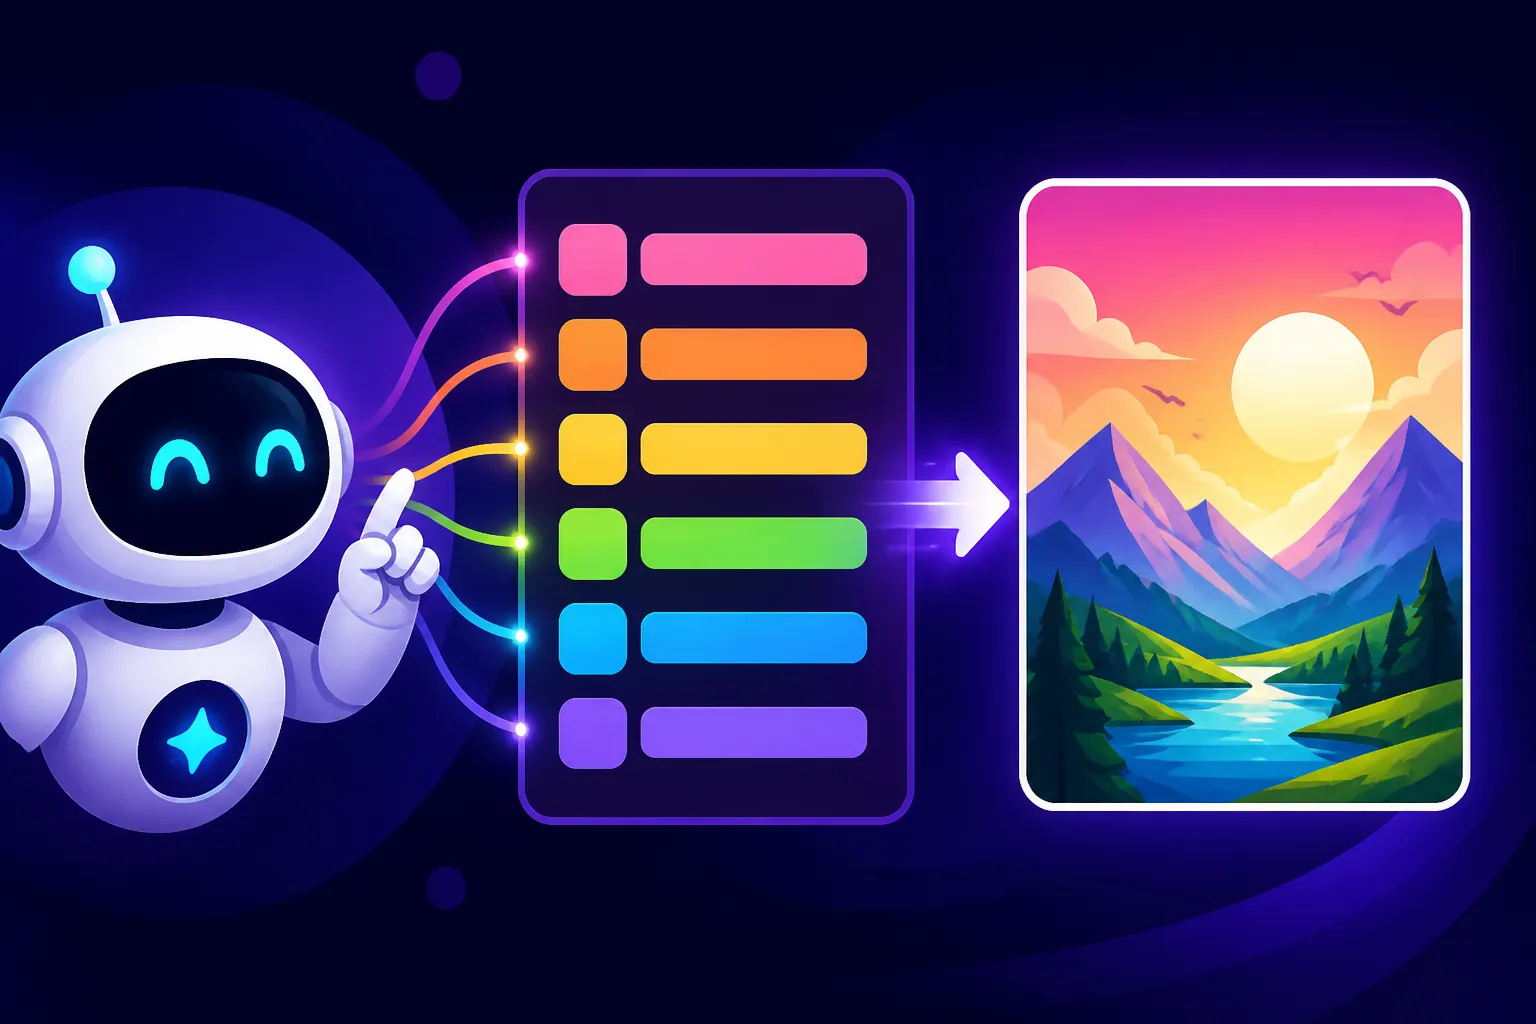
/imagine prompt: [Subject] + [Action/Setting] + [Style/Aesthetics] + [Lighting/Composition] + [Parameters]
Let's break down each element of this formula so you can master it.
Subject and Main Action
This is your starting point – what is the central focus of your image? Be as specific as possible. Instead of just "a cat," try "a fluffy ginger cat with green eyes." If there's an action, include it. If there's a specific object, describe it.
- Detailing the Subject: Don't shy away from adjectives. Is the subject old, young, vibrant, melancholic? Does it have specific clothing, features, or accessories? For example, instead of "a knight," consider "an armored knight with a gleaming broadsword, wearing a crimson cape." The more descriptive you are here, the less Midjourney has to guess, and the closer you'll get to your vision.
- Defining the Action/Setting: What is your subject doing, and where are they doing it? "A detective solving a case in a dimly lit office" is far more evocative than just "a detective." Is the setting indoors or outdoors? What time of day is it? What key elements are in the background or foreground? Specifying the environment helps ground the subject and establish the overall narrative of the image.
Style and Aesthetics
This is arguably where Midjourney truly shines, and where your creative input can transform a simple scene into a work of art. This section dictates the visual language of your image.
- Art Style Keywords: Do you want a painting, a photograph, a sketch, or a 3D render? Be precise. Examples include "oil painting," "watercolor," "cyberpunk art," "photorealistic," "anime style," "pixel art," "hyperrealistic digital art," "cinematic rendering," etc. The options are virtually limitless, allowing you to guide the AI towards a particular artistic sensibility.
- Artist and Era Influences: Want your image to look like it was painted by Van Gogh or shot by Annie Leibovitz? Incorporate artist names or art movements. "In the style of Van Gogh" or "inspired by Art Nouveau" can dramatically alter the output. You can also specify historical eras, like "1920s glamour" or "medieval tapestry." Remember, you can blend these, for example, "a cyberpunk city, in the style of Akira."
- Texture and Material Details: If relevant, describe textures. "Rough stone wall," "smooth metallic finish," "delicate lace," or "glossy obsidian" can add incredible depth and realism. This is particularly useful for product shots or intricate character designs. You might even want to explore Recraft Review for Vector Art or Recraft SVG and Logo Review if you're looking for specific vector styles.
Lighting and Composition
These elements add mood, atmosphere, and visual impact to your image. They are critical for elevating an image from good to great. Don't skip these!
- Lighting: How is the scene lit? "Golden hour lighting," "dramatic chiaroscuro," "soft studio lighting," "neon glow," "backlit," "volumetric fog," or "moonlit" are all powerful descriptors. Lighting can completely change the emotion and focus of an image. Consider the direction, intensity, and color of the light.
- Composition and Camera Angles: How do you want the image framed? "Wide shot," "close-up," "dutch angle," "low angle," "high angle," "fisheye lens," "bokeh background," or "rule of thirds" are essential for guiding the AI on how to compose the scene. This helps control the viewer's perspective and the visual hierarchy within the image. Learning about different camera angles in prompts can significantly improve your results.
- Atmospheric Effects: Think about what's in the air. "Misty morning," "rainy street," "dust motes in sunlight," "smoky atmosphere," or "foggy" can add layers of realism and mood. These subtle additions often make the biggest difference in creating an immersive scene.
Midjourney Parameters
Parameters are special instructions that start with -- and directly modify how Midjourney generates your image. They offer granular control over aspect ratios, stylization, chaos, and more.
- Aspect Ratio (
--ar): This is crucial.--ar 16:9for widescreen,--ar 9:16for vertical,--ar 1:1for square. Always specify this unless you're happy with the default square output. Getting the right aspect ratio is often the first step in making an image usable for its intended purpose, whether it's a website banner or a social media post. - Stylize (
--s): This parameter controls how artistically Midjourney interprets your prompt. Higher values (e.g.,--s 750for Midjourney V5.2, or--s 250for V6 and V7) often result in more artistic, less literal images, while lower values (--s 0or--s 50) stick closer to your prompt words. This can be a game-changer for stylistic control. You can learn more about this in resources like "Midjourney V7 Features and Updates". - Chaos (
--c): This parameter influences the variety and unexpectedness of the initial grid of images.--c 0will give you very similar images, while--c 100will produce wildly different interpretations, perfect for exploration. - Weirdness (
--w): For pushing boundaries and generating truly unique, unusual, or surreal imagery,--wis your friend. Higher values result in more abstract or bizarre outputs. - Negative Prompting (
--no): This powerful parameter allows you to tell Midjourney what you don't want in your image. For example,--no text, blurry, uglycan significantly improve image quality by removing common imperfections. This is a fantastic tool to have in your arsenal, especially when trying to fine-tune results and avoid typical AI quirks like bad hands or distorted faces. For more advanced control, you might even consider "How to Use Negative Prompts". - Image Weight (
--iw): If you're using an image prompt,--iwlets you control how much influence the image has compared to your text prompt. A higher value means the image will be more dominant.
Here's a quick table to summarize some common Midjourney parameters:
| Parameter | Function | Typical Range | Example Use |
|---|---|---|---|
--ar |
Sets the aspect ratio of the image. | 16:9, 9:16, 1:1 |
--ar 16:9 for a landscape image. |
--s |
Controls artistic stylization. | 0-1000 (older models), 0-250 (newer) |
--s 200 for a more stylized look. |
--c |
Controls the variety of results. | 0-100 |
--c 50 for moderate variety in initial grid. |
--w |
Influences weirdness or unusualness. | 0-3000 |
--w 1500 for abstract, unique results. |
--no |
Excludes elements from the image. | Keywords | --no hands, blurry, watermark to improve quality. |
--seed |
Sets a specific seed for reproducible results. | Integer | --seed 12345 to generate similar images with same prompt. |
--v |
Specifies the Midjourney model version. | 5, 5.2, 6, 7 |
--v 6 for older model (if needed), often default now. |
--style |
Applied to specific versions (e.g., Niji). | raw, expressive, etc. |
--style raw for a more literal output in V6/V7. |
For a comprehensive breakdown of all these options, checking out "Midjourney Parameters Explained" is highly recommended.
Putting the Formula into Practice: Examples
Let's see how this formula translates into actual prompts that yield impressive results. Remember, experimentation is key, but this formula gives you a solid foundation.
Example 1: Creating a Vivid Landscape
Imagine you want a lush, fantastical forest scene.
Simple Prompt: forest at sunset (Likely to be generic, perhaps a bit dull.)
Using the Formula:
/imagine prompt: ancient magical forest, towering luminescent trees, glowing mushrooms on mossy ground, hidden waterfall, at sunset --ar 16:9 --s 200 --no blurry, ugly
- Subject/Action/Setting: "ancient magical forest, towering luminescent trees, glowing mushrooms on mossy ground, hidden waterfall, at sunset" – Specifics about the trees, mushrooms, ground, and a waterfall add immense detail.
- Style/Aesthetics: The words "magical" and "luminescent" imply a fantastical, vibrant style.
- Lighting/Composition: "at sunset" sets the lighting.
- Parameters:
--ar 16:9gives a cinematic feel,--s 200adds artistic flair, and--no blurry, uglyhelps prevent common issues.
This structured prompt provides far more guidance to Midjourney, resulting in a much richer and more specific image.
Example 2: Crafting a Stylized Character
Suppose you need a character for a graphic novel.
Simple Prompt: robot hero (Could be anything from a cartoon to a movie poster character.)
Using the Formula:
/imagine prompt: sleek humanoid robot hero, chrome and neon accents, determined expression, standing on a cyberpunk city rooftop, rain-slicked surfaces, dramatic volumetric lighting, neo-noir aesthetic, high detail --ar 3:4 --style raw --v 7
- Subject/Action/Setting: "sleek humanoid robot hero, chrome and neon accents, determined expression, standing on a cyberpunk city rooftop, rain-slicked surfaces" – Describes the robot, its features, and the precise environment.
- Style/Aesthetics: "cyberpunk," "neo-noir aesthetic," "high detail" – These keywords direct the overall artistic direction towards a specific genre and level of finish. If you were aiming for something else, like "anime style character design," you'd swap these out.
- Lighting/Composition: "dramatic volumetric lighting" creates a specific mood.
- Parameters:
--ar 3:4gives a portrait orientation suitable for a character,--style rawensures less artistic interpretation from Midjourney's default aesthetic, and--v 7ensures you're using the latest model for optimal quality. This is an excellent way to maintain a consistent style for multiple How to Prompt for Consistent Characters.
Example 3: Generating Product Photography
For an e-commerce store, realistic product shots are essential.
Simple Prompt: coffee mug (Results in a plain, possibly unappealing, mug on a random background.)
Using the Formula:
/imagine prompt: minimalist ceramic coffee mug, matte black finish, subtle texture, sitting on a smooth wooden table, soft natural window light from the left, shallow depth of field, clean background, photorealistic --ar 4:5 --s 50 --no reflections, shadows, fingerprints
- Subject/Action/Setting: "minimalist ceramic coffee mug, matte black finish, subtle texture, sitting on a smooth wooden table, clean background" – Details the product and its immediate environment.
- Style/Aesthetics: "minimalist," "photorealistic" – Explicitly calls for a realistic, uncluttered style. This is key for Best AI Image Generator for Product Photography.
- Lighting/Composition: "soft natural window light from the left, shallow depth of field" – Crucial for professional-looking product photography, controlling focus and illumination.
- Parameters:
--ar 4:5is common for social media product shots,--s 50keeps the image literal and less artistic, and--no reflections, shadows, fingerprintshelps avoid common imperfections that would spoil a product image.
Refining and Iterating Your Prompts
Even with a solid formula, initial results might not be perfect. The true art of prompt engineering lies in refinement.
Analyzing Initial Results
When Midjourney gives you four images, don't just pick one and move on. Take a moment to analyze them. What worked? What didn't?
- Identify Strengths: Did the style come through? Was the subject well-rendered? Did the lighting have the desired effect?
- Pinpoint Weaknesses: Are there distortions? Is the composition off? Is an element missing or incorrect? Perhaps the hands look weird, a common issue, which you can often fix with specific How to Fix AI Hands and Faces techniques.
- Understand the AI's Interpretation: Sometimes, the AI interprets a word differently than you intended. For example, "epic" might mean a sweeping landscape rather than an intense close-up.
Iterative Prompting Techniques
Once you've analyzed your initial grid, you have several options for iteration:
- Vary (V) and Upscale (U): If one of the four generated images is close but not quite right, use the "V" buttons to create variations of that specific image. This generates four new images based on the chosen one, often with slight stylistic or compositional tweaks. If an image is perfect, use "U" to upscale it to a higher resolution.
- Remixing: Midjourney's Remix feature (which you can enable in your settings with
/settingsand selectingRemix Mode) allows you to change your prompt after selecting a variation. This is incredibly powerful. You can keep the core visual structure of an appealing image but tweak its style, add elements, or change the lighting. For instance, you could take a fantastic landscape image and then Remix it to "add a wizard, rain, magical aura" without losing the original composition. - Adjusting Parameters: Tweak your parameters based on the results. If images are too artistic, lower
--s. If they're too similar, increase--c. If you need more of your original image input, adjust--iw. - Adding or Removing Keywords: Based on your analysis, add more descriptive words for missing elements or remove ambiguous terms that led to unwanted interpretations. For example, if "forest" yielded pine trees and you wanted deciduous, add "deciduous forest."
- Using Negative Prompts More Aggressively: If you consistently get unwanted elements (like extra limbs or odd textures), refine your
--noprompt. - Image Prompts: For even greater control and consistency, especially with characters or specific objects, consider using an image prompt. This involves including the URL of an existing image at the beginning of your text prompt. This can be fantastic for maintaining a specific look or feel over a series of images.
The path to stunning AI art is rarely a straight line. It's about generating, evaluating, and refining. The more you practice, the more intuitive it becomes. Don't be afraid to experiment, and soon you'll be creating exactly what you envision. You might also find it helpful to look into "How to Get Better AI Image Results" for more tips.
Advanced Tips for Prompt Engineering
Once you've got the hang of the basic formula and iteration, there are several advanced techniques to push your Midjourney creations even further.
Weighting Keywords
Did you know you can tell Midjourney that certain words in your prompt are more important than others? You do this with double colons :: followed by a number. For example, hot dog::2 bun::1 would tell Midjourney to focus twice as much on the "hot dog" aspect than the "bun" aspect. The default weight is 1.
- How it Works: The weight indicates relative importance. So,
forest::3 river::1 mountain::2would prioritize the forest, then the mountain, then the river. This is fantastic for controlling the hierarchy of elements in your scene without having to completely rewrite your prompt. - Practical Applications: Use weighting when you want to emphasize a particular emotion (
sad::2 clown::1) or a dominant visual feature (glowing::3 eyes::1). This subtle tweak can make a huge difference in the final composition and focal point of your images. It’s a bit like telling the AI, "Hey, pay extra attention to this part!"
Multi-Prompts
Multi-prompts allow you to combine distinct concepts into a single image. You separate these concepts using :: (without a number following). Midjourney then considers each part as a separate prompt that should contribute to the final image.
- Combining Disparate Ideas: For example,
/imagine prompt: cat:: dog:: bird::will generate an image that attempts to incorporate elements of a cat, a dog, and a bird. It doesn't mean three separate animals, but rather a fusion of their characteristics, perhaps a creature with a cat's head, a dog's body, and bird wings. - Blending Styles: You can also use multi-prompts to blend styles in interesting ways.
/imagine prompt: futuristic cityscape:: watercolor painting::might give you a futuristic city rendered with the ethereal qualities of a watercolor. It's a powerful way to explore artistic fusion and create truly unique visuals.
Using Reference Images Effectively
While text prompts are powerful, sometimes a visual reference is indispensable. Midjourney allows you to incorporate images directly into your prompt.
- How to Use Image Prompts: Simply paste the URL of an image at the very beginning of your prompt:
/imagine prompt: [image URL] [your text prompt]Midjourney will then use the visual style, composition, and content of that image as a starting point, blending it with your text description. - Controlling Influence with
--iw: The--iw(image weight) parameter, as mentioned before, becomes vital here.--iw 1means the image prompt has equal weight to the text prompt.--iw 2makes the image prompt twice as influential as the text, and so on. Adjust this to find the perfect balance between your visual reference and your written instructions. - Practical Scenarios: This is excellent for maintaining character consistency across multiple images, generating variations of an existing product, or applying a specific artistic texture from a source image to a new creation. For example, if you want to create a series of images featuring a particular mythical creature, you could generate one great image, upload it somewhere accessible (like Imgur), and then use its URL as an image prompt for subsequent generations. This helps when you’re exploring Midjourney V7 vs V6: What Improved or similar version updates, and want to keep a consistent look across models.
By mastering these advanced techniques, you'll gain even finer control over Midjourney's output, enabling you to generate images that are not just good, but truly exceptional and aligned with your precise creative vision.
Common Prompting Pitfalls to Avoid
Even with a formula, it's easy to fall into certain traps that lead to suboptimal results. Knowing these common mistakes can save you a lot of frustration and wasted Fast GPU time.
Being Too Vague or Generic
This is the number one pitfall. As discussed, "a car" will give you a car, but it won't be your car.
- Problem: Midjourney fills in the gaps with its default understanding, which might not be what you want. You might end up with cliché images or visuals that lack personality.
- Solution: Always strive for specificity. Instead of "city at night," try "neon-drenched Shibuya crossing, bustling with holographic advertisements, heavy rain, reflecting light." Every adjective and noun you add helps to paint a clearer picture for the AI. Think about the five W's (Who, What, When, Where, Why) and How.
Over-Prompting and Keyword Stuffing
The opposite extreme of vague prompts is stuffing too many keywords without structure.
- Problem: Midjourney can get confused if your prompt is an unstructured list of disparate words. It might try to incorporate everything, leading to a muddled, incoherent, or visually noisy image. For example, "cat dog house tree car sun cloud happy sad cute angry red blue green yellow beautiful ugly." This tells the AI to put everything in, but gives it no coherent scene or style to follow.
- Solution: Be concise but descriptive. Group related ideas. Use commas to separate distinct concepts. Focus on the most impactful keywords for each section of the formula. If a word isn't contributing to the core visual, consider removing it. Often, less is more if what remains is precise. Prioritize quality keywords over quantity.
Forgetting Key Parameters
Omitting parameters like --ar or --no can often lead to frustration when the image isn't the right shape or contains unwanted artifacts.
- Problem: Default aspect ratios might not suit your project. Undesired elements like blurry backgrounds, strange text, or oddly rendered hands can appear without negative prompts.
- Solution: Make it a habit to consider the most crucial parameters for almost every prompt. Always think about the desired aspect ratio. If photorealism is key, regularly include
--no text, blurry, distorted, ugly, extra limbs, bad hands. These little additions can significantly improve the consistent quality of your output. It’s also wise to check out specific guides like "How to Fix Bad AI Image Results" for common issues.
Inconsistent Terminology
Using different words for the same concept across multiple prompts can lead to inconsistent results.
- Problem: If you describe a character's hair as "auburn" in one prompt and "reddish-brown" in the next, Midjourney might interpret them as slightly different shades, making it hard to maintain consistency across a series of images.
- Solution: Create a personal "prompt glossary" or style guide for yourself. Decide on the exact terms you'll use for specific colors, styles, textures, or character traits, and stick to them. This is especially vital when trying to achieve character consistency over a longer project.
By being mindful of these common pitfalls, you'll be able to navigate the exciting world of Midjourney with greater confidence and achieve more predictable, high-quality results. Remember, every "failed" generation is a learning opportunity!
The Iterative Cycle of AI Art Creation
Think of AI image generation not as a single action, but as a continuous loop of creation and refinement. The most successful creators don't just type a prompt once and call it a day; they engage in a dynamic dialogue with the AI.
From Idea to First Draft
Your initial thought, "I want a space opera scene," is just the seed. Using the prompt formula, you translate that into a detailed first draft:
/imagine prompt: Epic space battle above a habitable exoplanet, numerous spaceships firing lasers, exploding debris, swirling nebulae in the background, cinematic, hyperdetailed, golden light from a distant star --ar 21:9 --s 150 --no blurry, generic
This initial prompt is your blueprint. It covers the core subject, setting, style, lighting, and essential parameters.
Evaluation and Refinement
Once Midjourney generates its initial grid, your job is to critically evaluate it.
- "What if I make the ships more futuristic?" — Use Remix mode or generate new variations, adding
futuristic sleek designto your prompt. - "The explosions aren't dramatic enough." — Add
dynamic explosions, fiery streaks, smoke plumesto your prompt, perhaps increasing--sslightly. - "The planet looks too much like Earth." — Modify the
habitable exoplanetdescription toalien jungle planet, bioluminescent florato emphasize its foreign nature. - "I need more of a close-up on one of the ships." — Change
numerous spaceshipstofocus on a single large spaceship, close-up, perspective from below. You could also leverage specific How to Prompt AI for Better Landscapes for the planet itself.
This back-and-forth, refining your prompt based on the visual feedback, is where the real magic happens. It’s a bit like a photographer adjusting their lens, lighting, and composition after taking a few test shots. You're learning the AI's language as much as it's interpreting yours.
The Power of Small Changes
Don't underestimate the impact of subtle tweaks. Changing one adjective, adding a single parameter, or even reordering a few words can drastically alter the outcome. For instance, a man walking in a foggy forest is different from a foggy forest with a man walking. The emphasis shifts.
By embracing this iterative cycle, you'll move beyond generic AI art and start producing images that truly reflect your unique vision. This approach is what separates casual users from those who consistently generate stunning and precise visuals with Midjourney. You're not just prompting; you're directing an infinitely creative, albeit literal, artist. For more on this, consider reading "How to Iterate on AI Image Prompts".
Disclaimer
Please remember that while AI image generation tools like Midjourney are powerful, their capabilities are constantly evolving. The specific parameters, commands, and their effects can change with new model updates (e.g., Midjourney V7). Always refer to the official Midjourney documentation or community guides for the most up-to-date information. The advice provided here is for informational purposes and reflects best practices based on current knowledge.