How to Edit AI Images with Inpainting
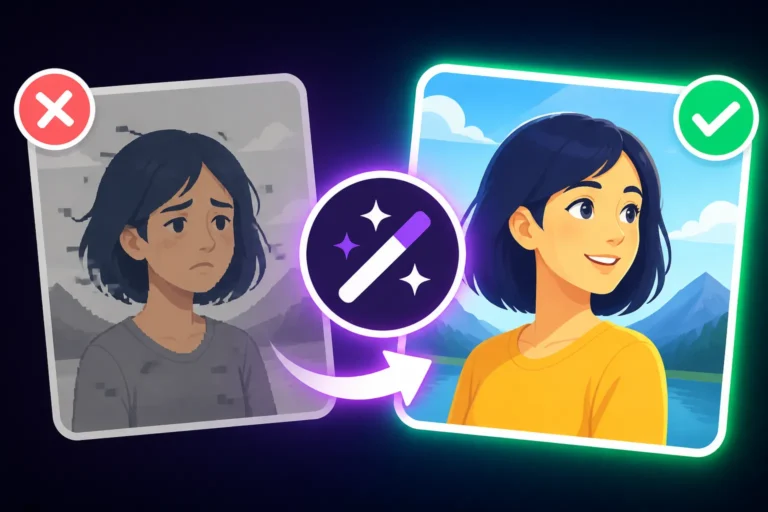
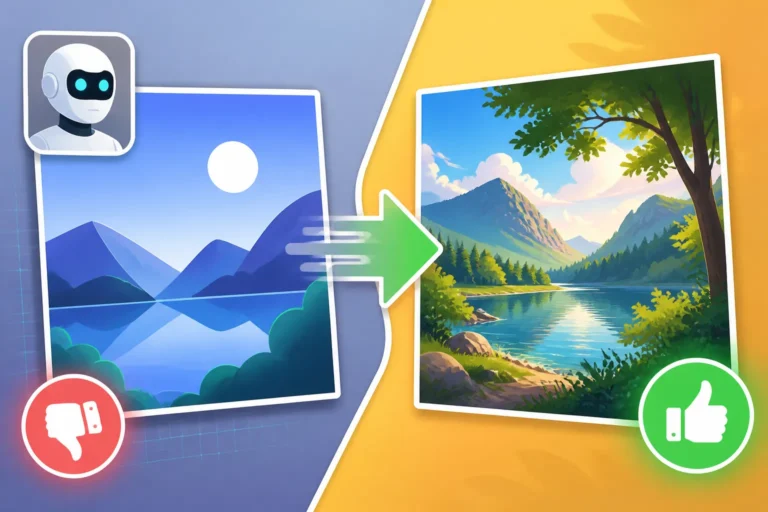
You know that feeling when an AI image generator produces something absolutely stunning, almost perfect, but there’s just one tiny thing off? A misplaced detail, an extra finger, an odd background element, or a facial feature that just doesn't look quite right? It’s incredibly frustrating to be so close to greatness yet fall short. This comprehensive guide is here to empower you with the incredible technique of inpainting, a powerful AI editing method that lets you selectively refine and fix those imperfections, transforming your "almost perfect" images into truly flawless masterpieces.
Understanding What Inpainting Is and Why It's a Game-Changer
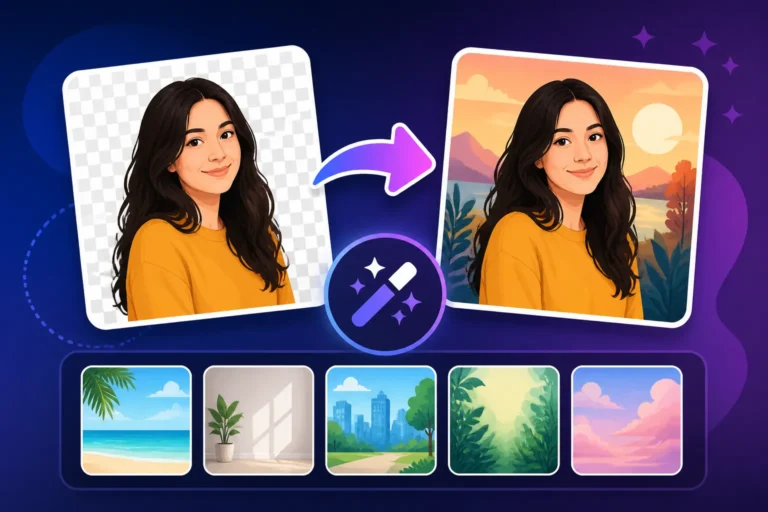
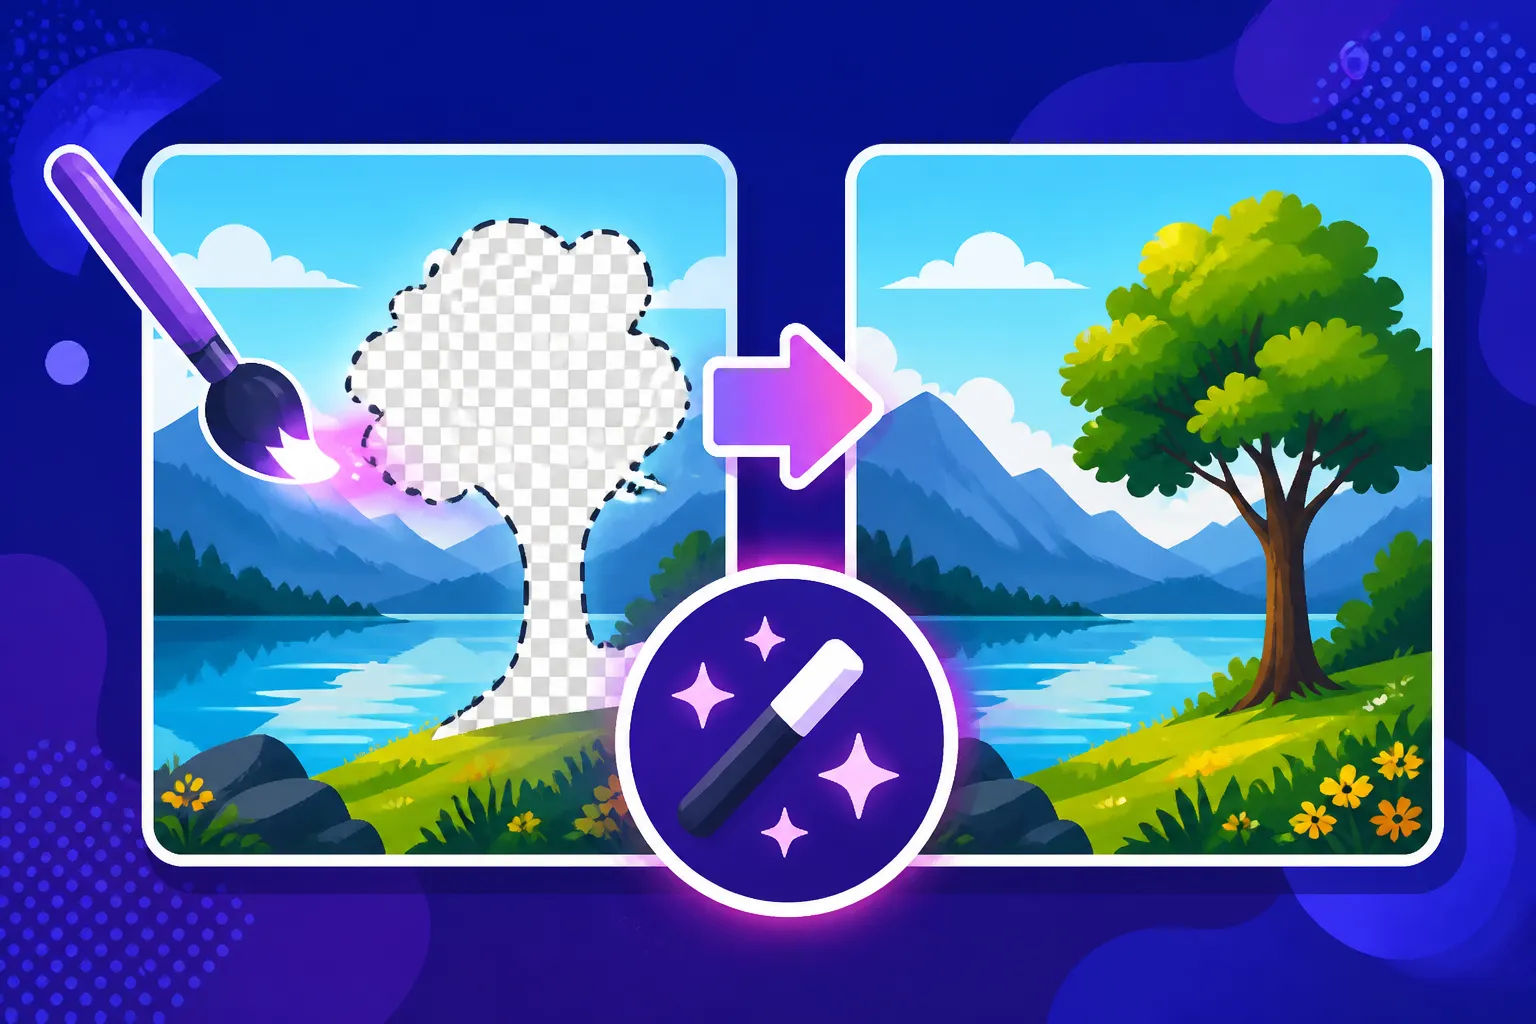
Inpainting is essentially like giving your AI image a targeted, intelligent facelift. Instead of starting from scratch or making broad, destructive edits in traditional photo software, inpainting leverages the very same generative AI technology that created your image to fill in specific, masked areas. You tell the AI what you want to change, and it intelligently redraws only that section, attempting to blend it seamlessly with the rest of the image. It’s an absolute game-changer for anyone who’s ever wrestled with an otherwise brilliant AI-generated image that just needed a little polish.
Beyond Simple Cropping: The Power of Generative Editing
Think about traditional image editing. If a part of your photo is ugly, you might crop it out, blur it, or clone stamp over it. These methods are often destructive, visible, or limited in what they can achieve. Cropping reduces your image, blurring can look unnatural, and cloning often requires painstaking manual work to avoid repetition or obvious patches. Inpainting, however, goes beyond these rudimentary fixes by understanding the context of the image.
When you mask a section for inpainting, you're not just telling the AI to copy pixels; you're telling it to understand what should logically be there and generate new content based on your instructions and the surrounding visual information. This means it can conjure entirely new elements, correct structural anomalies, or even alter the style of a specific area without affecting the whole image. It's like having a miniature, highly specialized AI artist working on demand in a tiny section of your canvas. The results are often remarkably coherent and integrate far better than any manual edit could hope to achieve.
Common Scenarios Where Inpainting Shines
The applications for inpainting are incredibly diverse, addressing many of the most common headaches creators face with AI-generated art. For instance, imagine you've generated a fantastic portrait, but the subject has a slightly distorted eye or an extra finger that ruins the realism. Instead of discarding the entire image, you can mask just the problematic area and prompt the AI to "fix the eye" or "remove the extra digit," letting it intelligently redraw that small section. This targeted approach is much more efficient than regenerating the entire image and hoping for a better outcome.
Another classic use case is tidying up backgrounds. Perhaps your main subject is perfect, but there's a distracting object in the corner, or the background just doesn't quite match the mood you were going for. You can mask the offending background elements and prompt for something like "lush garden," "minimalist wall," or "blurred city lights." Inpainting can also be invaluable for refining specific stylistic elements, like adding a tattoo to an arm, changing the color of a piece of clothing, or even altering the expression on a face. If you're looking to address common issues like these, you'll find that inpainting is often the best solution for how to fix bad AI image results.
The Core Mechanics of Inpainting: How It Works Under the Hood
To truly master inpainting, it helps to understand the fundamental principles behind it. It's not magic, although it often feels like it! At its heart, inpainting is a sophisticated application of generative adversarial networks (GANs) or diffusion models, specifically trained to synthesize new image data that is consistent with its surroundings. When you engage inpainting, you're essentially providing the AI with a puzzle, and it uses its vast training data to fill in the missing pieces based on your instructions.
The Masking Process: Defining Your Edit Area
The first and arguably most critical step in any inpainting operation is masking. This involves drawing a specific area on your image that you want the AI to modify or replace. Think of the mask as a stencil or a painter's tape; it tells the AI, "Only touch what's under this brushstroke." The precision of your mask directly impacts the quality of your inpainting results. If your mask is too large, the AI might change more than you intended, potentially altering desirable parts of your image. If it's too small, it might not have enough context to generate a coherent new element, or the edit might look patched.
Most inpainting tools offer various brush sizes and even selection tools (like lasso or magic wand) to help you define your mask accurately. Some advanced tools even have "smart masking" features that can automatically detect objects or distinct areas, making the process much faster. The goal is always to isolate the problematic or changeable area as cleanly as possible, providing the AI with a clear boundary of where its generative efforts should be focused. This is a foundational step, and taking the time to create a good mask will save you a lot of frustration down the line.
The Prompt's Role in Guiding the AI
Just as with initial image generation, the prompt you provide for inpainting is paramount. However, unlike a general prompt that guides the entire image creation, an inpainting prompt is highly targeted. It's your direct instruction to the AI about what to generate within the masked area. For example, if you masked a wonky eye, your prompt might be "realistic human eye, looking forward, deep brown iris." If you masked a distracting sign in the background, your prompt could be "blurred evergreen bushes" or "ancient stone wall."
The specificity and clarity of your inpainting prompt are crucial. Vague prompts like "make it better" will yield unpredictable results. Instead, focus on describing the desired outcome in detail, including style, color, texture, and any other relevant attributes. It’s also important to remember that the AI will try to make your prompt fit the surrounding unmasked image. So, if you prompt for a "sci-fi robot arm" on a medieval knight, the AI might struggle to integrate it naturally. Think about consistency with the existing image outside the mask. This interplay between the mask and the prompt is what truly unlocks the power of inpainting.
Iteration and Refinement: It's Rarely One-Shot
Here’s a dose of realism: inpainting is rarely a one-and-done process. Just like when you initially generate images, getting the perfect result often requires multiple attempts and refinements. You might apply a mask, write a prompt, and generate several options, only to find they still aren't quite right. The AI might misinterpret your prompt, or the generated patch might not blend seamlessly. This is where the iterative nature of inpainting truly comes into play.
Don't be afraid to try different prompts, adjust your mask slightly, or even regenerate the same prompt multiple times to get varying results. Sometimes, a subtle rephrasing of your prompt can make a huge difference. For instance, changing "blue shirt" to "vibrant cerulean shirt with soft cotton texture" might give you a better outcome. You might also find yourself applying multiple inpainting passes to the same area – for example, first to get the basic shape right, then a second pass with a smaller, more refined mask to add details or correct a minor artifact. Patience and a willingness to experiment are your best friends in this process. Learning to iterate effectively is key to how to get better AI image results.
Step-by-Step Guide to Inpainting Your AI-Generated Images
Ready to dive in and start fixing those "almost perfect" images? Let's walk through the process together. While specific interfaces might vary slightly between tools, the core workflow remains largely consistent across the board. By following these steps, you'll be well on your way to mastering the art of AI image inpainting.
Choosing the Right Tool for the Job
The AI image generation landscape is vast, and many platforms now offer robust inpainting capabilities. Some of the most popular and accessible options include web-based tools that integrate inpainting directly into their workflow, and locally run solutions like Stable Diffusion, which often provide more granular control and a wider array of custom models.
For beginners, a web-based tool might be the easiest entry point. They often feature intuitive brush tools and immediate visual feedback. If you're looking for more advanced control, especially over specific models or fine-tuning parameters, exploring the web user interfaces available for Stable Diffusion (like Automatic1111 or ComfyUI) could be a fantastic next step. Remember, the "best" tool often depends on your specific needs, comfort level with technology, and whether you prefer cloud-based convenience or local processing power. You might find that one tool excels at how to remove AI image artifacts while another is better for complex changes.
Preparing Your Image for Inpainting
Before you start brushing away, it's wise to get your image ready. Most often, this simply means having your AI-generated image saved in a common format like JPG or PNG. If you're using a tool that generated the image itself, it will usually be readily available in your history or workspace.
Consider the resolution of your image. While inpainting can work on lower-resolution images, higher resolution often provides the AI with more data to work with, leading to more detailed and seamless integrations. If your image is very low-res and you plan significant edits, you might consider upscaling it first. Some tools even offer built-in upscaling, or you can use a dedicated tool to Upscale AI Images to 4K. Once your image is loaded into your chosen inpainting interface, you’re ready to begin the actual editing process.
Applying Masks and Crafting Targeted Prompts
This is where the real work begins. First, activate the masking tool (often represented by a brush icon) within your chosen AI image editor. Adjust the brush size to suit the area you're working on – a smaller brush for fine details like eyes or fingers, a larger one for broader areas like backgrounds. Carefully paint over the section you want to change. Ensure your mask completely covers the problematic area but doesn't extend unnecessarily into parts you wish to keep intact.
Once your mask is applied, it's time to write your targeted prompt. In the prompt box, describe what you want the AI to generate within that masked area. Be descriptive and specific.
For example:
- Original problem: Character has a blurry, poorly formed hand.
- Masked area: The blurry hand.
- Inpainting prompt: "realistic human hand, five fingers, holding a delicate flower, soft focus, intricate details"
Think about the context. If you're changing a background, consider the lighting and style of the foreground. If you're altering a facial feature, think about consistency with the rest of the face. Many tools also offer a "negative prompt" section for inpainting, which can be useful for telling the AI what not to generate in the masked area, such as "blurry, distorted, ugly, extra fingers."
Generating and Reviewing Your Edits
With your mask in place and your prompt refined, hit the "generate" or "inpainting" button. The AI will then work its magic, typically presenting you with a few variations of the edited area. Take your time to review these options critically.
- Does the new content blend seamlessly with the unmasked parts of the image?
- Does it accurately reflect your prompt?
- Are there any new artifacts or inconsistencies introduced?
Often, one of the generated options will be a clear winner. If none of them are perfect, don't get discouraged! This is the point where iteration comes into play. You can try:
- Adjusting your prompt: Small tweaks in wording can yield different results.
- Modifying your mask: Perhaps it was too big, too small, or slightly off-center.
- Generating more variations: Sometimes, simply asking for more options can give you that perfect blend.
- Using a different seed: If your tool allows, changing the seed value can produce entirely new interpretations of your prompt within the masked area.
Remember, the goal is not just to replace, but to integrate flawlessly. This review process is crucial for achieving high-quality, believable edits.
Advanced Inpainting Techniques for Flawless Results
Once you've got the hang of basic inpainting, you'll quickly realize its potential for more intricate and transformative edits. Moving beyond simple fixes, advanced techniques allow for greater control, more nuanced changes, and truly seamless integration that makes it almost impossible to tell the image was ever edited.
Fine-Tuning Prompts for Specific Details
The magic of inpainting often lies in the minute details you can achieve with precise prompting. While a general prompt like "green leaves" might work for a background, if you need a specific type of foliage or a particular lighting effect, you'll need to get much more descriptive. Think of it as a sculptor working with a tiny chisel rather than a sledgehammer.
Consider the interplay of texture, light, and material. Instead of "change to a brick wall," try "weathered red brick wall, dappled sunlight, ivy growing sparsely, realistic texture." If you're fixing a character's clothing, instead of "blue jacket," aim for "a tailored denim jacket, indigo blue, subtle distressed texture, natural folds, studio lighting." You can also integrate style modifiers directly into your inpainting prompt, such as "glowing neon sign, cyberpunk style" or "ornate carved wooden table, baroque period." The more specific you are, the more the AI has to latch onto, dramatically improving its ability to generate precisely what you envision in that masked area. This precision is essential for how to make AI images look less AI.
Iterative Masking and Layering Edits
Sometimes, a single large mask and one prompt won't cut it for complex changes. This is where iterative masking and layering come into play. Imagine you want to change a character's entire outfit, including intricate details like jewelry and different fabric textures. Instead of masking the whole person and hoping for the best, you can break down the task into smaller, manageable inpainting passes.
For example, you might first mask the torso and prompt for "a silk blouse, forest green, elegant drape." Once you're happy with that, you might create a new, smaller mask over the neck area and prompt for "a delicate silver pendant necklace with a single sapphire gemstone." Then, a separate mask for the sleeves, prompting for "long, flowing sleeves, chiffon fabric." By approaching the edit in layers, refining each section individually, you give the AI smaller, clearer tasks, reducing the chances of inconsistent results. This method is also excellent for progressively refining an area, slowly bringing it closer to perfection, much like an artist adds successive layers of paint. This iterative approach is also great for when you need to Remove Objects from AI Images without affecting the background.
Blending and Seamless Integration Tips
The ultimate goal of inpainting is for the edit to be undetectable. The newly generated content must blend seamlessly with the unmasked parts of the image, matching the original lighting, style, and overall aesthetic. Several strategies can help you achieve this elusive perfect blend.
One key tip is to consider feathering or softening your mask edges. Some tools offer a "feather" or "blur" option for your mask, which creates a gradual transition zone rather than a harsh line. This can help the AI blend the new content more smoothly, especially when dealing with organic shapes or complex backgrounds. Another technique involves slightly overlapping masks. If you're editing two adjacent areas, making their masks overlap by a small amount can encourage the AI to create a cohesive transition between them.
Furthermore, always pay attention to the existing lighting and shadows in the original image. Your inpainting prompt should ideally incorporate these details. If the scene has harsh directional lighting, your new element should also exhibit those strong highlights and shadows. If the scene is soft and ambient, your new generation should reflect that. Sometimes, after a successful inpainting pass, a quick touch-up with a subtle cloning or healing brush in traditional photo software can further refine the edges and hide any lingering seams, although modern AI tools are getting incredibly good at this automatically. These thoughtful steps are crucial for Adding Realism to AI Images.
| Inpainting Goal | Masking Strategy | Prompting Strategy | Blending Tip |
|---|---|---|---|
| Fixing a Face | Small, precise mask over eyes, mouth, nose, etc. | "realistic human eye, looking forward, color iris" | Use subtle feathering; match skin tone and lighting. |
| Changing Clothing | Mask entire garment, or specific areas (collar, sleeve) | "Type jacket, color, material, style" | Ensure fabric folds and shadows align with body shape. |
| Removing Object | Mask the object and a small surrounding area | "empty space," "blurred background," "concrete floor" | Ensure background elements flow naturally into the masked area. |
| Adding New Element | Mask empty space where element should be | "Object, description, lighting, style" | Consider reflections, shadows, and how it interacts with surfaces. |
| Correcting Hands/Feet | Careful mask over the appendage | "realistic human hand, five fingers, relaxed pose" | Focus on anatomy, perspective, and natural posture. |
| Altering Background | Mask entire background, or specific distracting elements | "Scene description, time of day, weather, style" | Ensure new background's horizon and perspective match foreground. |
Navigating Challenges and Overcoming Common Inpainting Hurdles
While inpainting is incredibly powerful, it's not without its quirks and challenges. Expect to encounter moments where the AI doesn't quite "get it," or where your edits introduce new, unexpected problems. Understanding these common hurdles and knowing how to approach them will save you immense frustration and lead to better outcomes. It's all part of the journey when working with AI image tools.
Dealing with AI Artifacts and Inconsistencies
One of the most common frustrations with inpainting is the introduction of new AI artifacts. You might fix a wonky hand, only for the AI to give your subject a distorted arm or a strange patch of skin nearby. These inconsistencies can range from subtle color shifts and texture mismatches to outright bizarre generative failures. It feels like playing a game of "whack-a-mole" sometimes, doesn't it?
The key to dealing with these is often patience and a methodical approach. If a new artifact appears, try reducing the size of your mask and targeting just that specific problem area with a simpler, more direct prompt. Sometimes, re-generating the same prompt multiple times will produce a better, cleaner result simply due to the randomness inherent in the generation process. If the artifact is a color mismatch, consider adding color descriptors to your prompt, like "smooth skin texture, light tan color, subtle blush." In some cases, if the artifact is small and subtle, a very light touch with a traditional photo editor's healing brush or clone stamp can finish the job more quickly than continued AI iteration. Don't be afraid to combine the strengths of both AI and traditional tools. This approach is helpful for How to Fix AI Hands and Faces.
Maintaining Style and Cohesion Across Edits
One of the trickiest aspects of inpainting, especially when making multiple edits, is maintaining a consistent style and overall cohesion. An image that starts as a painterly illustration might suddenly have a photorealistic patch if your inpainting prompt isn't carefully aligned with the original aesthetic. This can make the image look like a disjointed collage rather than a unified piece of art.
To combat this, always keep the original image's style, lighting, and color palette firmly in mind when crafting your inpainting prompts. If the original is a "cinematic film still," ensure your inpainting prompts also include "cinematic, film grain, dramatic lighting." If it's a "watercolor painting," then your inpainting prompts should likewise specify "watercolor effect, soft brushstrokes." Sometimes, re-inserting elements of your original global prompt into your inpainting prompts can help the AI stay on track. For more significant stylistic changes to an area, you might need to broaden your mask slightly to give the AI more context, or even consider using control images if your tool supports them, to guide the aesthetic. The goal is to ensure that even after extensive editing, the image still feels like a single, coherent creation. This is paramount when you're aiming to Create Image Variations that still feel like they belong together.
When to Start Over vs. Keep Inpainting
There's a fine line between persistent refinement and simply throwing good effort after bad. It's a question every AI artist faces: when do you cut your losses and start a fresh generation versus continuing to meticulously inpaint? This is a judgment call, but there are some guidelines.
If you find yourself making dozens of inpainting passes on a single small area, and the results are consistently poor or introduce more problems than they solve, it might be a sign that the AI model is struggling with that particular task or that your initial image had fundamental flaws making it difficult to correct. For example, if a character's anatomy is profoundly distorted from the outset, fixing it with inpainting can be an uphill battle. In such cases, it might be more efficient to go back to the drawing board, tweak your initial generation prompt, and create a new base image that's closer to your vision. However, if the issues are minor – a weird reflection, a misplaced object, a simple color change – then inpainting is almost always the faster and more effective solution. Trust your gut; if the process feels like a constant struggle, a fresh start might invigorate your creativity and ultimately save you time. Remember, you can always explore different options by trying various AI Image Generators to Avoid or New AI Image Generators Worth Trying if your current tool isn't cutting it for a particular task.
Disclaimer
The information provided in this article is for general informational purposes only and does not constitute professional advice. AI image generation and editing tools are constantly evolving, and features, capabilities, and ethical considerations may change. Users should always consult the specific terms of service and usage policies for any AI tool they employ, especially regarding commercial use and intellectual property.